IoT Esp8266 BME280 sensor
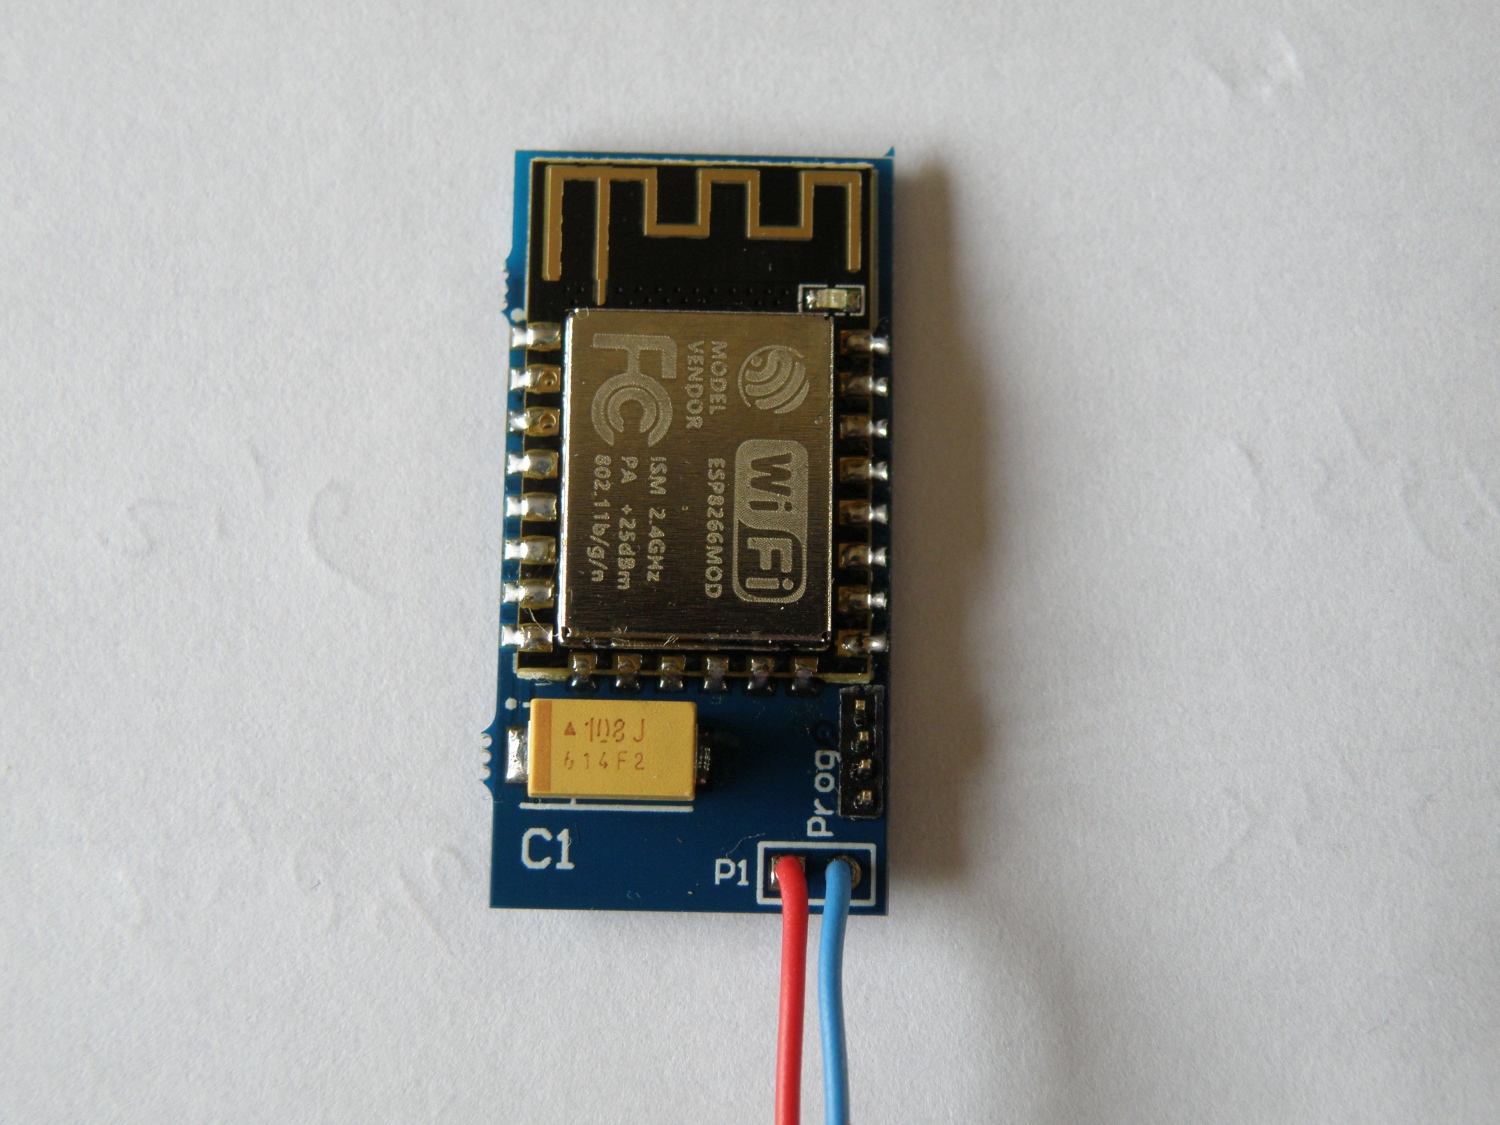
Iot Esp8266 temperature, humidity, atmospheric pressure and light sensor.
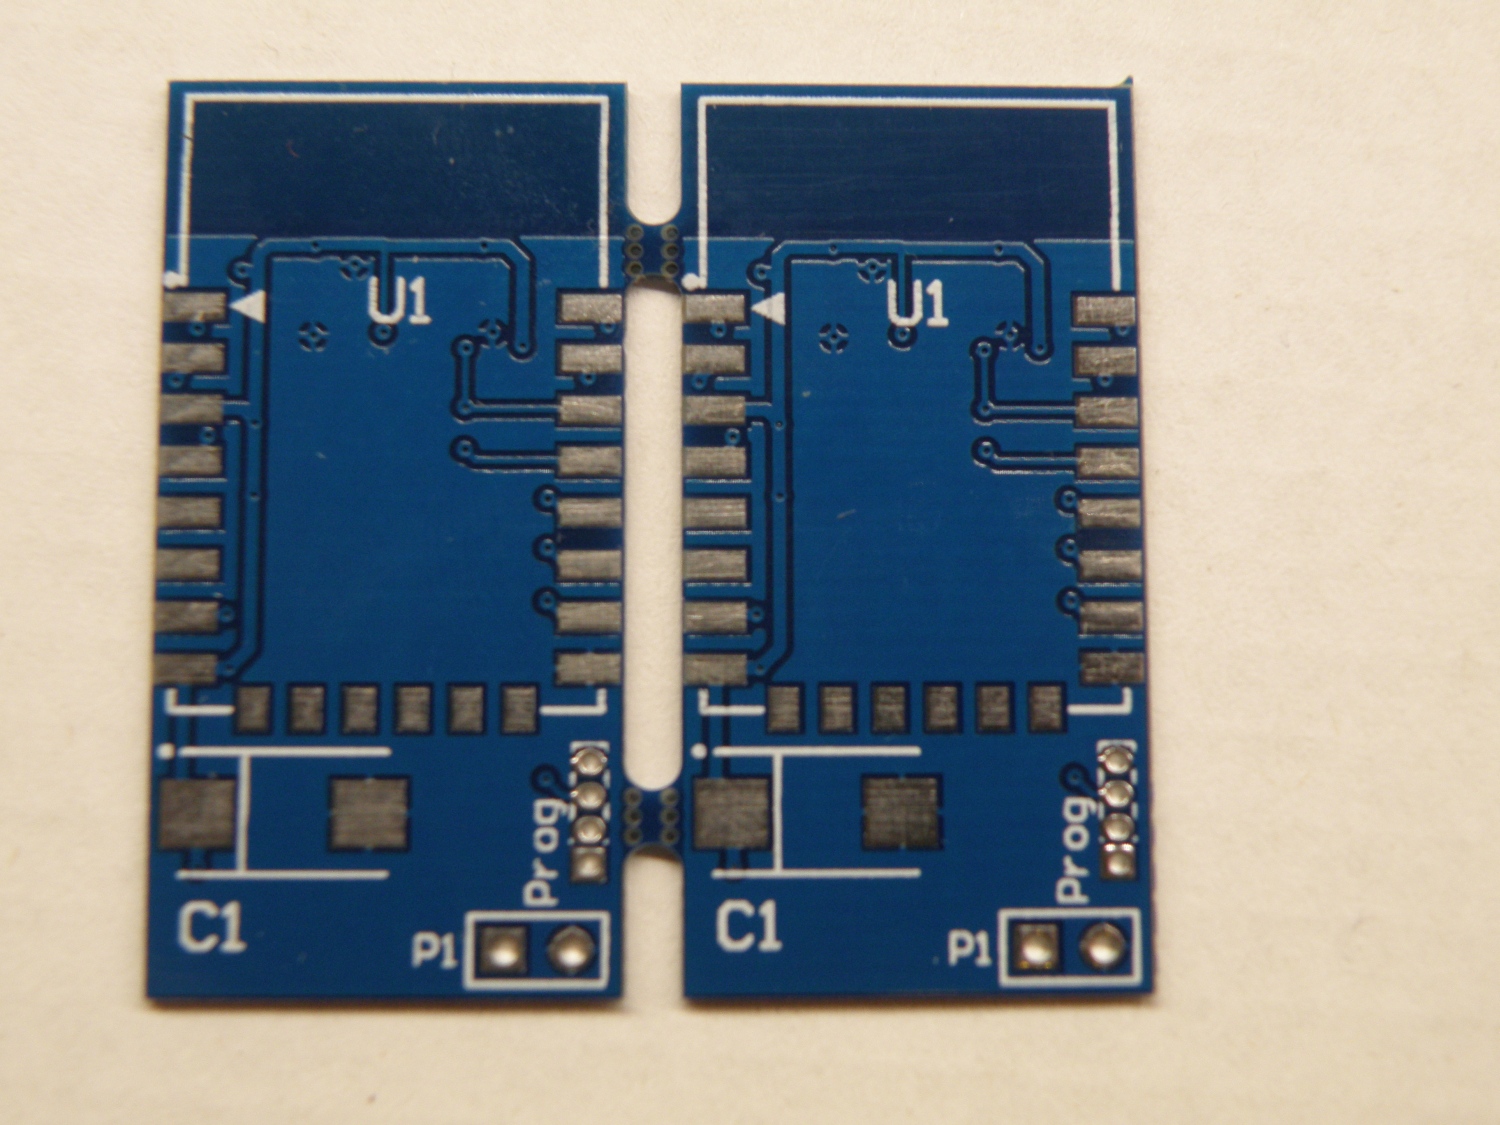
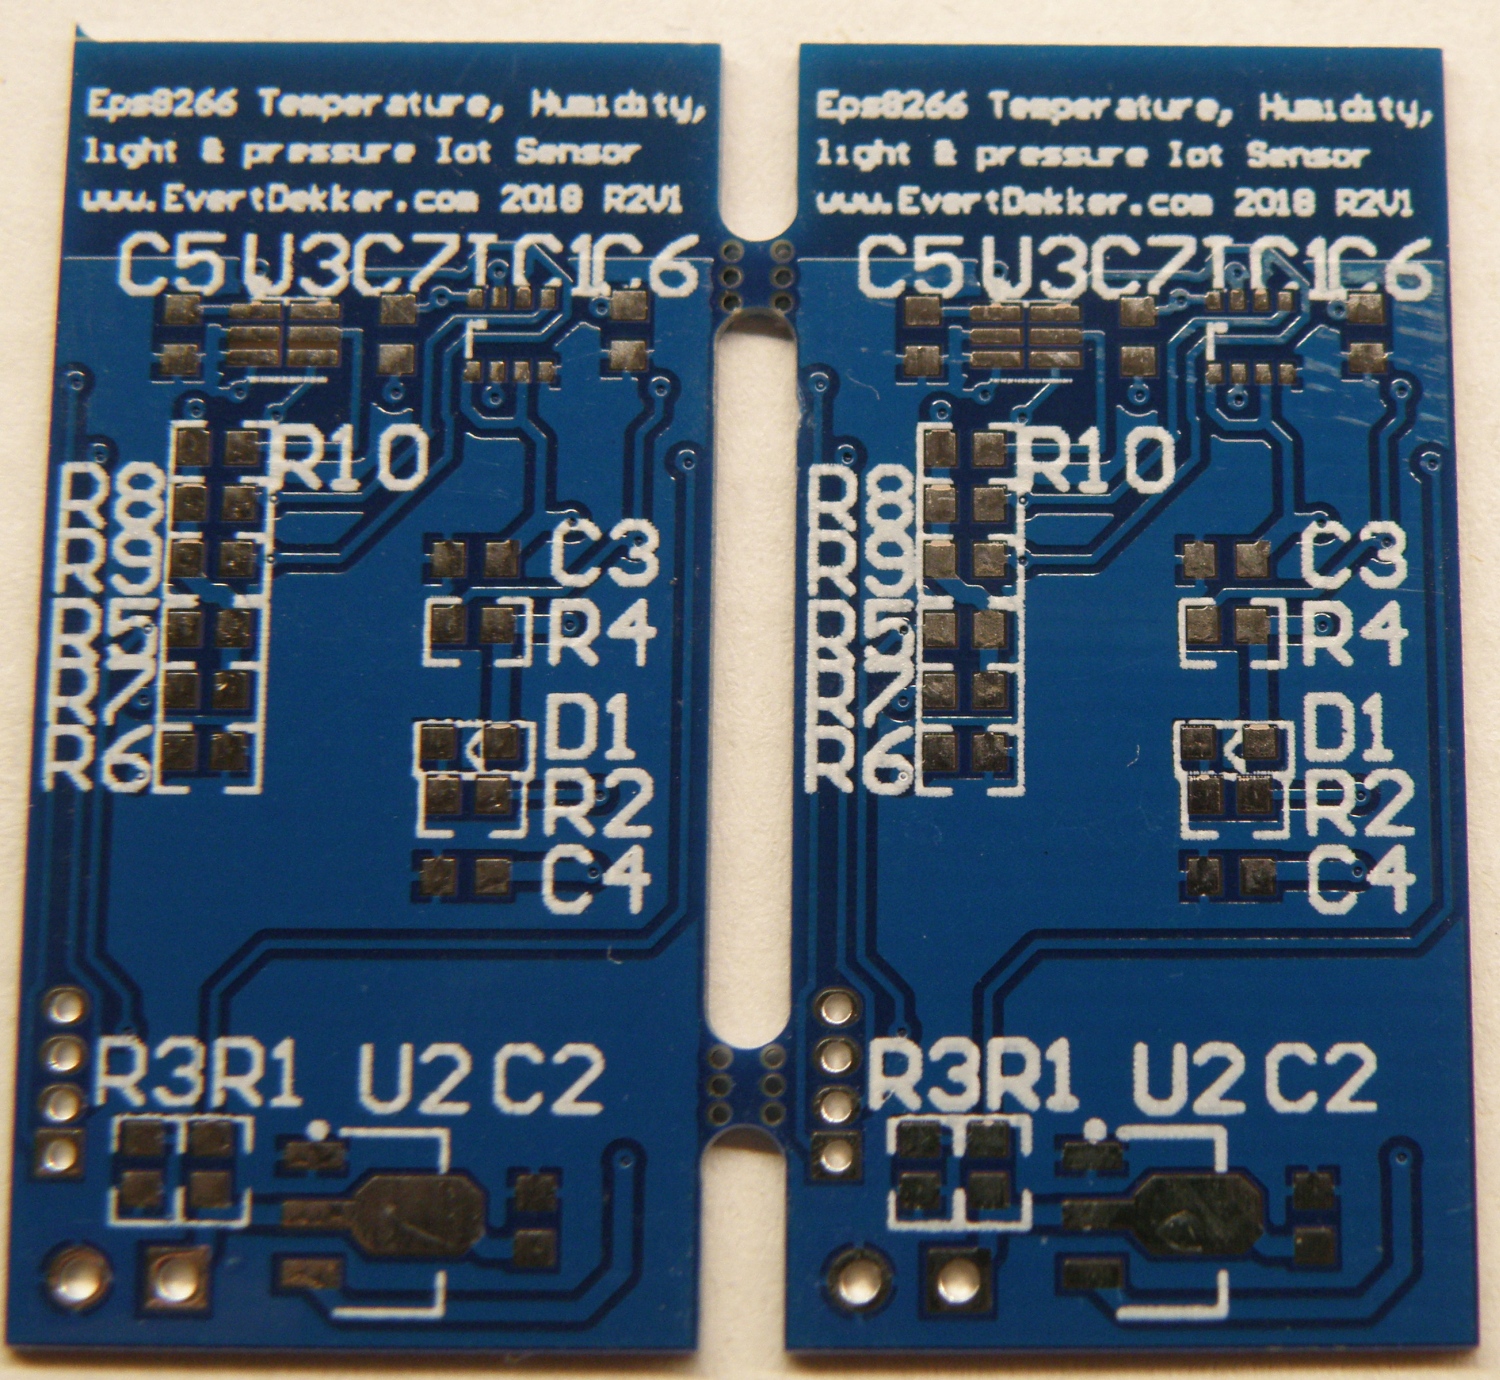
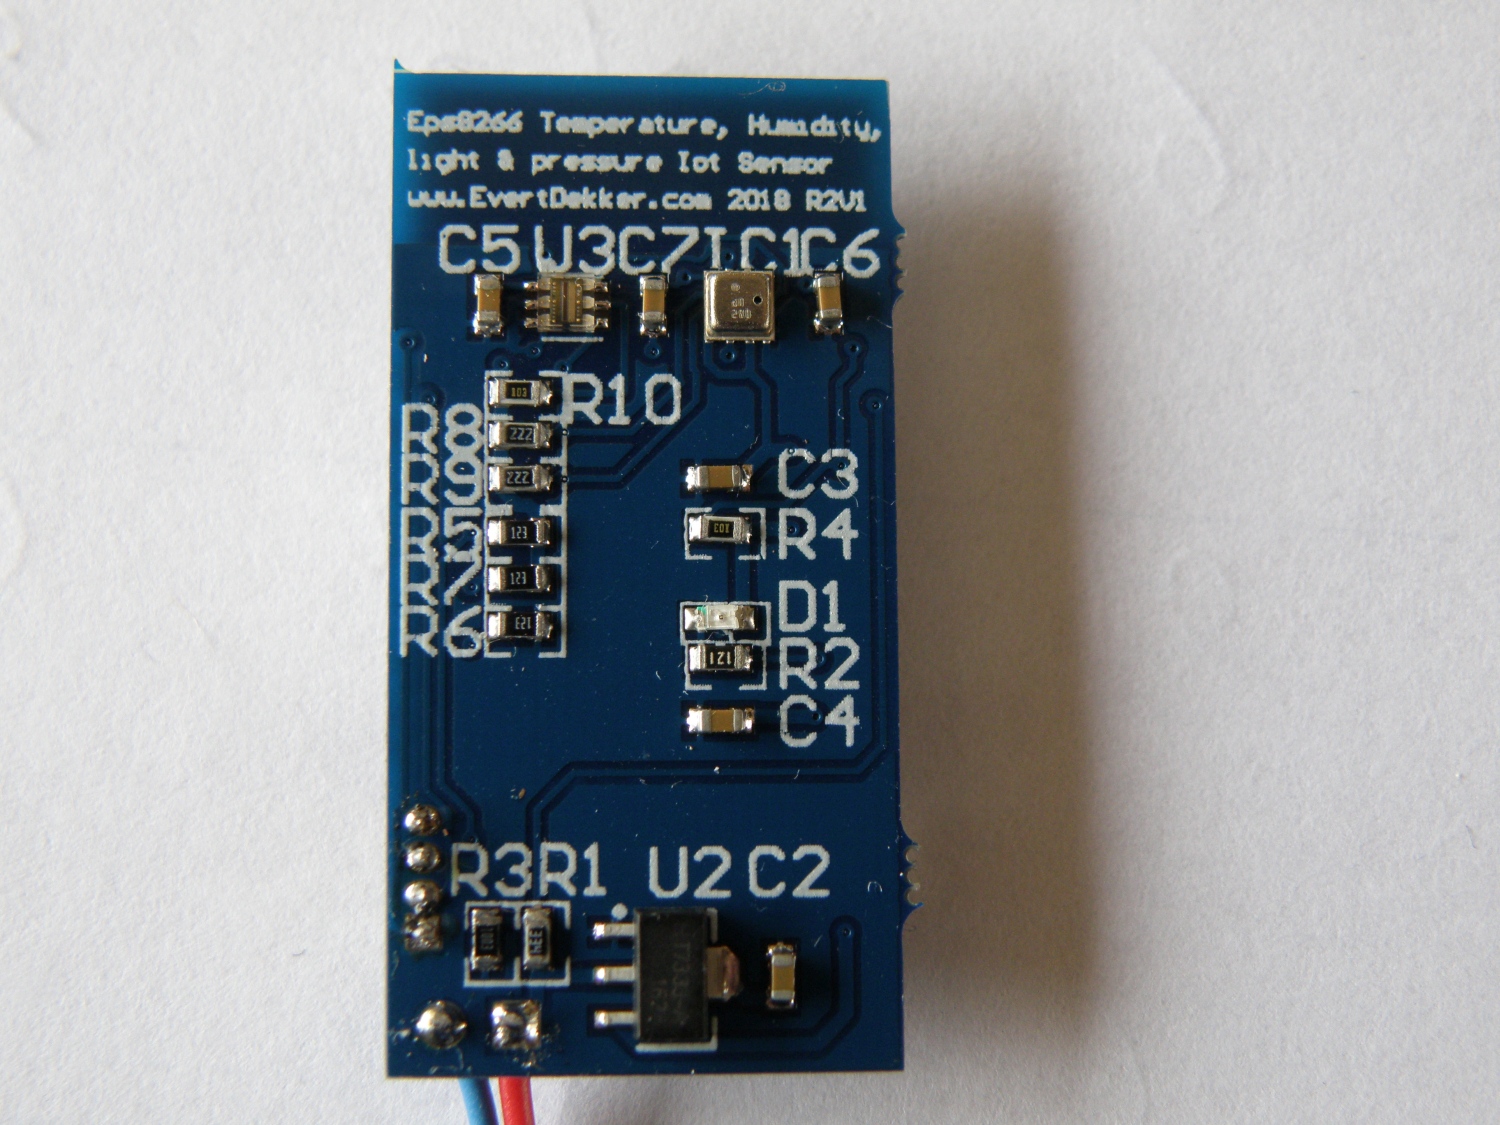
After the problems with my sensor based on the DHT22 time for a redesign, this time with the BME280 for measuring temperature, humidity and atmospheric pressure. The TSL2561 known from my light sensor node is used for measuring light level.
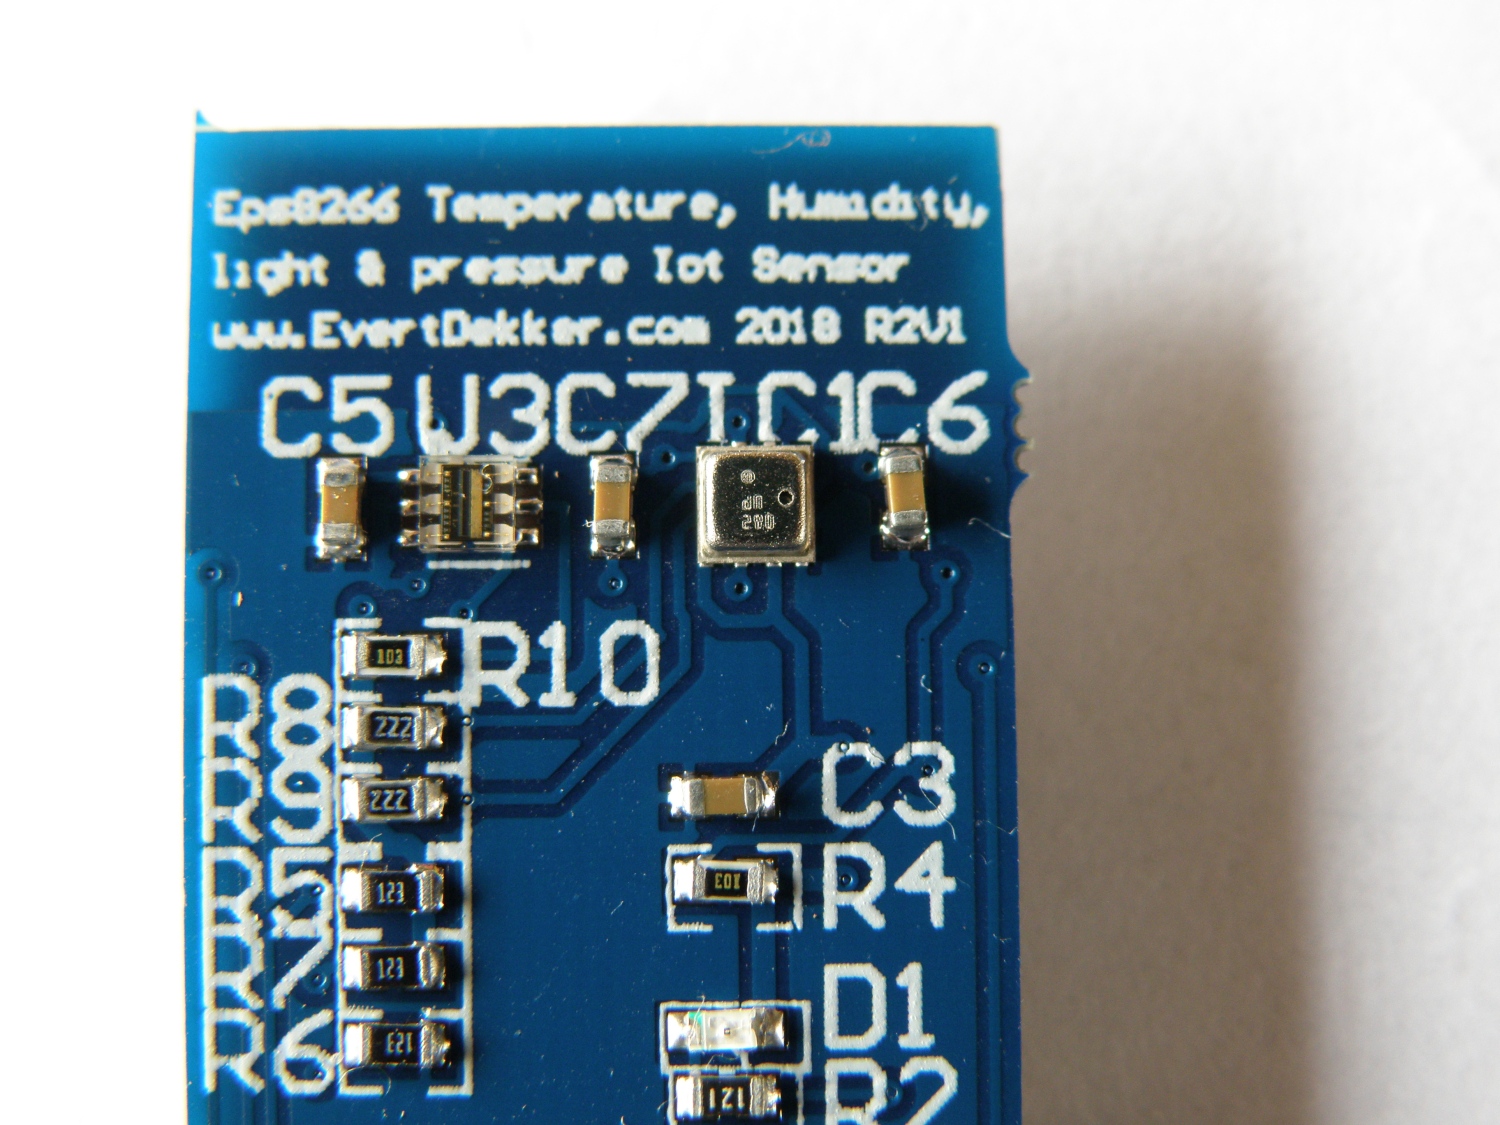
Note: it’s hard to solder the TSL2561 and it’s even harder to solder the BME280, think it over before starting on it if you want to make your own copy.
My first 4 attempts soldering the BME280 failed. With a chip this small and the small pads that are needed for it, it’s important that to all the pads there’s an equal amount of solder paste applied. If that’s not the case the whole chip rest on the pads with the most solder and will not make contact with the other pads, extra handicap is in this case that the BME280 has a metal case an will make very easy a short circuit if you use to much solder.
I have ordered now a stencil to apply the solder paste even on the pcb. To be continued….
Update 02 April 2018
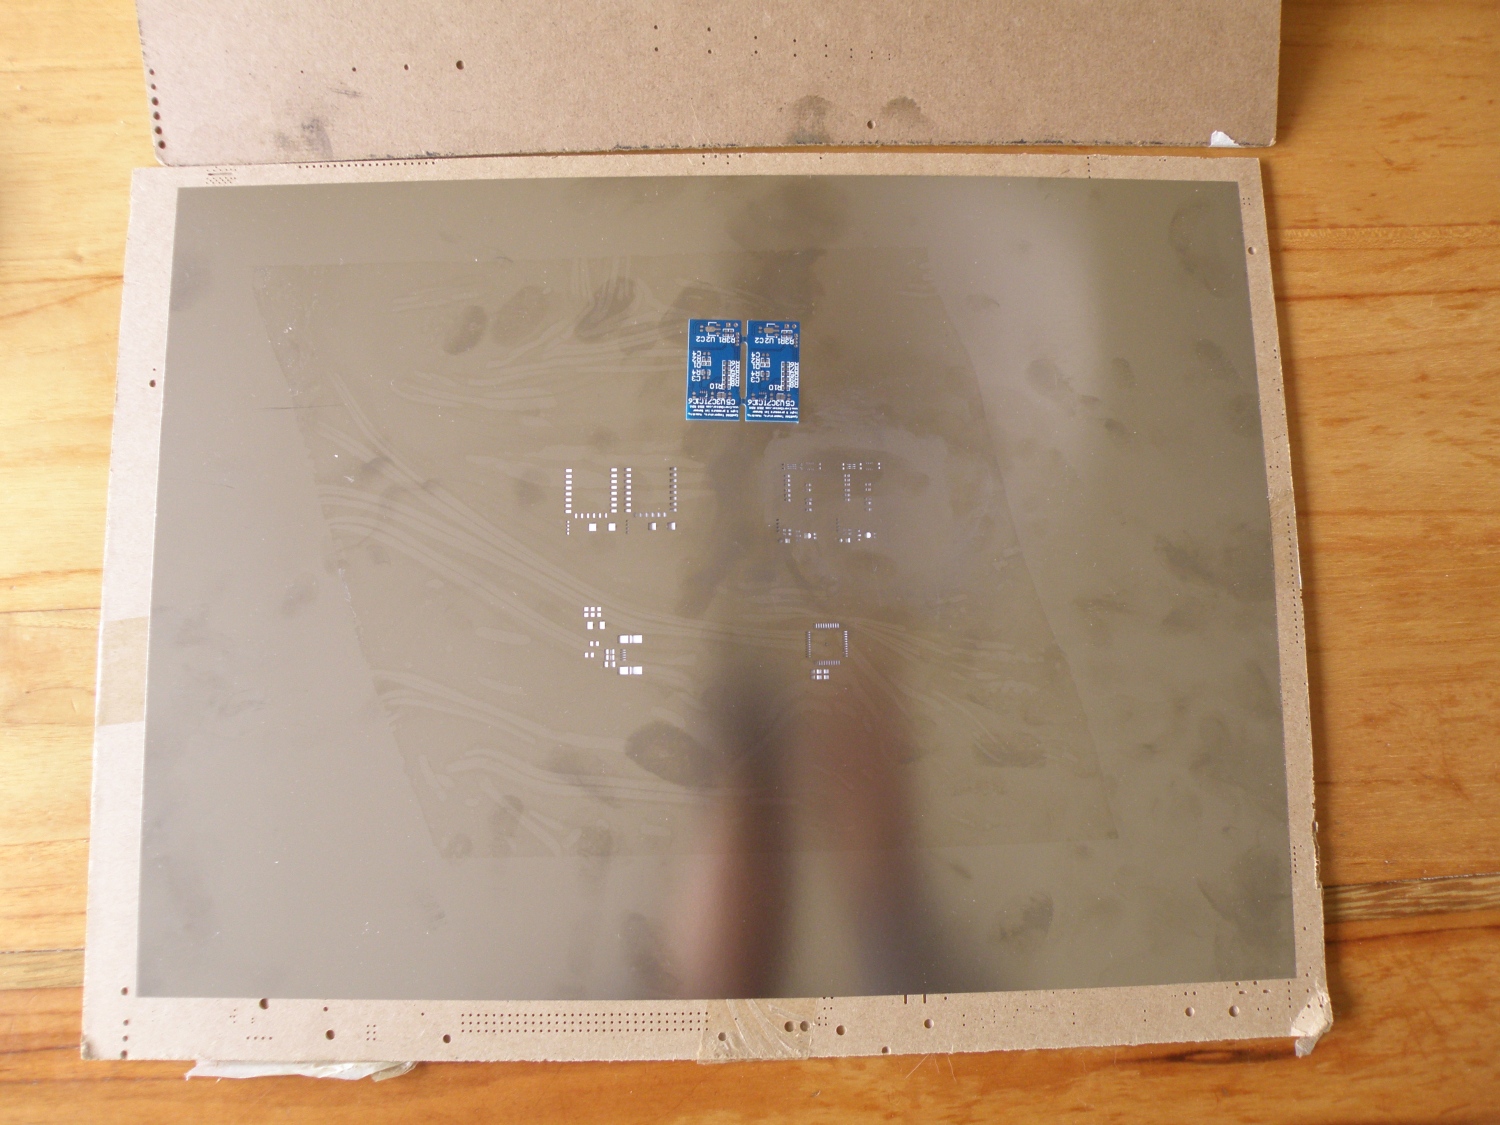
Stencil is finally in. Due the Chinese new year it took some time before they produced and shipped it. I have ordered it from Jlcpcb and it costs only $9 including shipping, unbelievable cheap.
That’s a huge stencil for such a small pcb, it didn’t even fit in the mailbox and had to collect it from the post office.
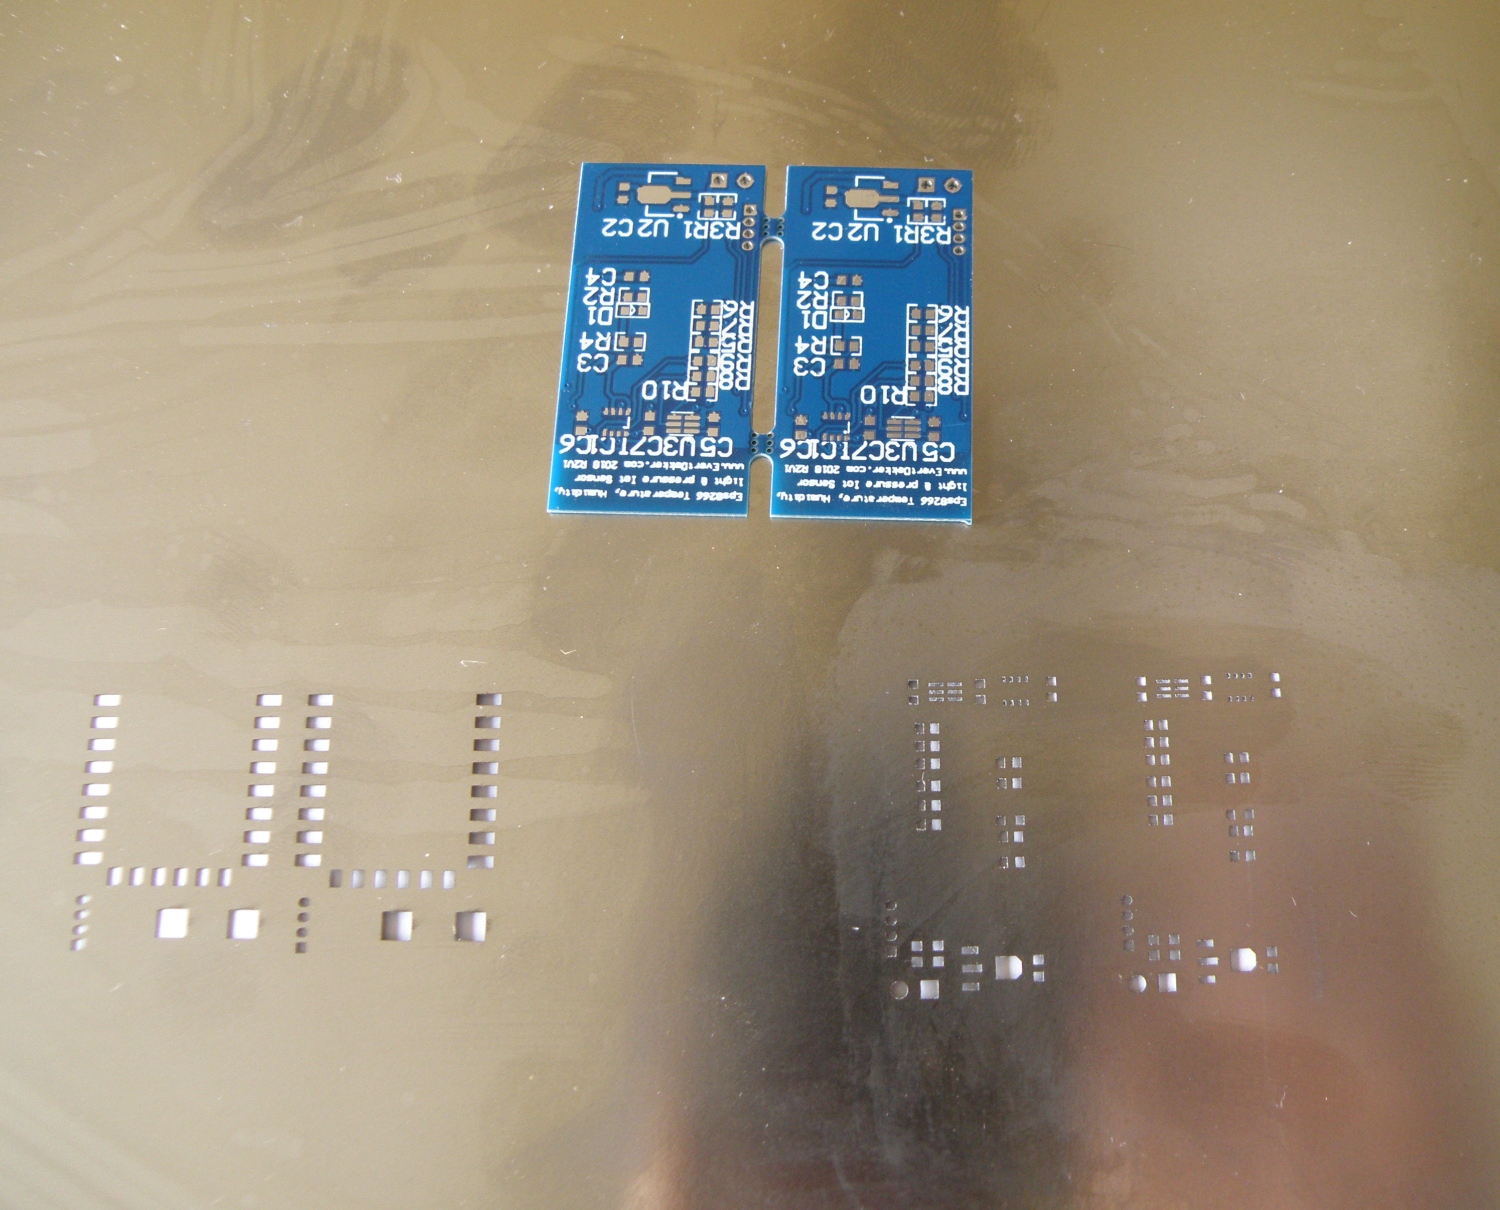
Stencil is for 2 different project’s, the upper 2 are for this project. The stencil I ordered was 100µm thick, not a standard thickness they sell, but ask for it and you will get it. Components with that small pads as the BM280 requires not to much paste, that’s why I prefer 100µm for those kind of components.
With the stencil is was easy to apply the solder paste and with the heat gun is was all soldered with ease.
Have a look at my making of the Colinkex jtag to get an idea how to apply the paste simple with not to much effort at home.
After testing every works very well. Temperature, humidity, atmospheric pressure and lux are send with the help of MQTT to the SQlite database and Node-red ones in the 2 minutes.
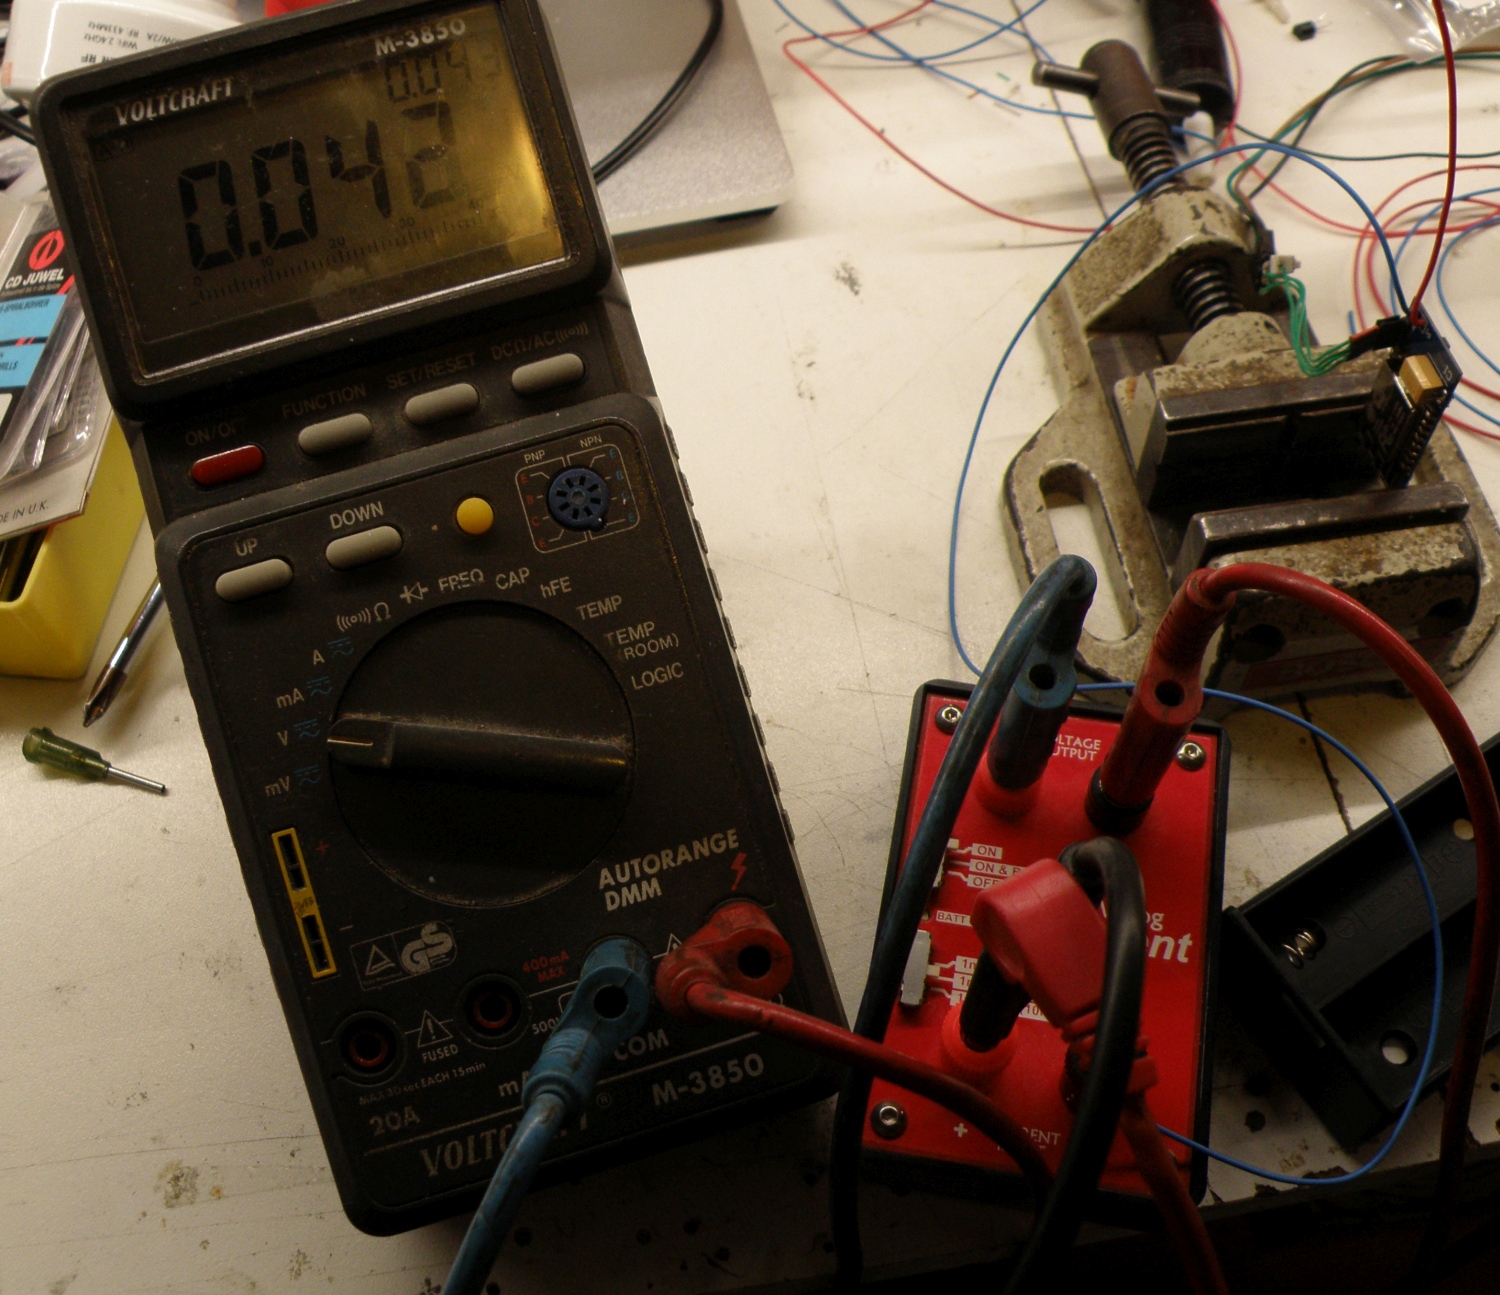
Some fine tuning in the with Arduino created software to disable the BME280 and TSL2561 just before the ESP8266 goes in deep sleep to reduce the standby power. Standby current is now 42µA, more then the sensor with the DHT22 (27µA) but good enough.
Btw, to measure the standby current that precise I used the µcurrent designed by Dave Jones from EEVblog.
You want to make your own, download the Altium Designer 16 files.
