Oldies Joshua Predecessor

The predecessor of my Joshua Domotica , here’s a more detailed overview of the electronics used.


Joshua predecessor controller board
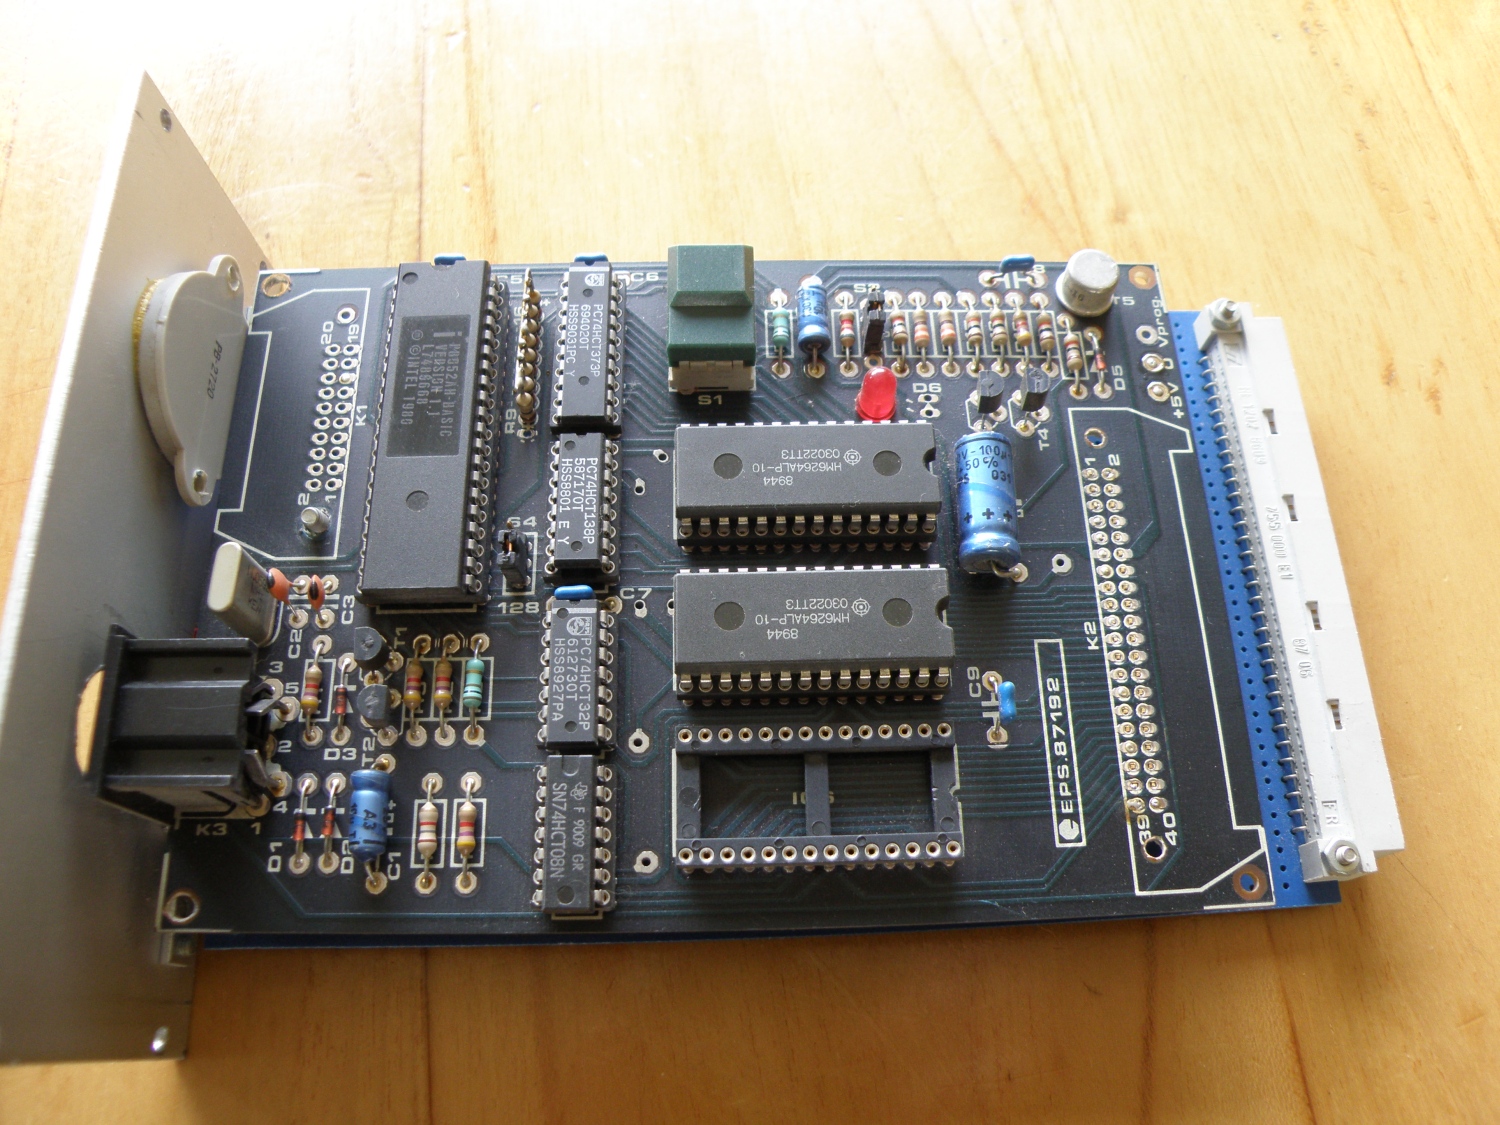
First controller board for my domotica. Was running on a 8052AH Basic and mounted in a 19″ rack with the other eurocards. Not in use anymore, everything can now be done with a simple avr controller.
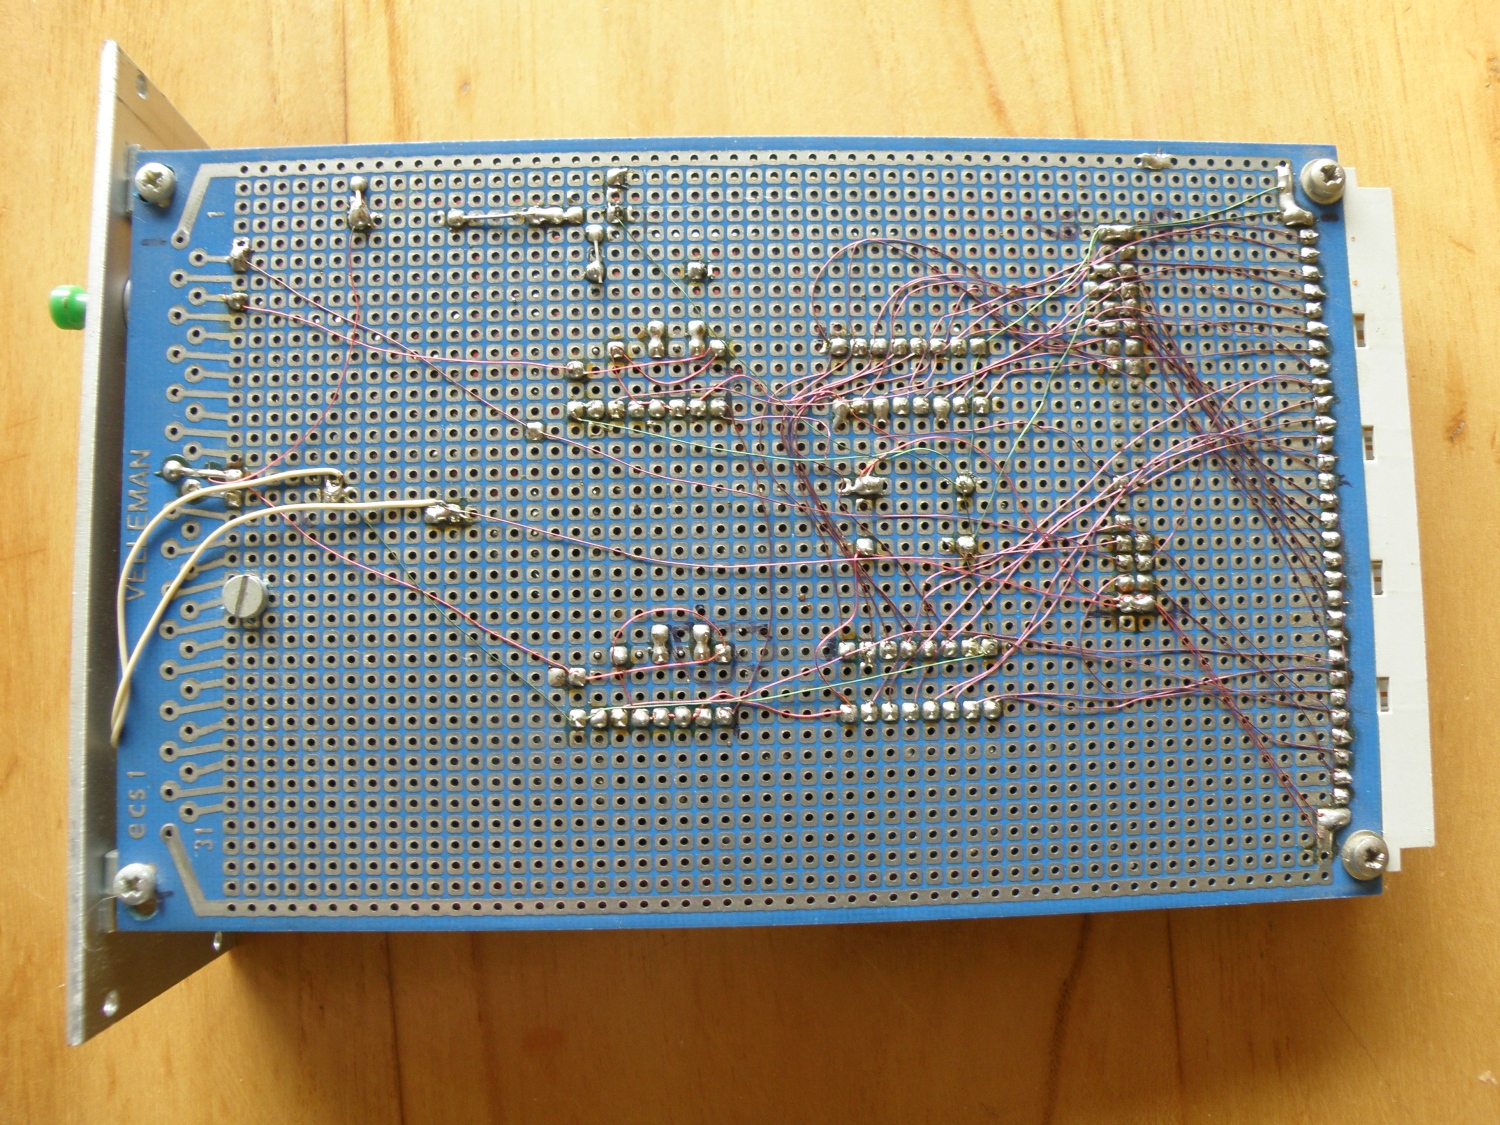
Same board controller board, bottom view.


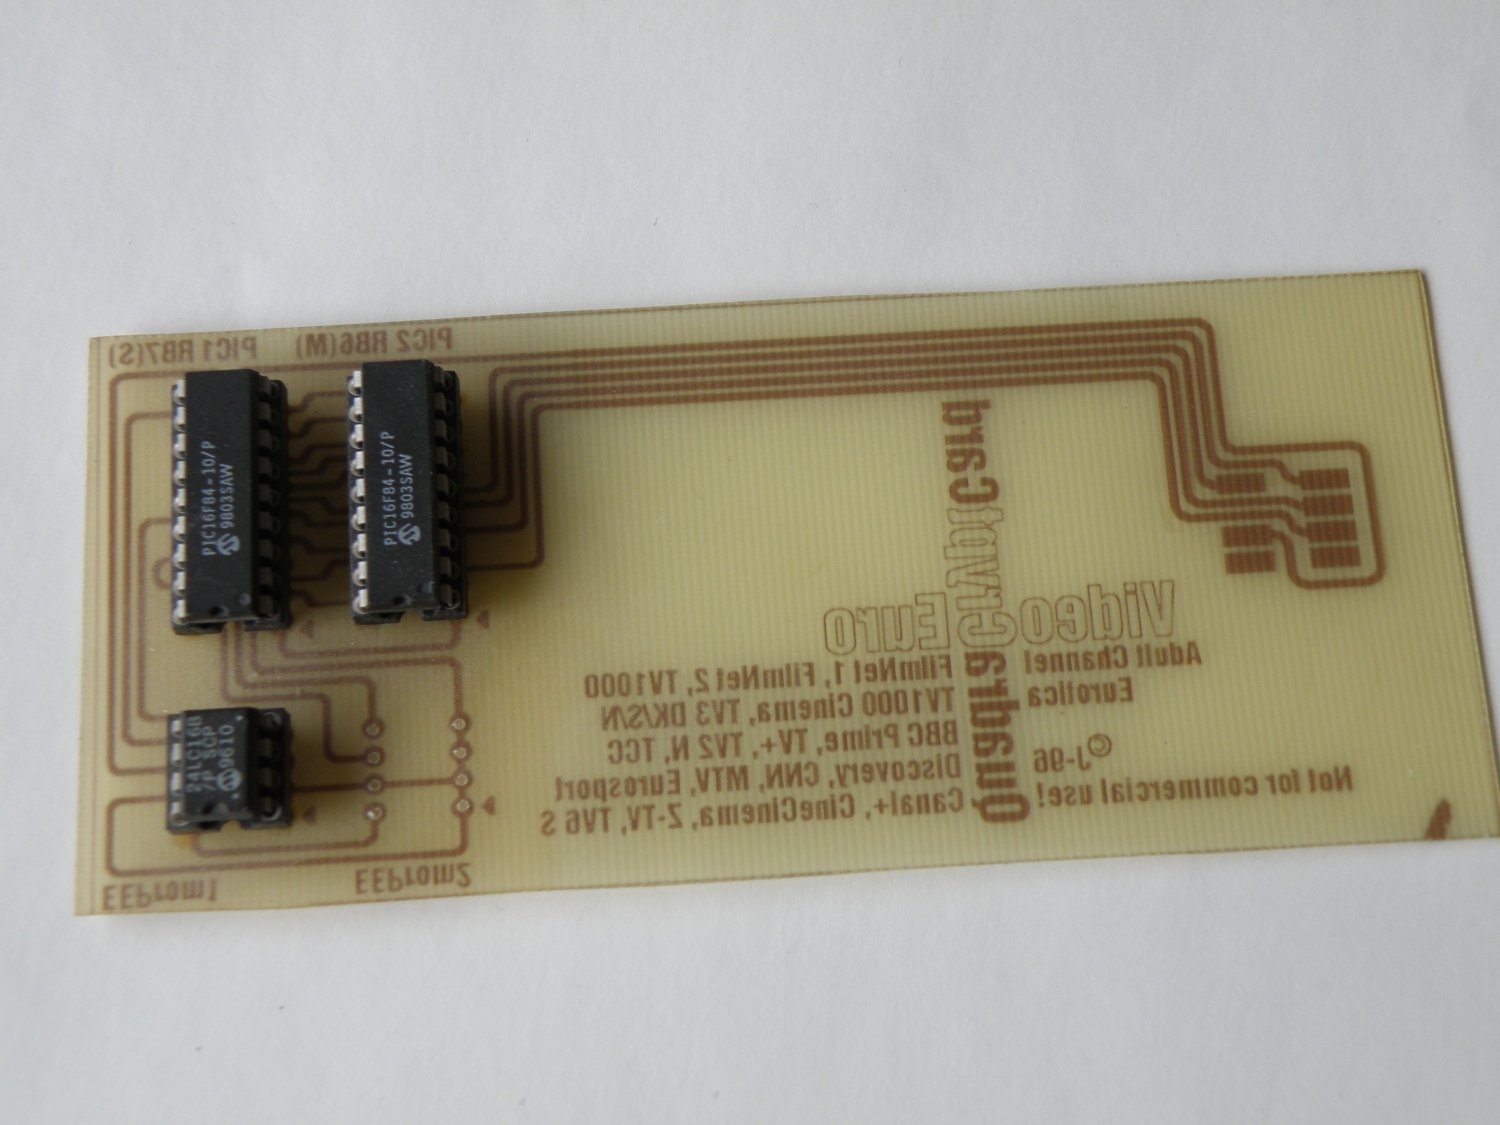
96 channel Ir-receiver board
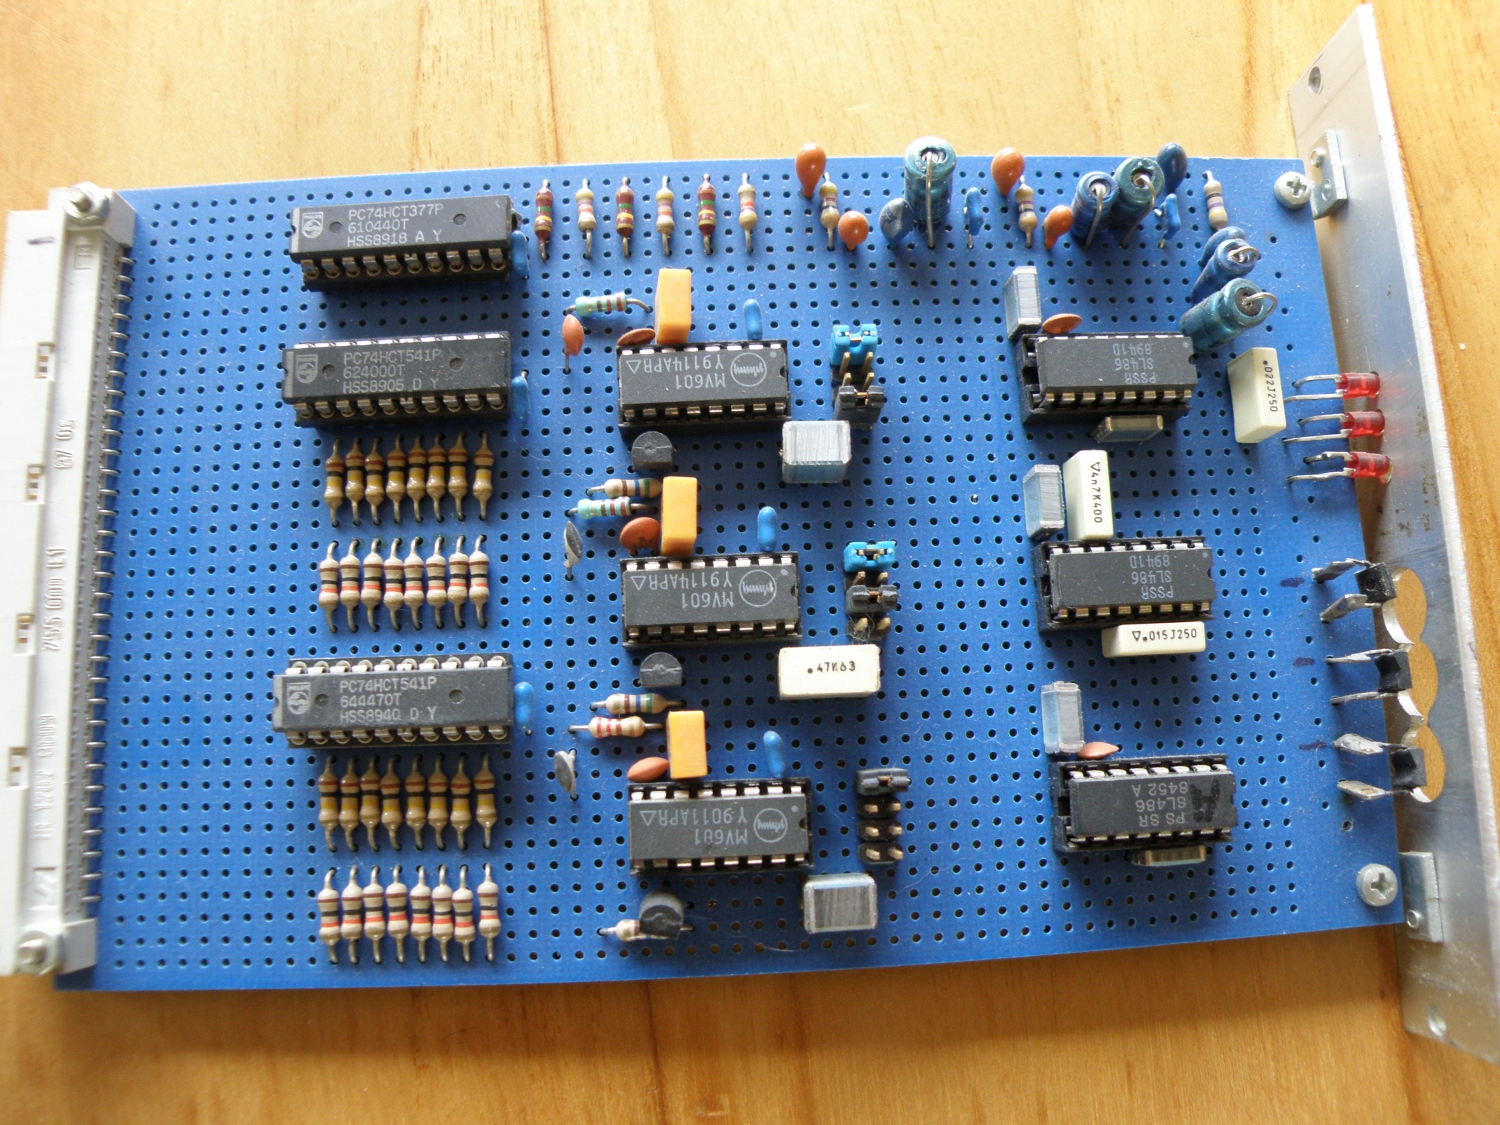
Ir receiver board to belongs to the above Joshua predecessor controller board. A lot of electronics for something simple we now these days with one receiver and the rest in software.
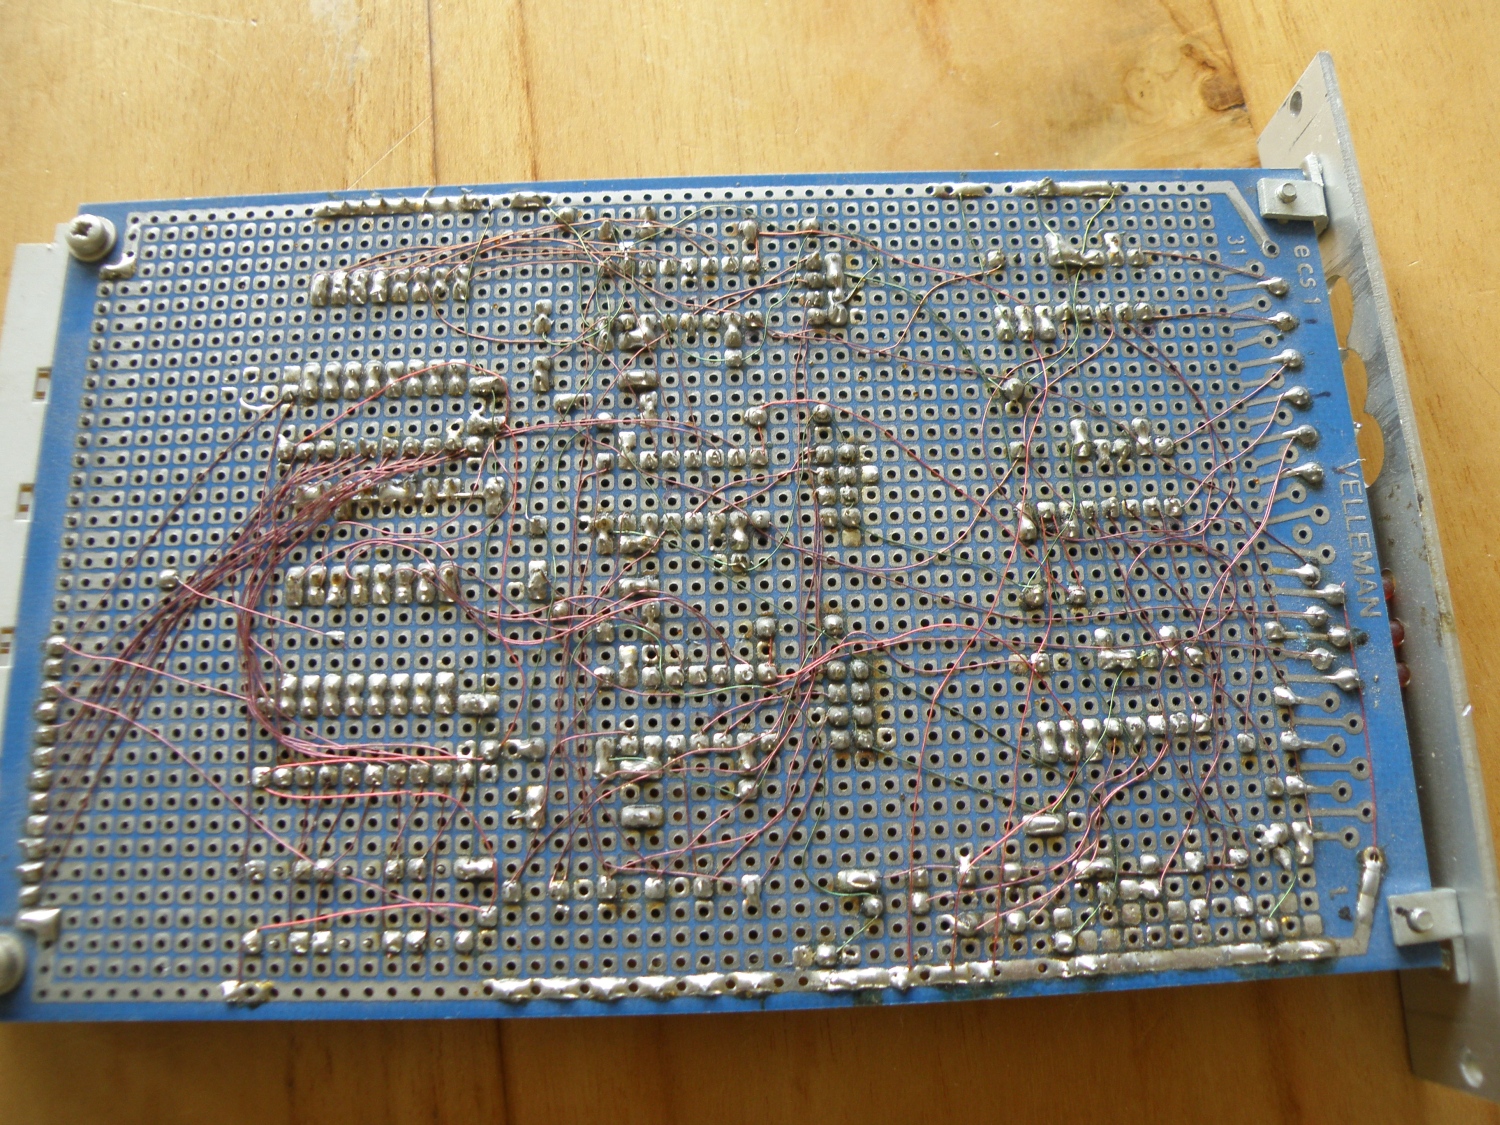
Same ir receiver board, bottom view. Routing and making a pcb was 25 years ago not that easy and cheap so wiring the pcb with roadrunner wire was the simplest and cheapest way to make the pcb. Until you made a mistake…
You can’t see it anymore but there where different colors for Vcc, gnd and data, but after all those years the colors are faded.


Ir Transmitter
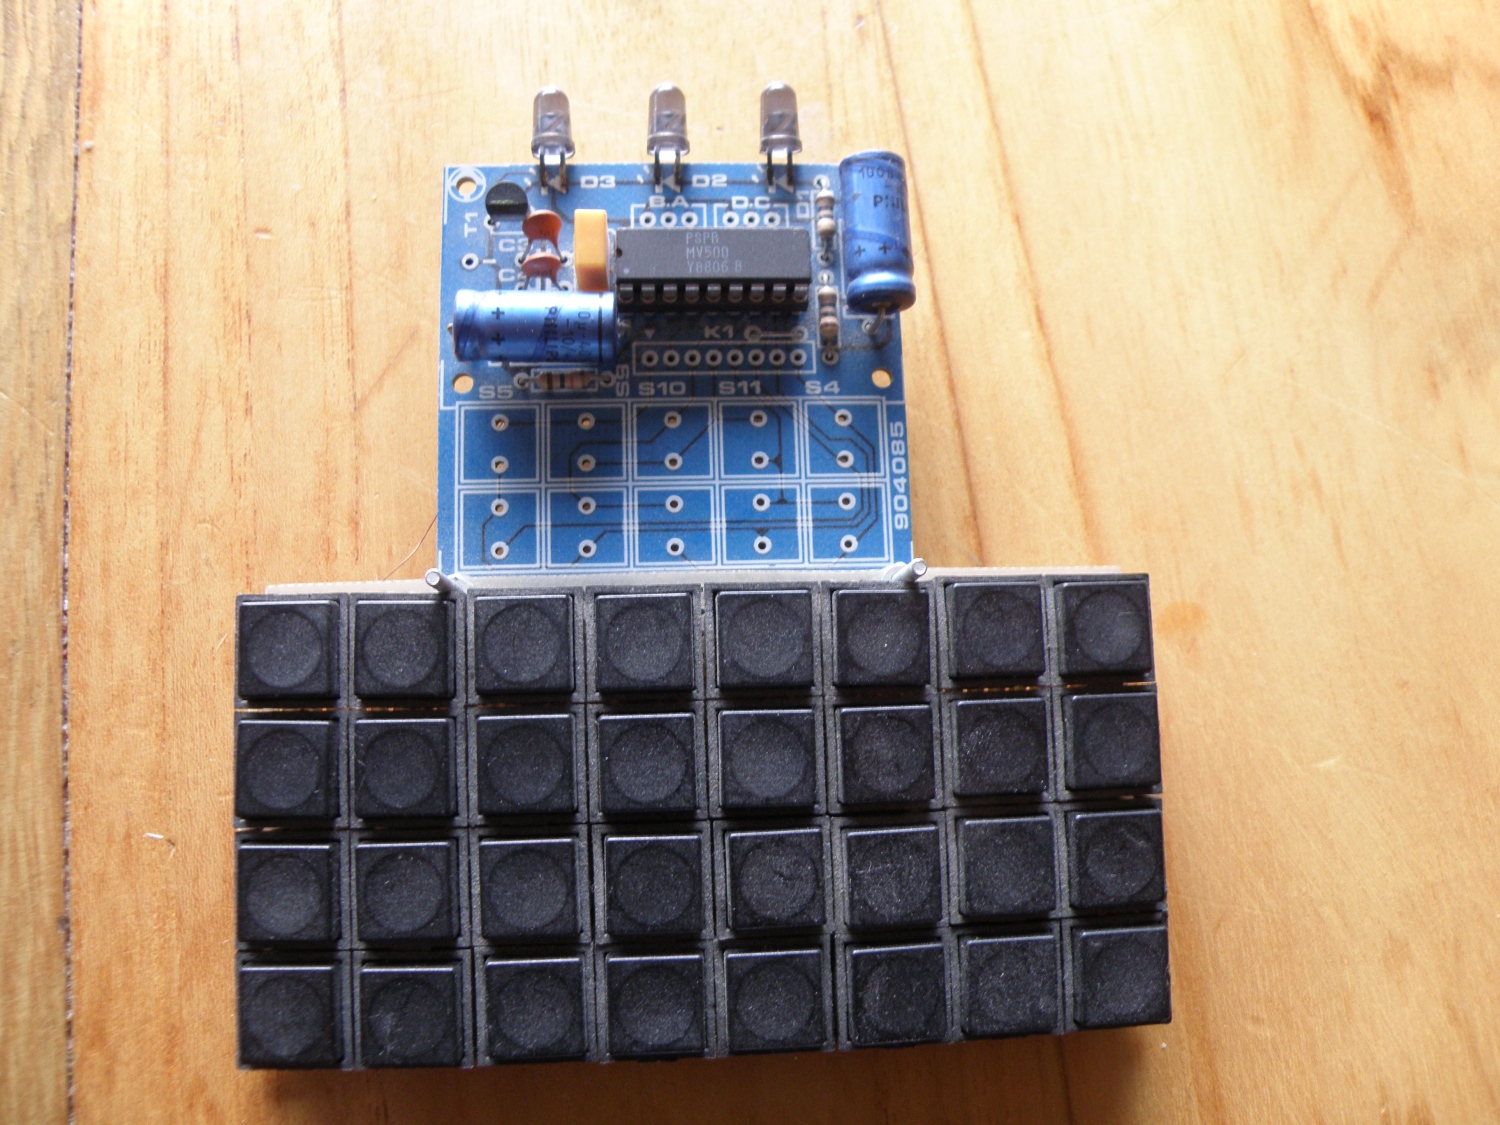
The ir transmitter for the above receiver board. I used it only to program my learning remote controller, so that’s why it’s not build for daily use. You can switch between 3×32 channels with the jumpers.
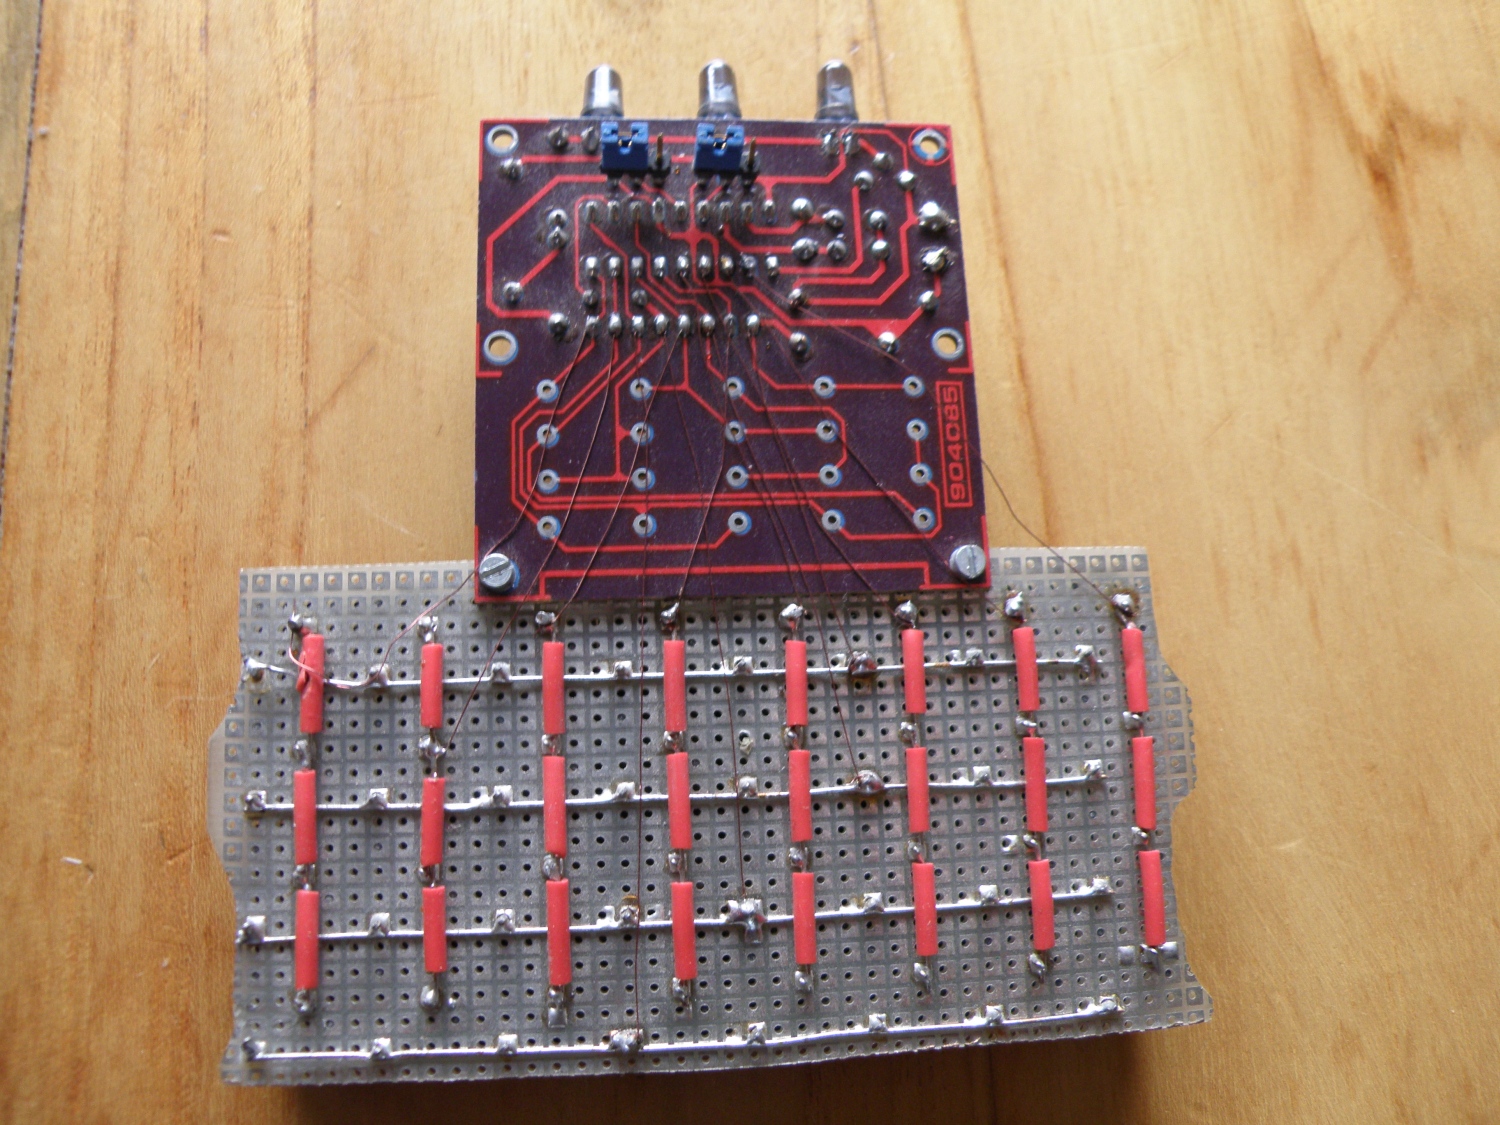
The original Elektor design only supported 10 channels so I hacked in the other 22 channels that the Ir controller was capable of sending  by adding my own keyboard.


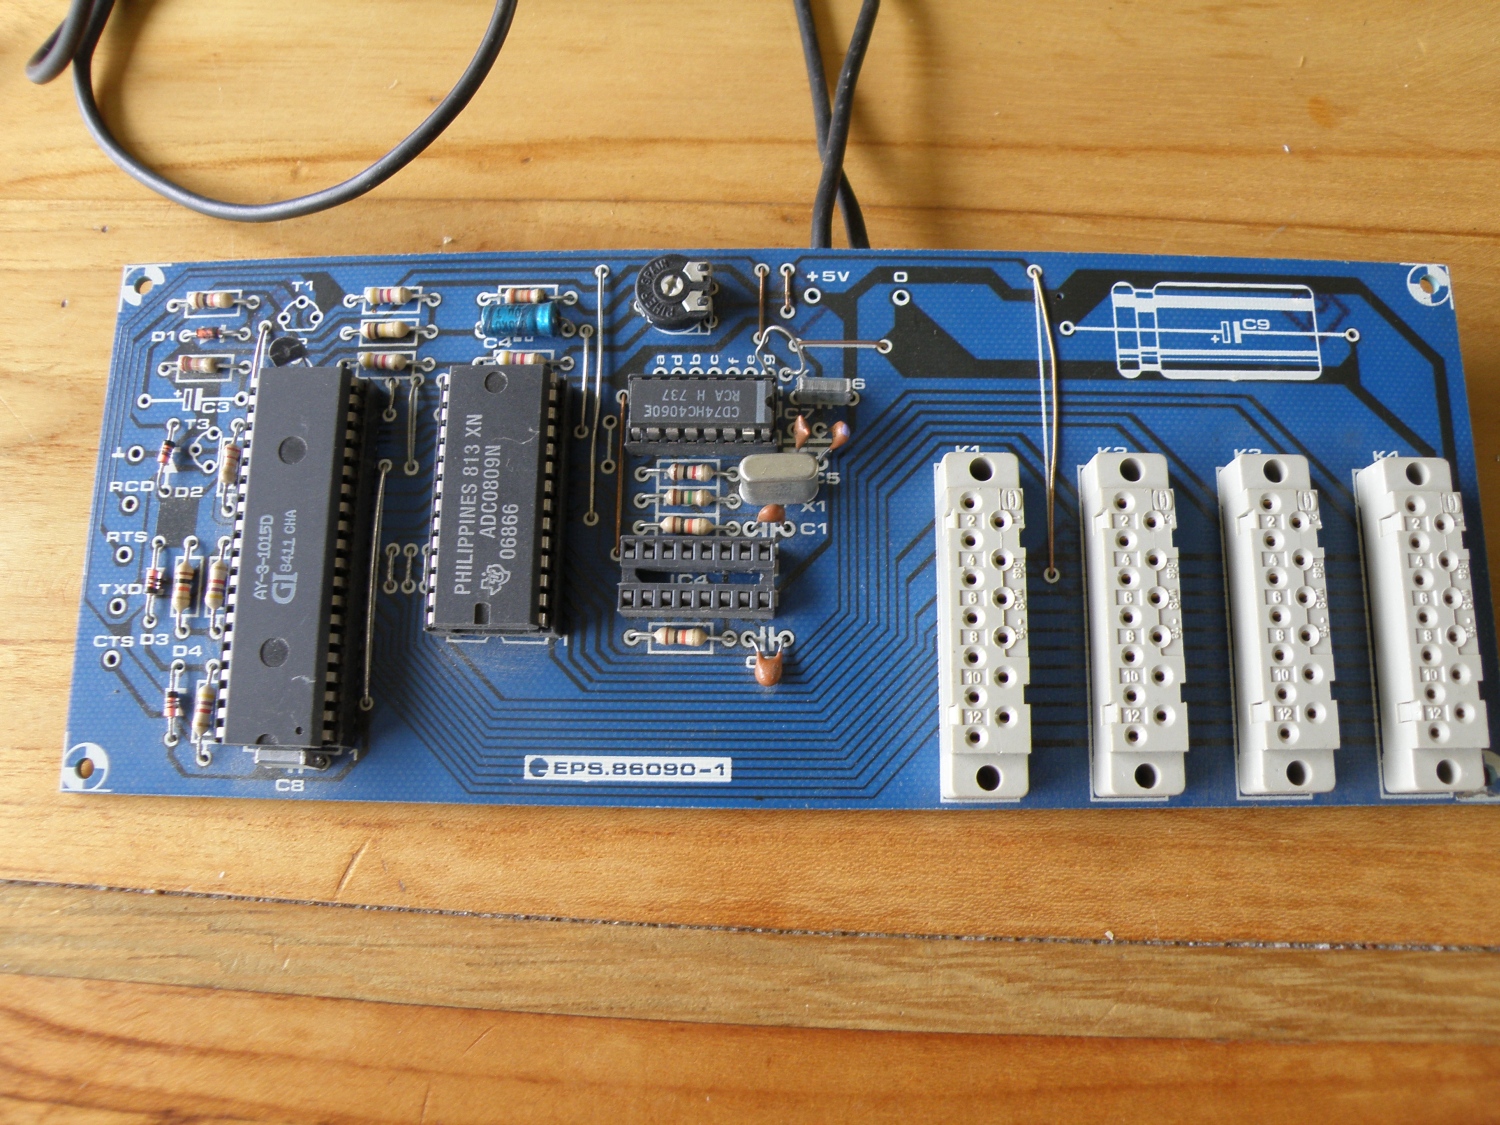
Amplifier interface
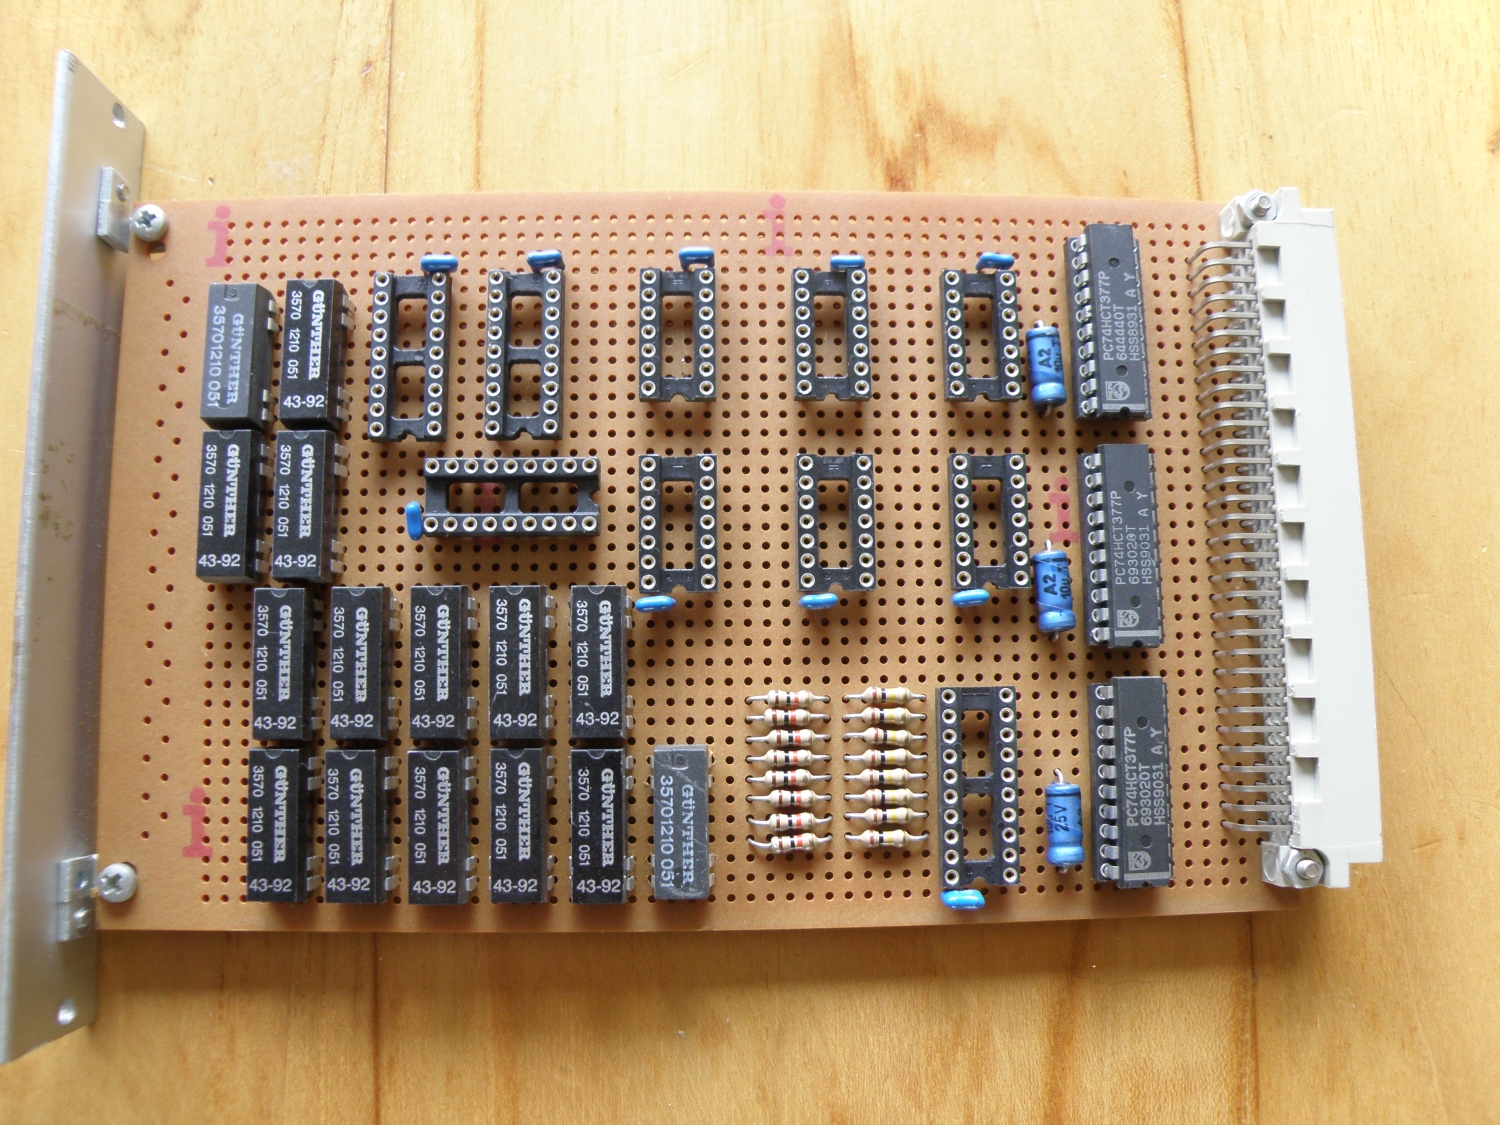
The interface card between my domotica and amplifier. Looking at the empty sockets I have already recycled some ics.
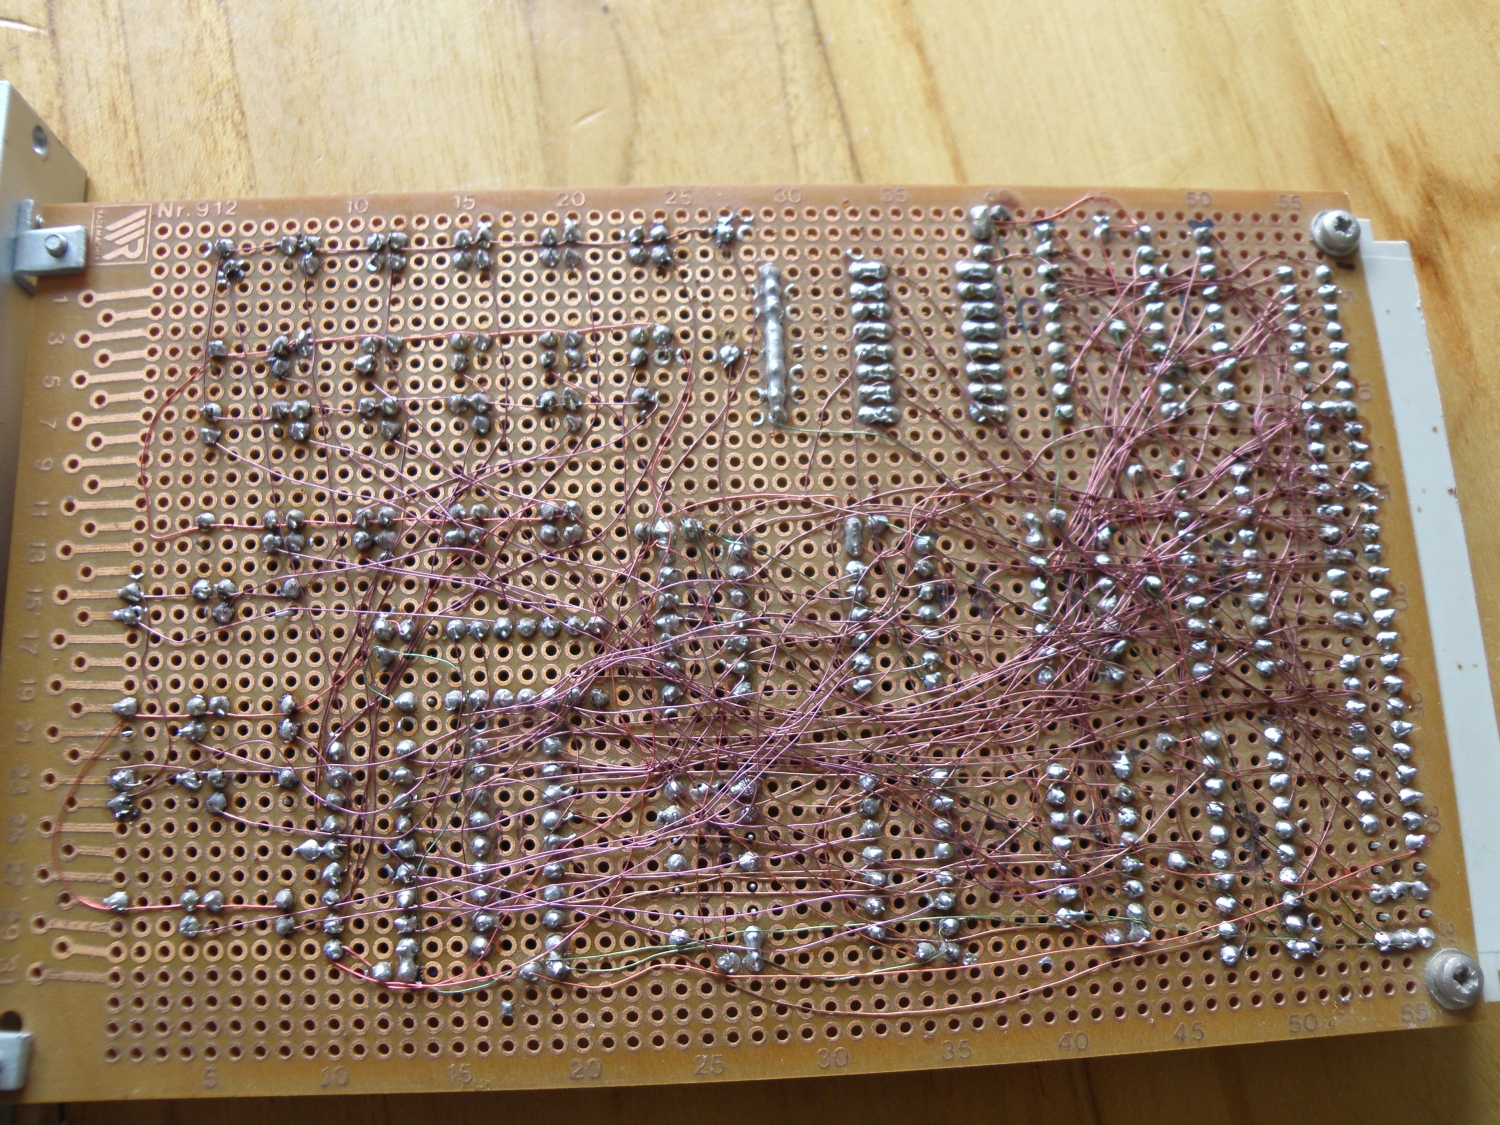
And on the back side again a lot of roadrunner wires.
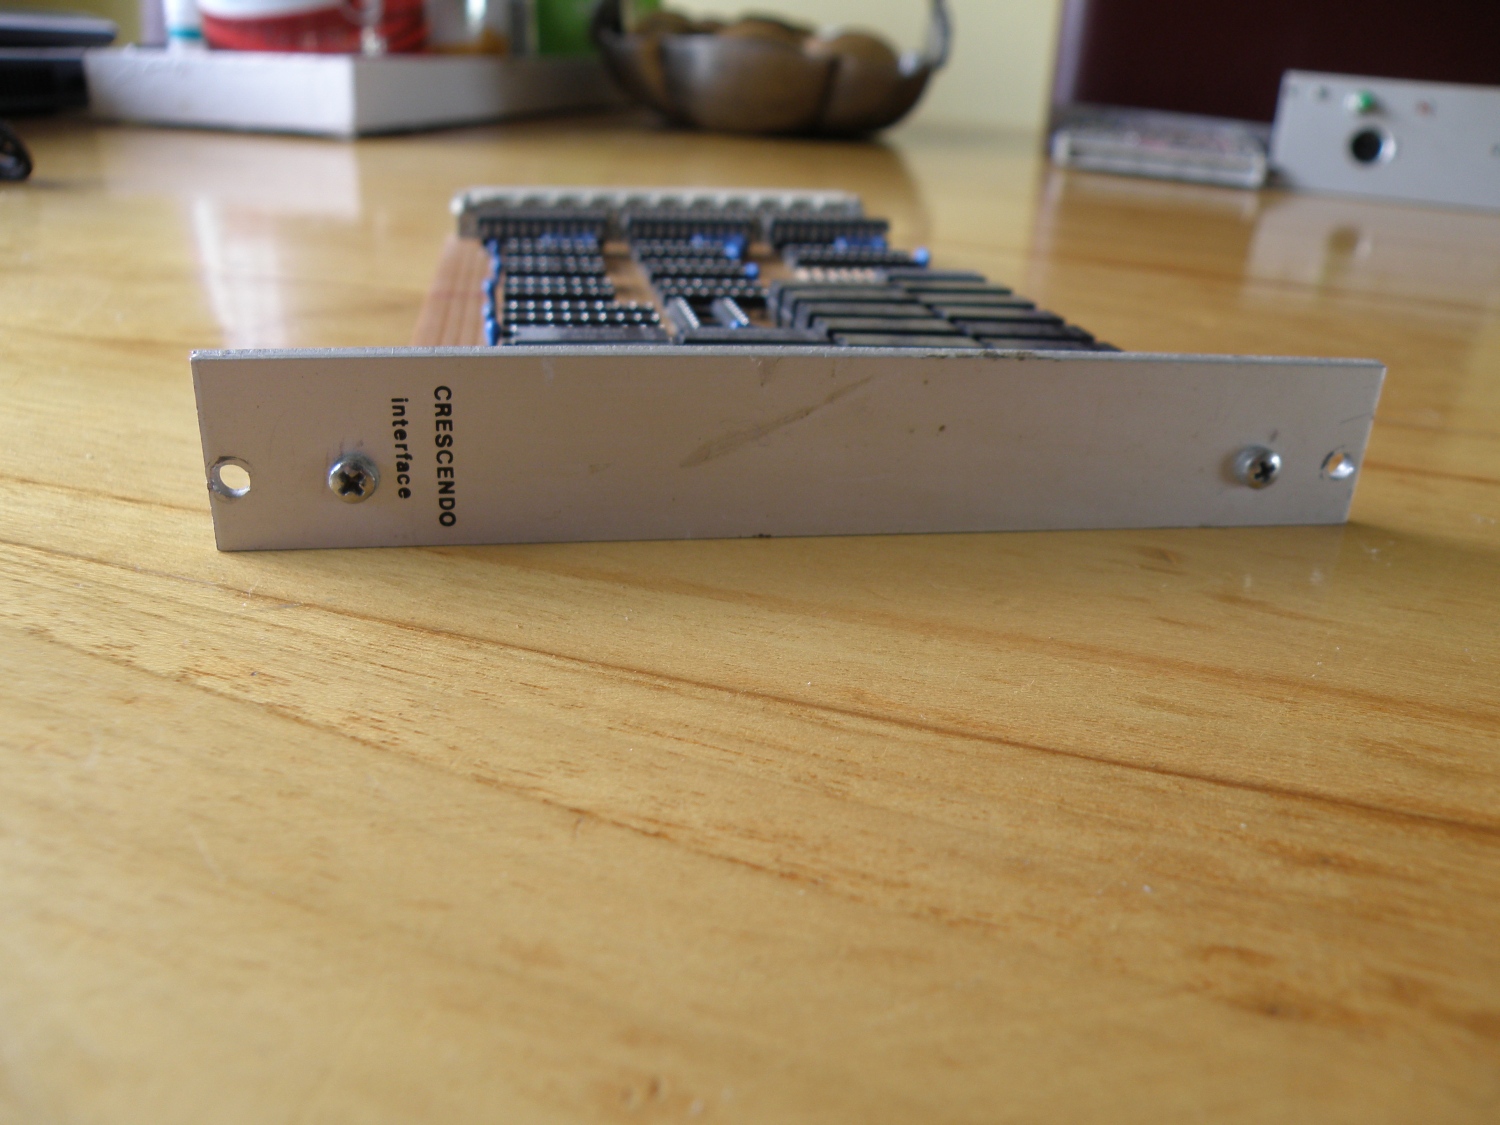
From this interface board also a picture of the frontpanel.


Speech card
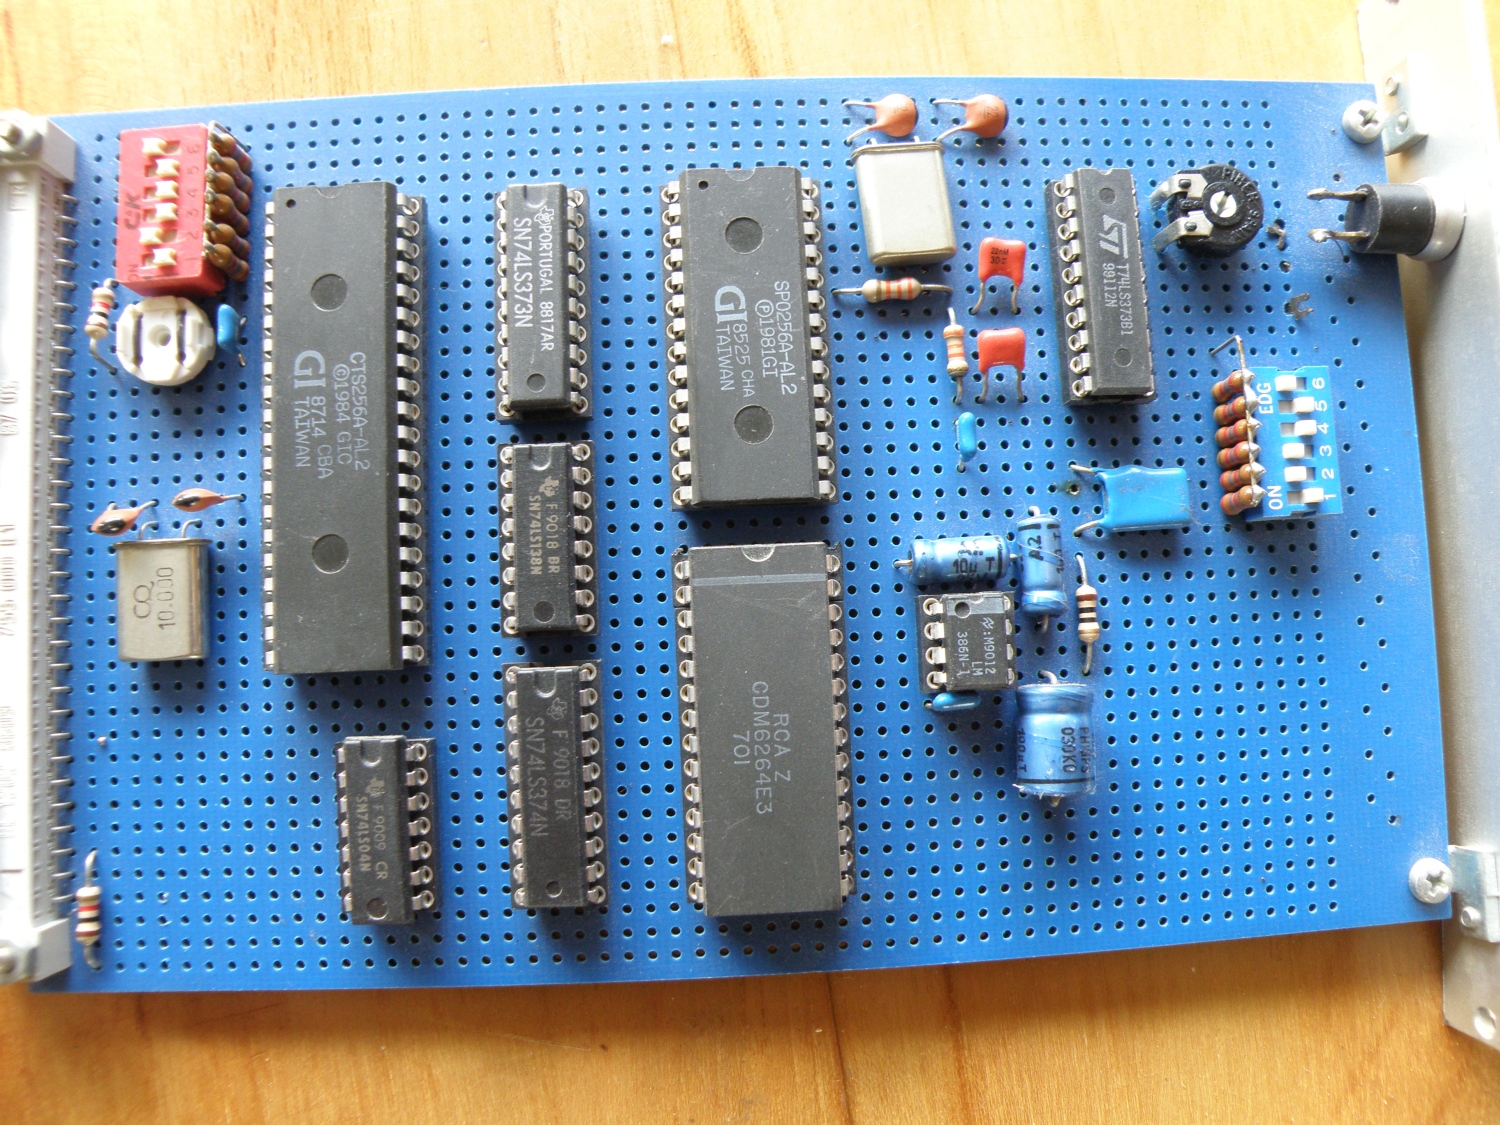
And the speech card, based on the Sp0256A and the CTS256A processor. We had a lot of fun with this speechcard. Nobody understood what was said and I didn’t get that, I understood everything that was coming out of the speaker. Looks like because me as the programmer did know what speech there was expected and therefore understood it all.
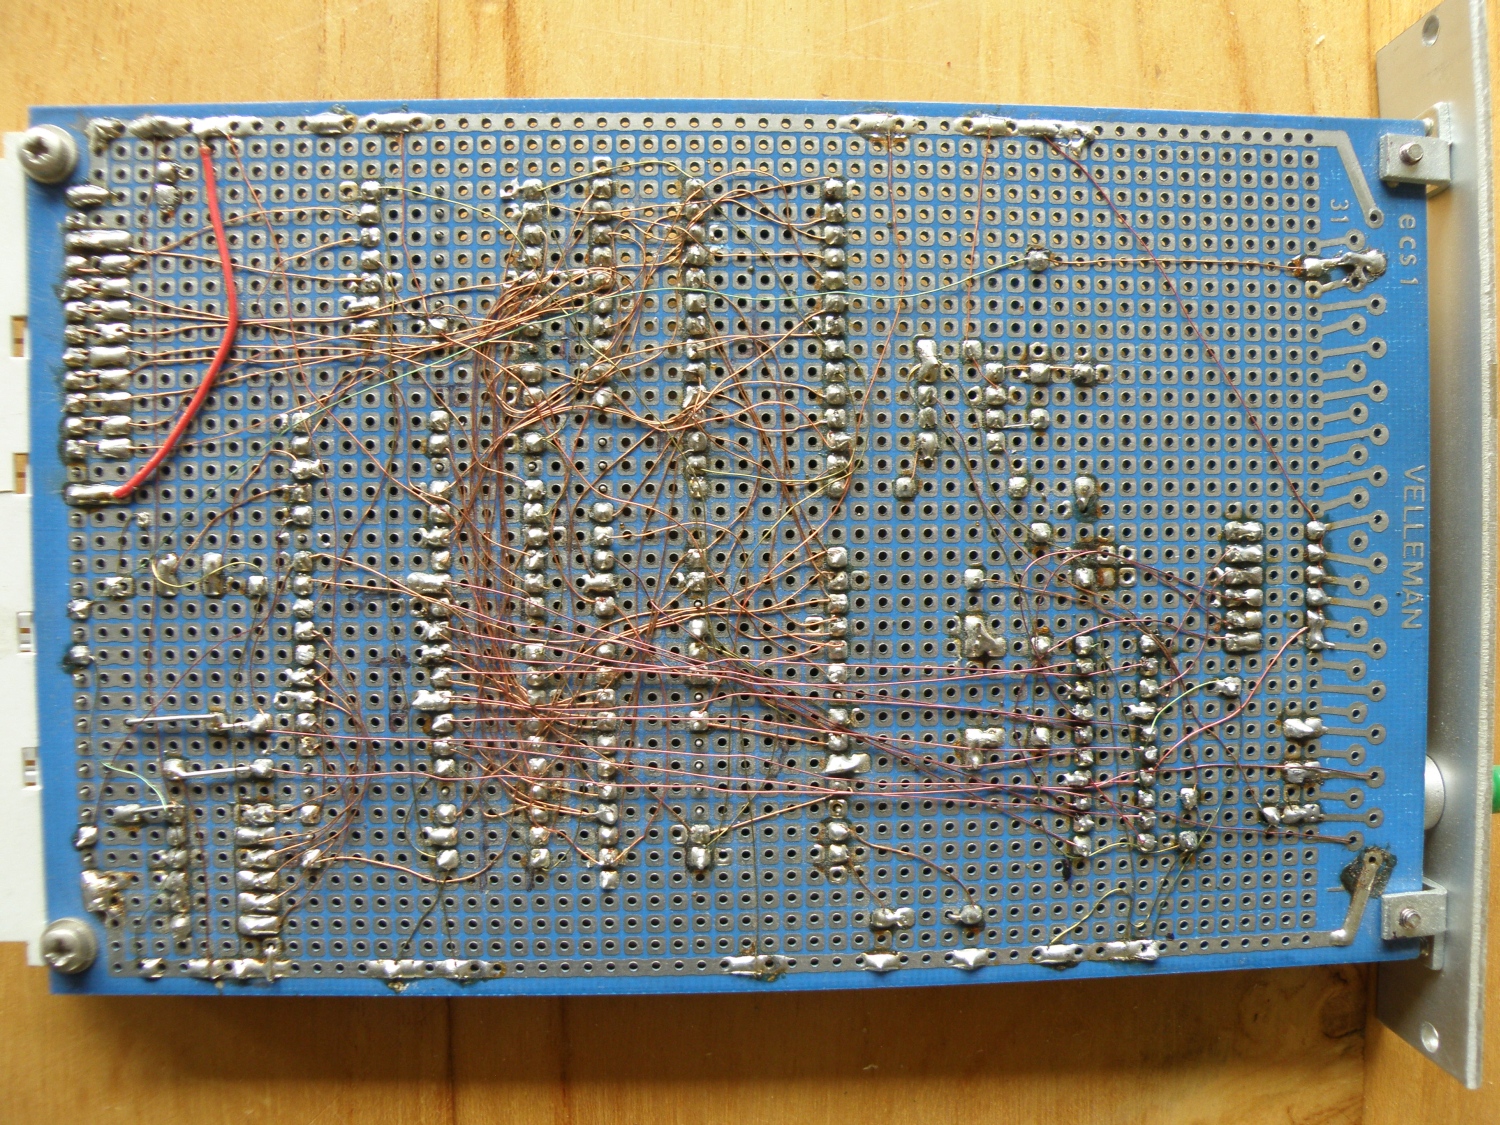
Backside with all the roadrunner wires again.


Rf Remote
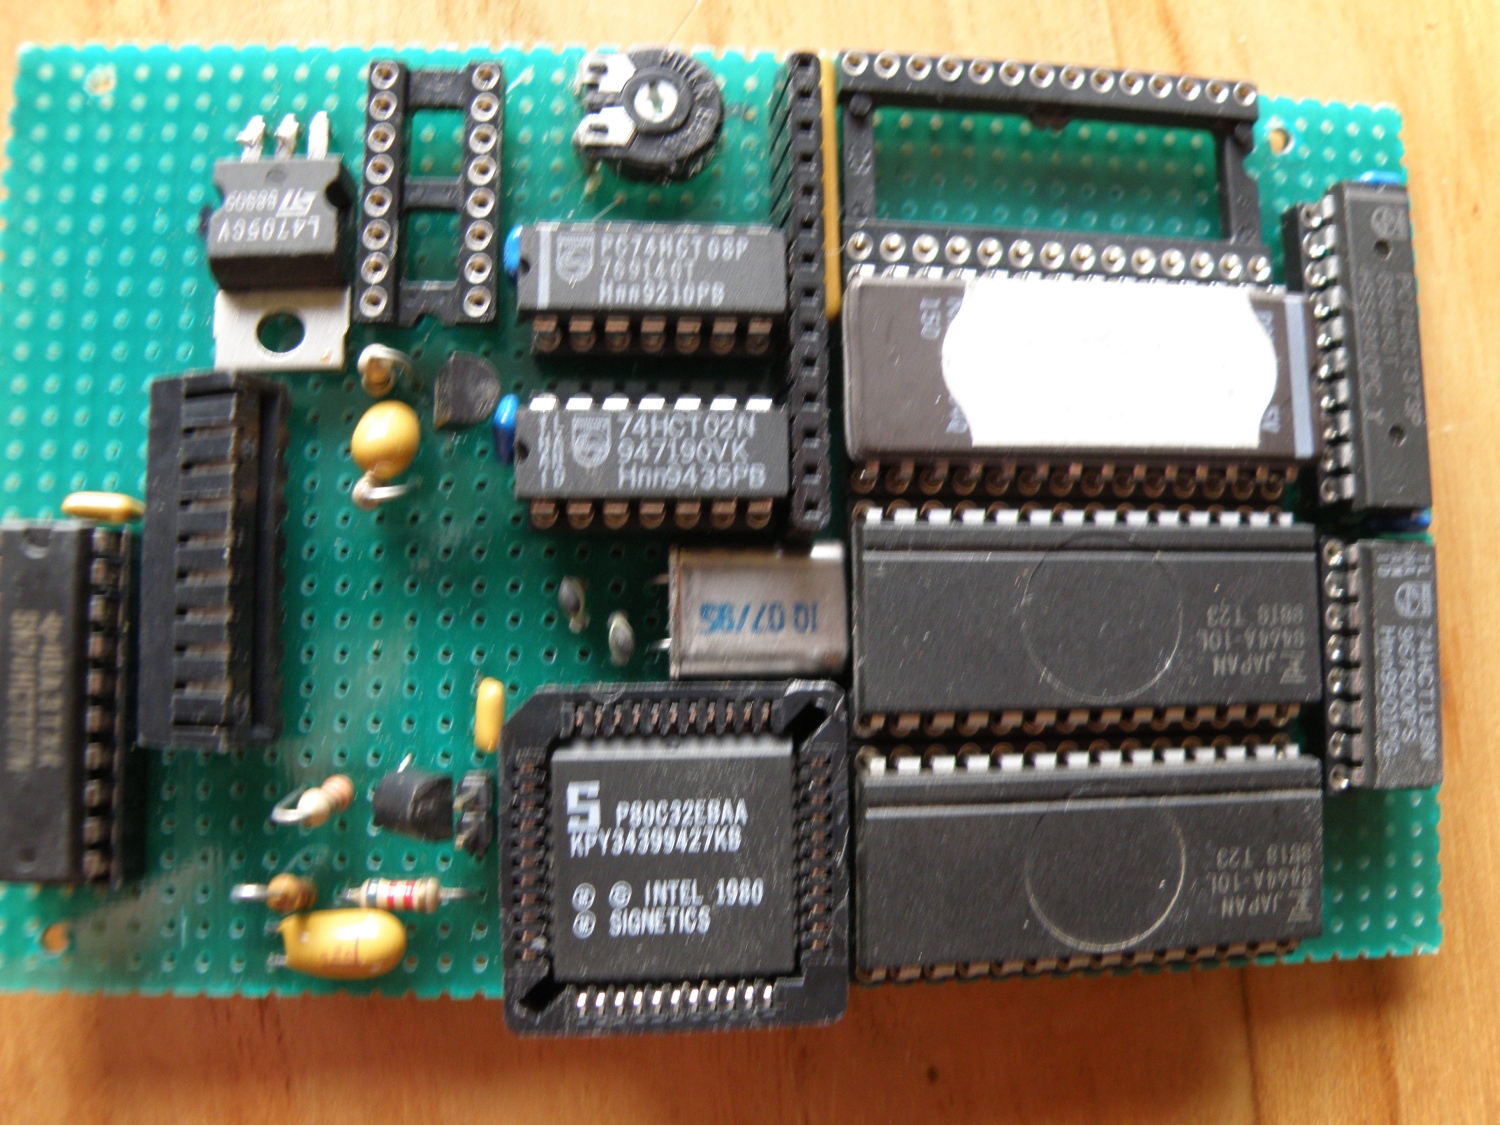
I had someday a crazy idea to make a Rf remote control for the Joshua predecessor. This was begin of the ’90 when it was a bit complicated then now a days. This is the test setup to develop the software.
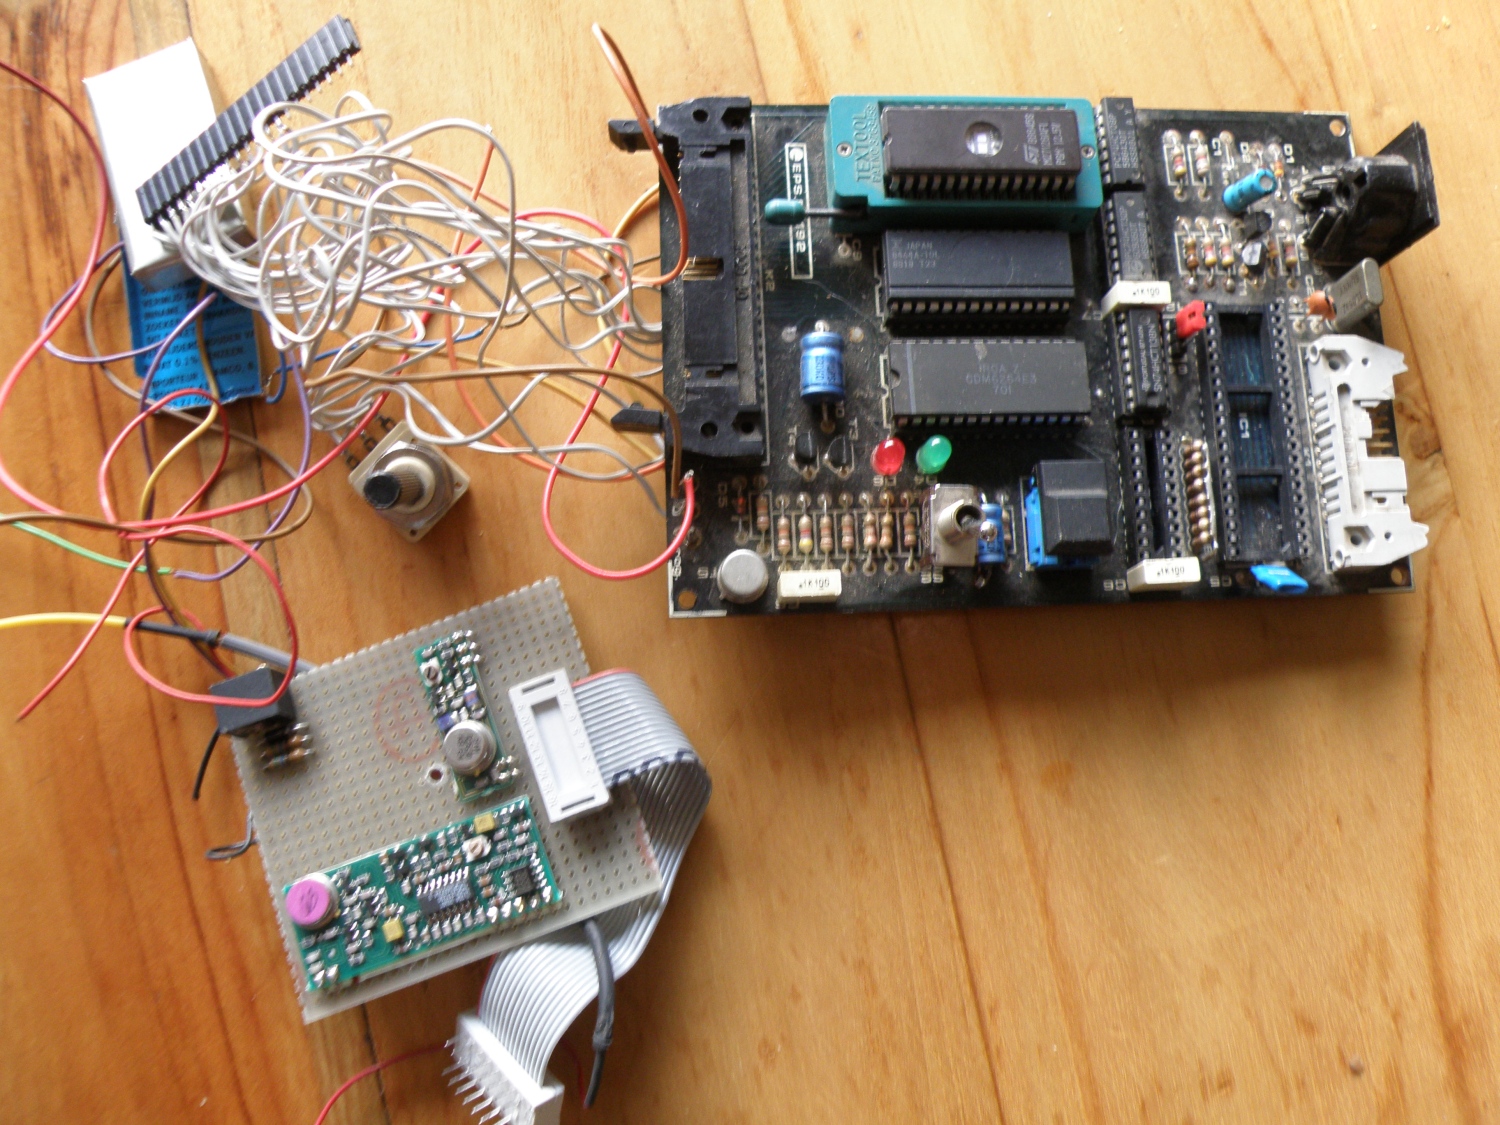
And the prototype, ram, rom, cpu all separated in dip package. The project never was finished, hard to realize with these components.
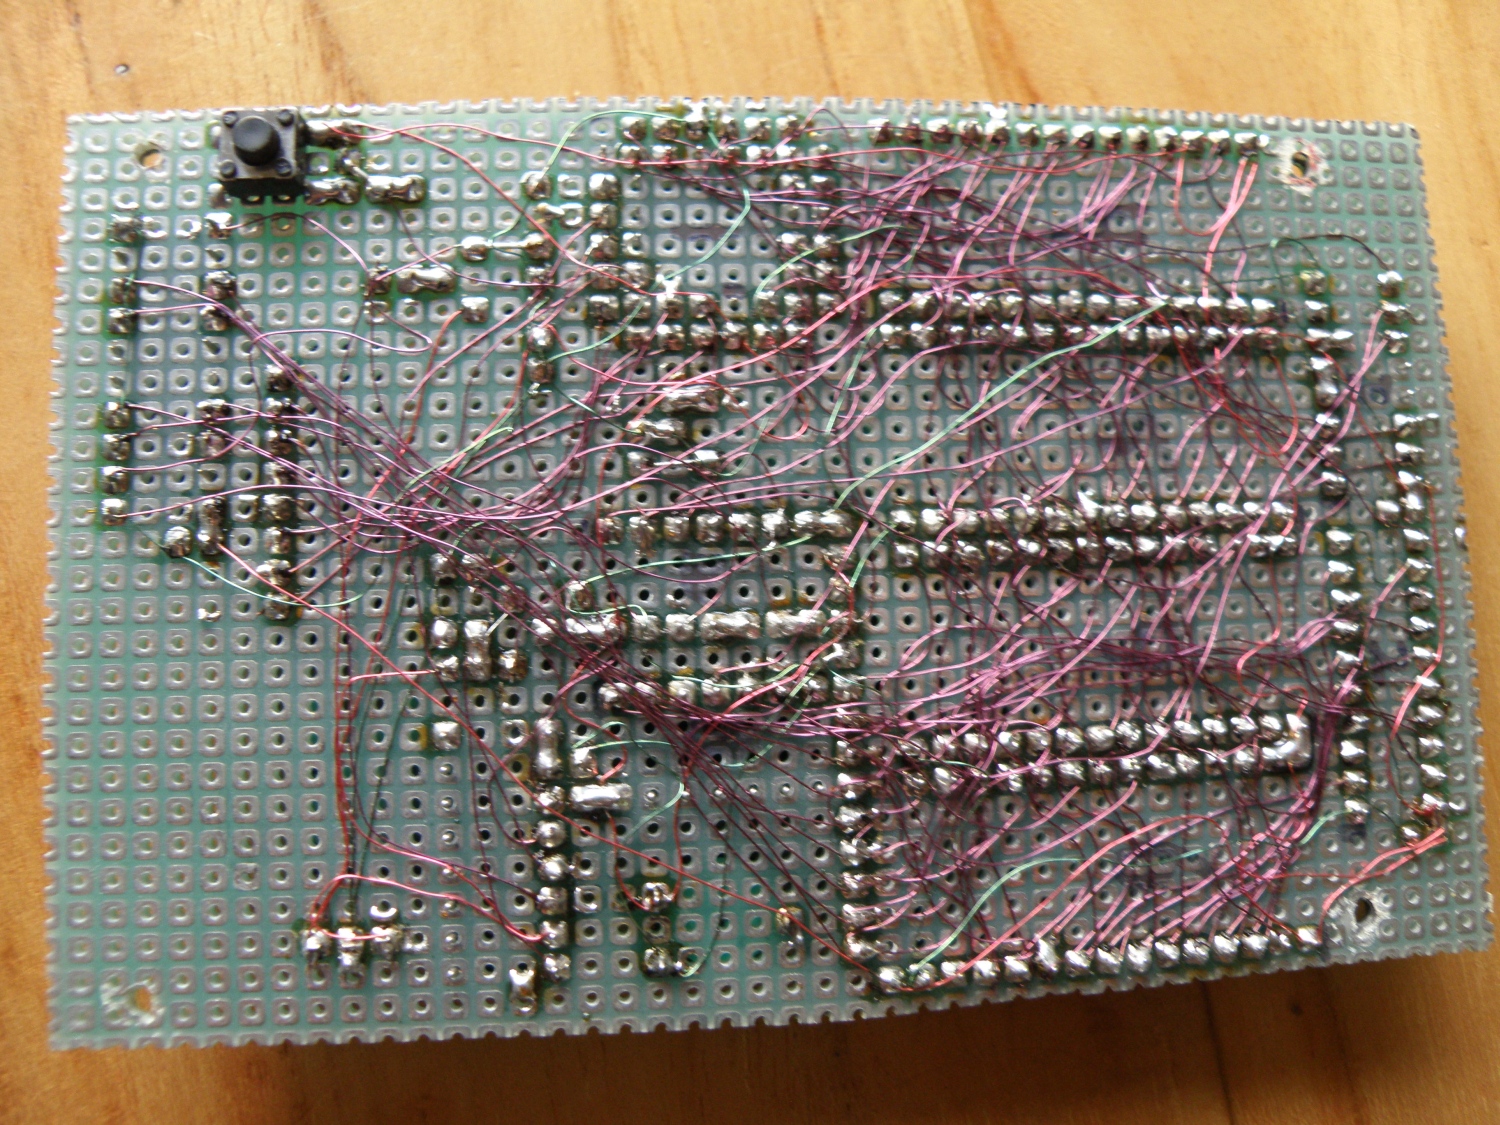
And the back with a lot of roadrunner wire again. Realizing this compact print on a regular 2 or 4 layer pcbs is hard to do, but with the roadrunner wire you can make as much “layers” as you like.
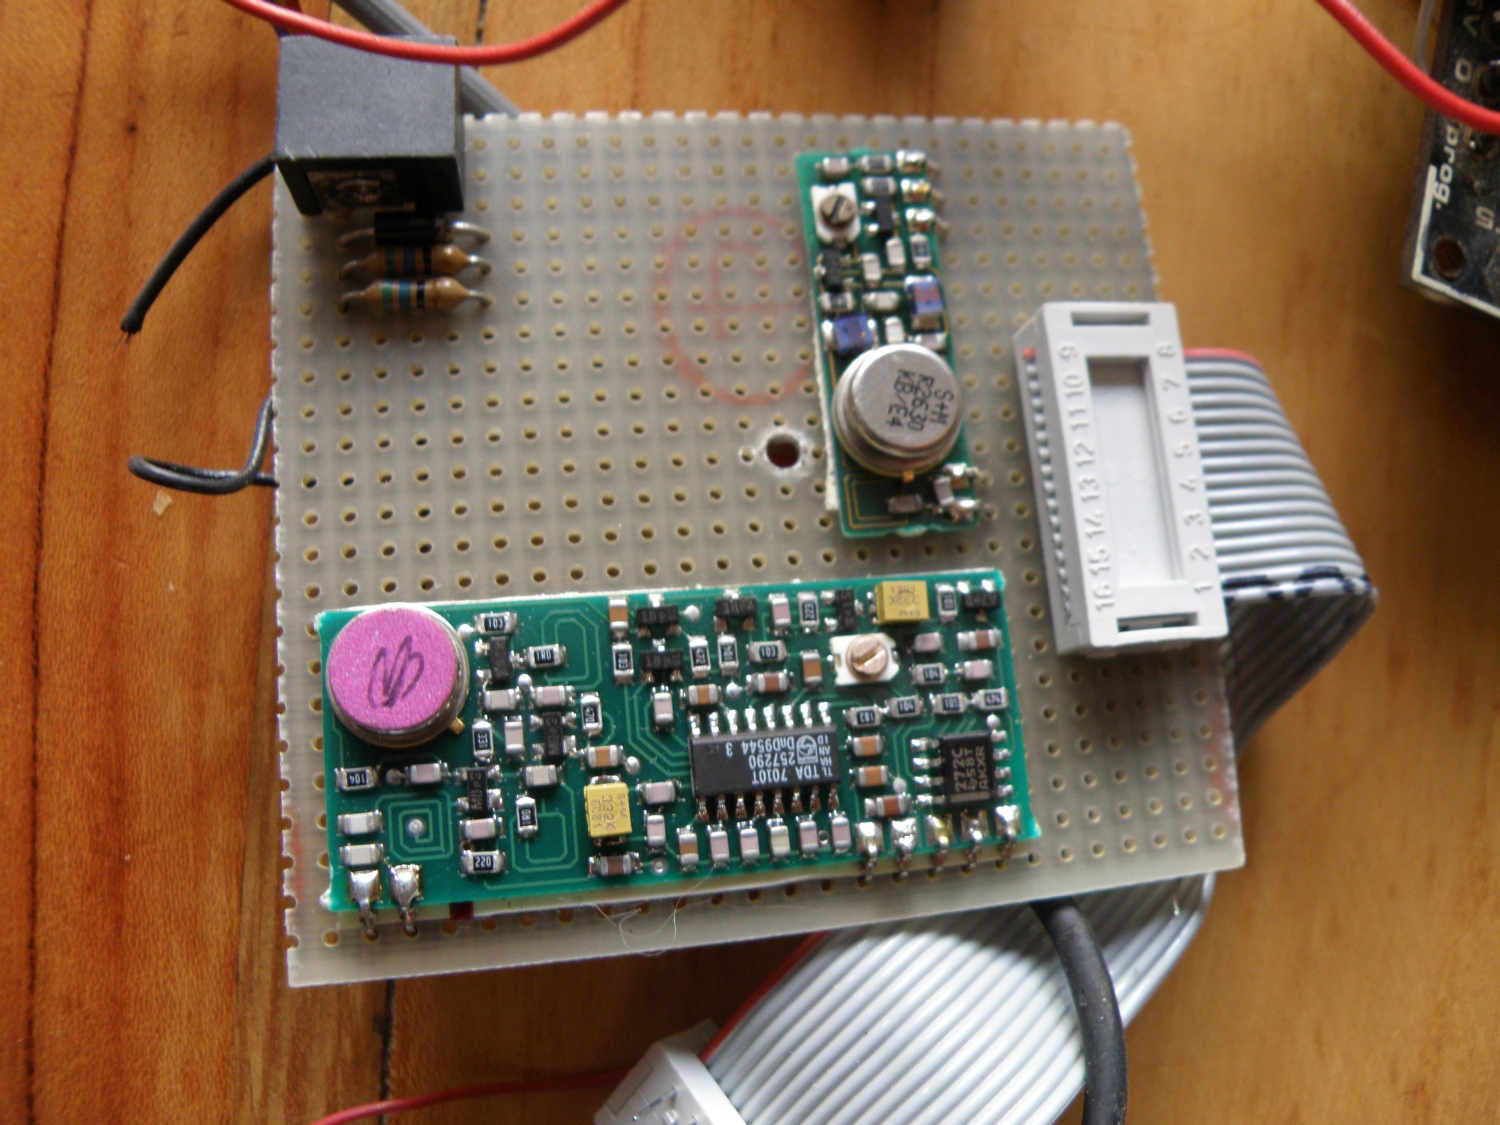
The rf board with tx and rx module. You can buy these modules now for a couple of dollars, but then they cost €75 for a set rx/tx.
 

Oldies Various

Various projects that I have made in the past. Some are still in use, other are overtaken by time.


Audio power slave switch.

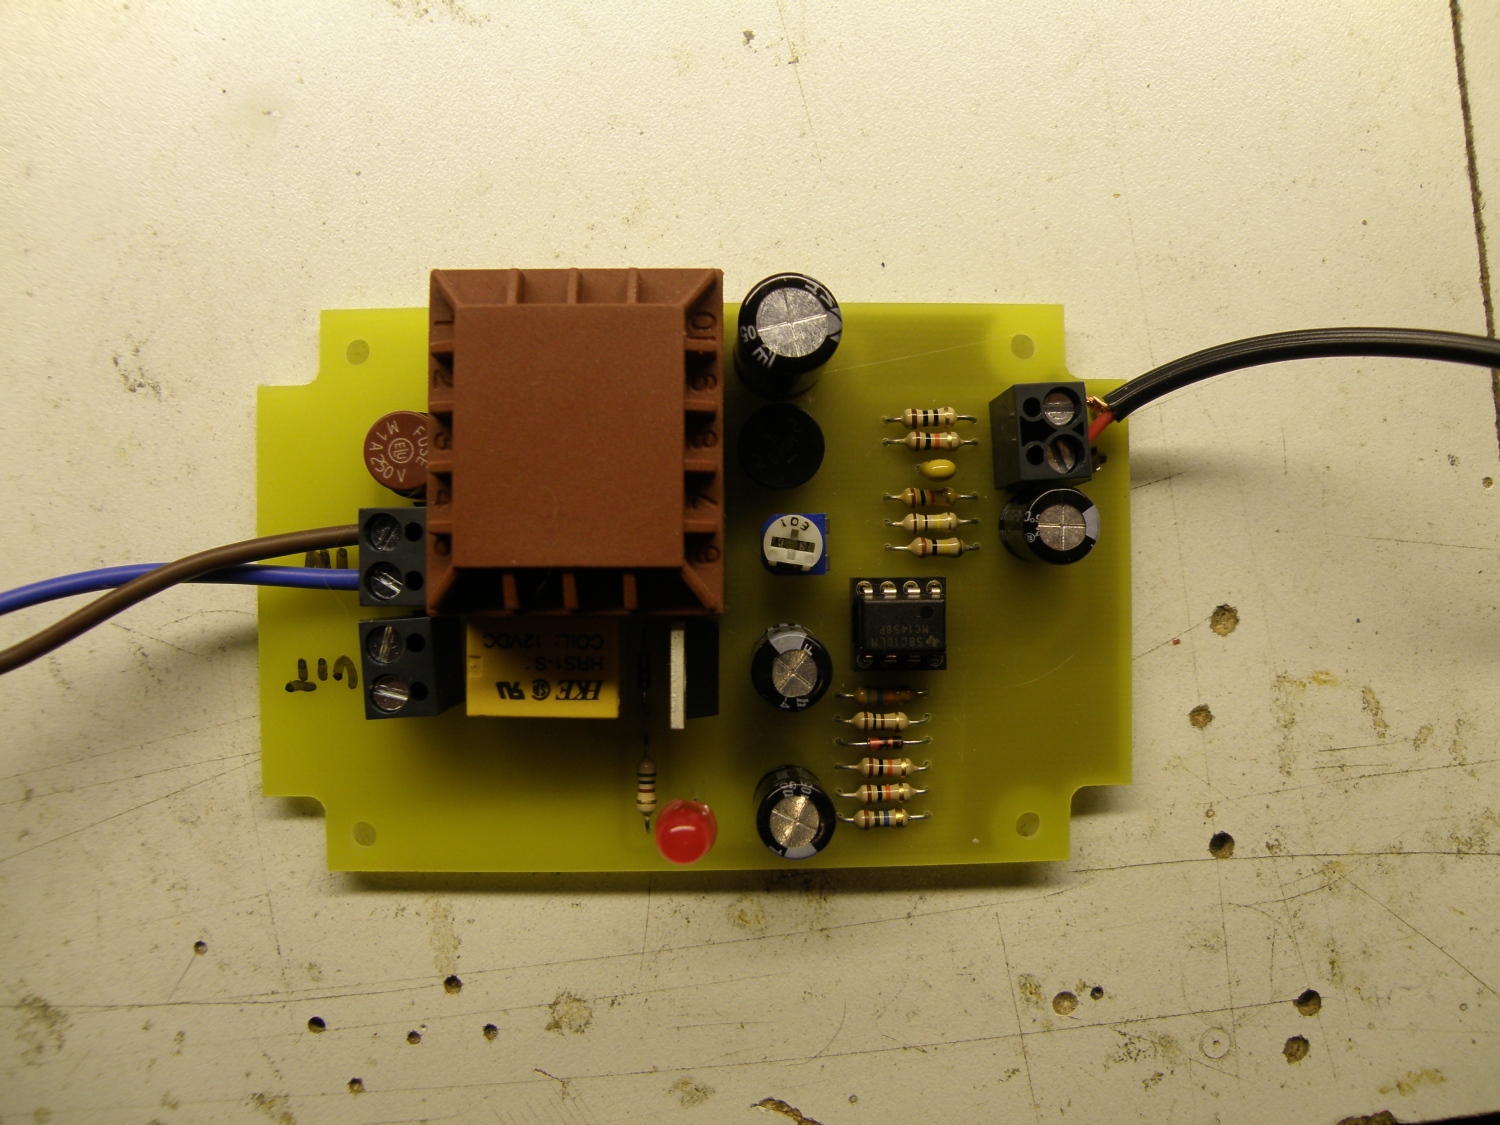
My subwoofer uses 11watt when in standby, to save some energy this switch will switch the subwoofer on when there’s audio. Still in use.


S65 Test setup
https://evertdekker.com/wp/wp-content/uploads/slider61/audiopowerswitch.jpeg
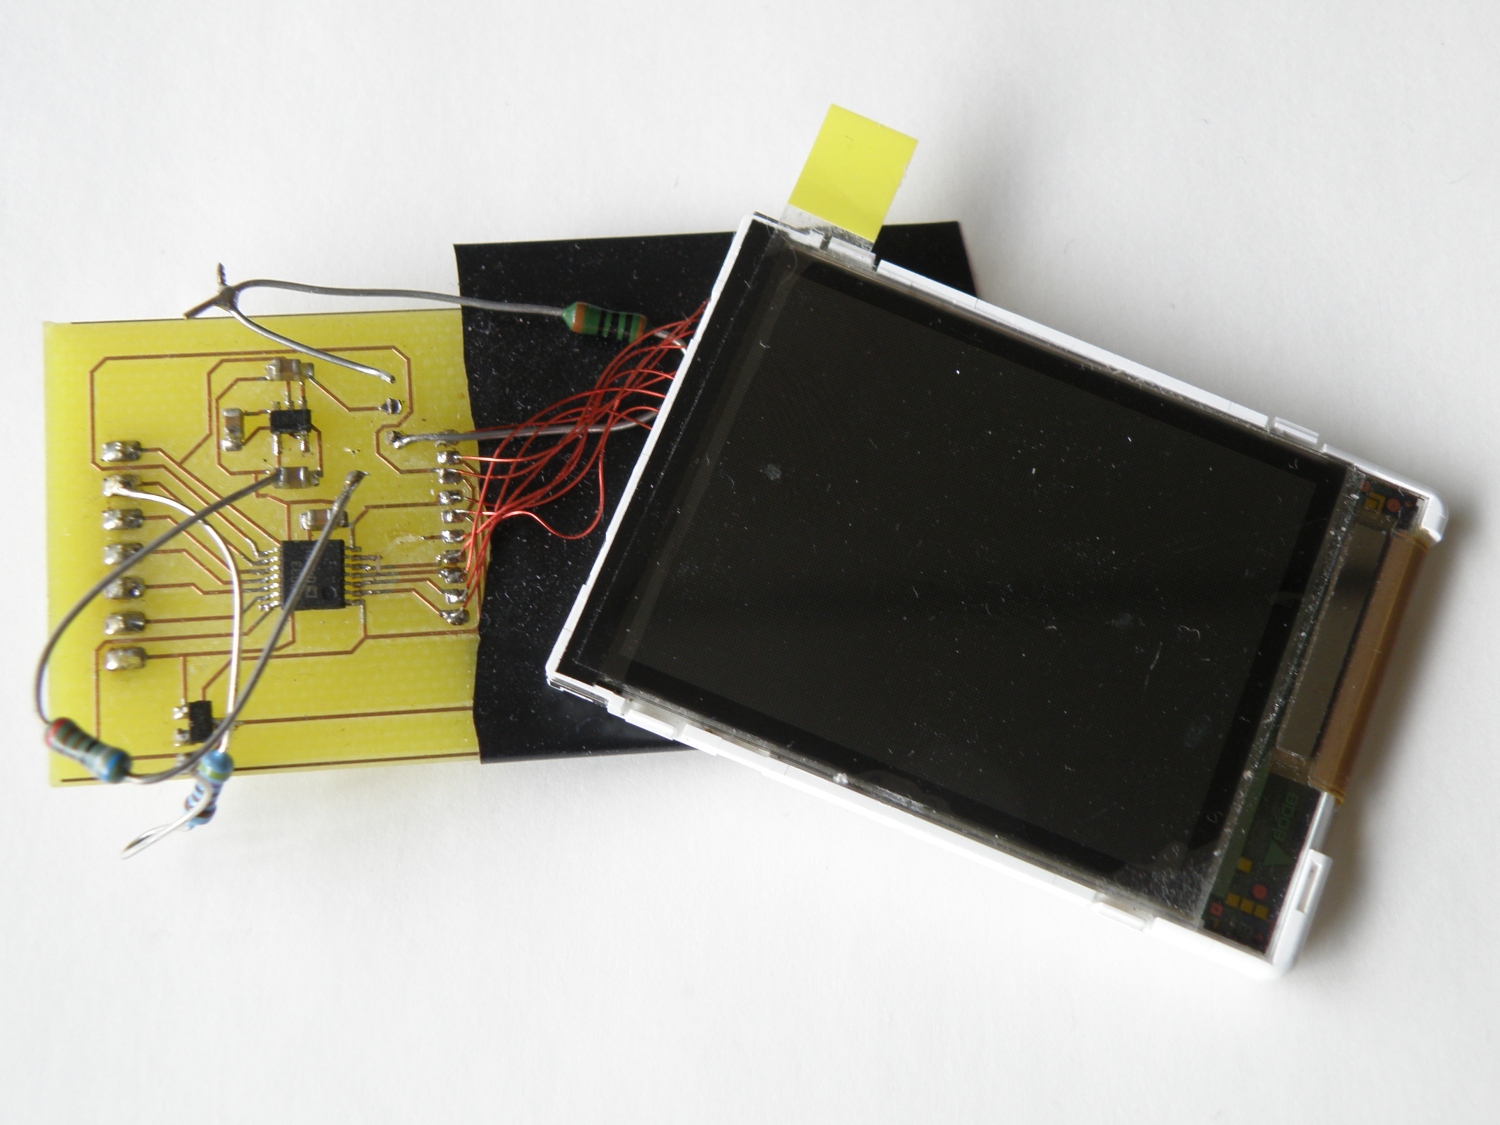
The test setup for my S65 library. Some “modification” are done to get it all working.


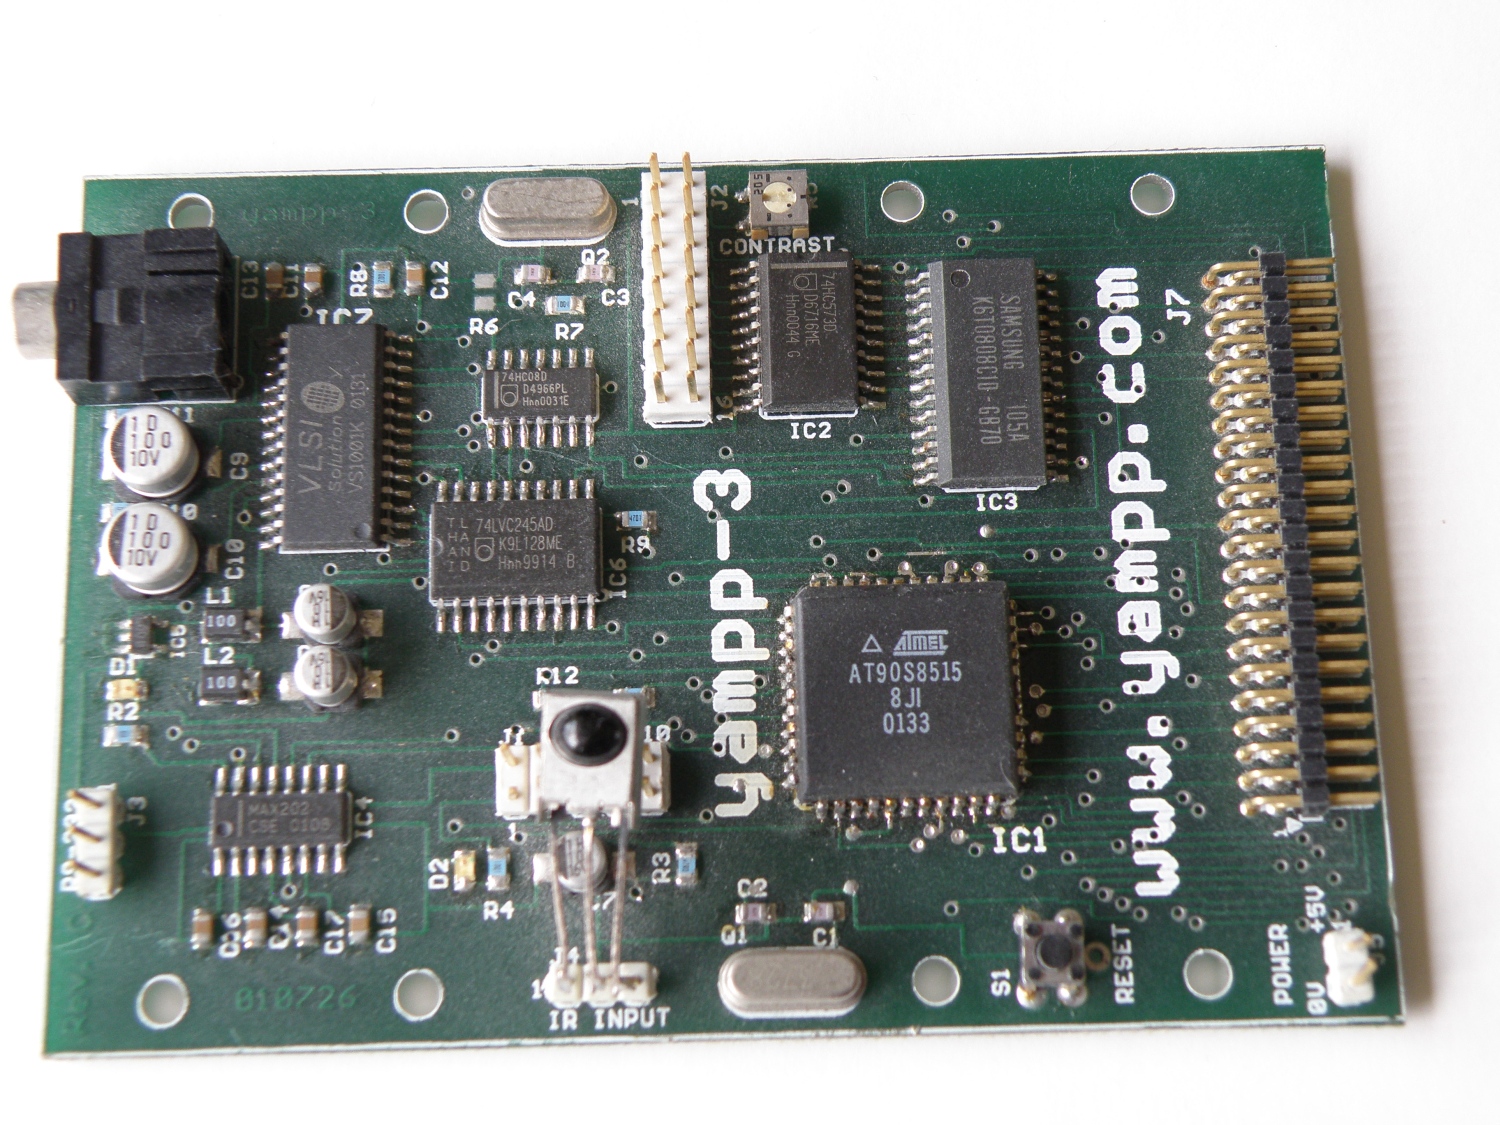
Yampp

“Yet another mp3 player” a mp3 player that plays mp3 from a hdd, sounds not that special now, but then it was very unique. Special when you made you own. This was my first serious smd project. Just a kit that I soldered together. Even the components where 1206 it was not that simple, mainly because I didn’t have a aporpiate solderiron and solder.
Now these days soldering 0402 and 0.4mm qfp package aren’t any problem. If you use the stencil method, it’s a piece of cake.


Xbox360 Glitch

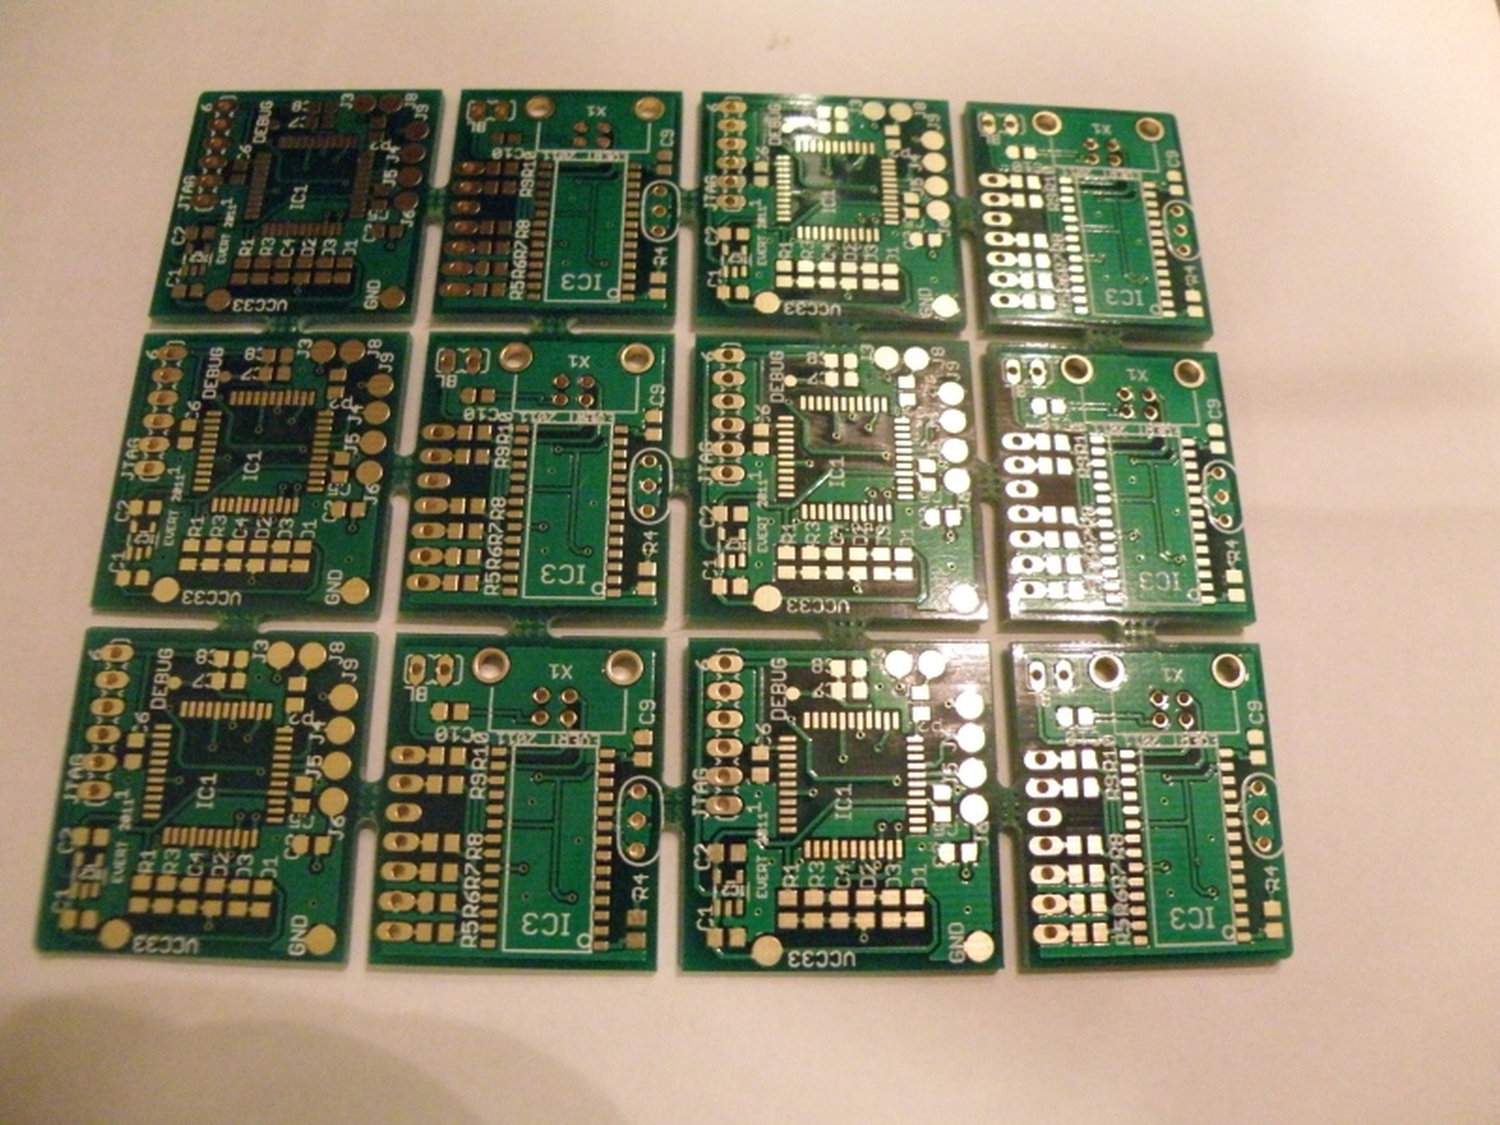
Xbox glitcher pcb and jtag programmer to exploit the xbox360 glitch hack. Because the Chinese pcb houses give you 10 pieces of the same pcb for the same price there where some left overs that I wanted to sell, but selling was the hardest part. Glitching your xbox360 is in a grey area and therefore not allowed to advertise with.


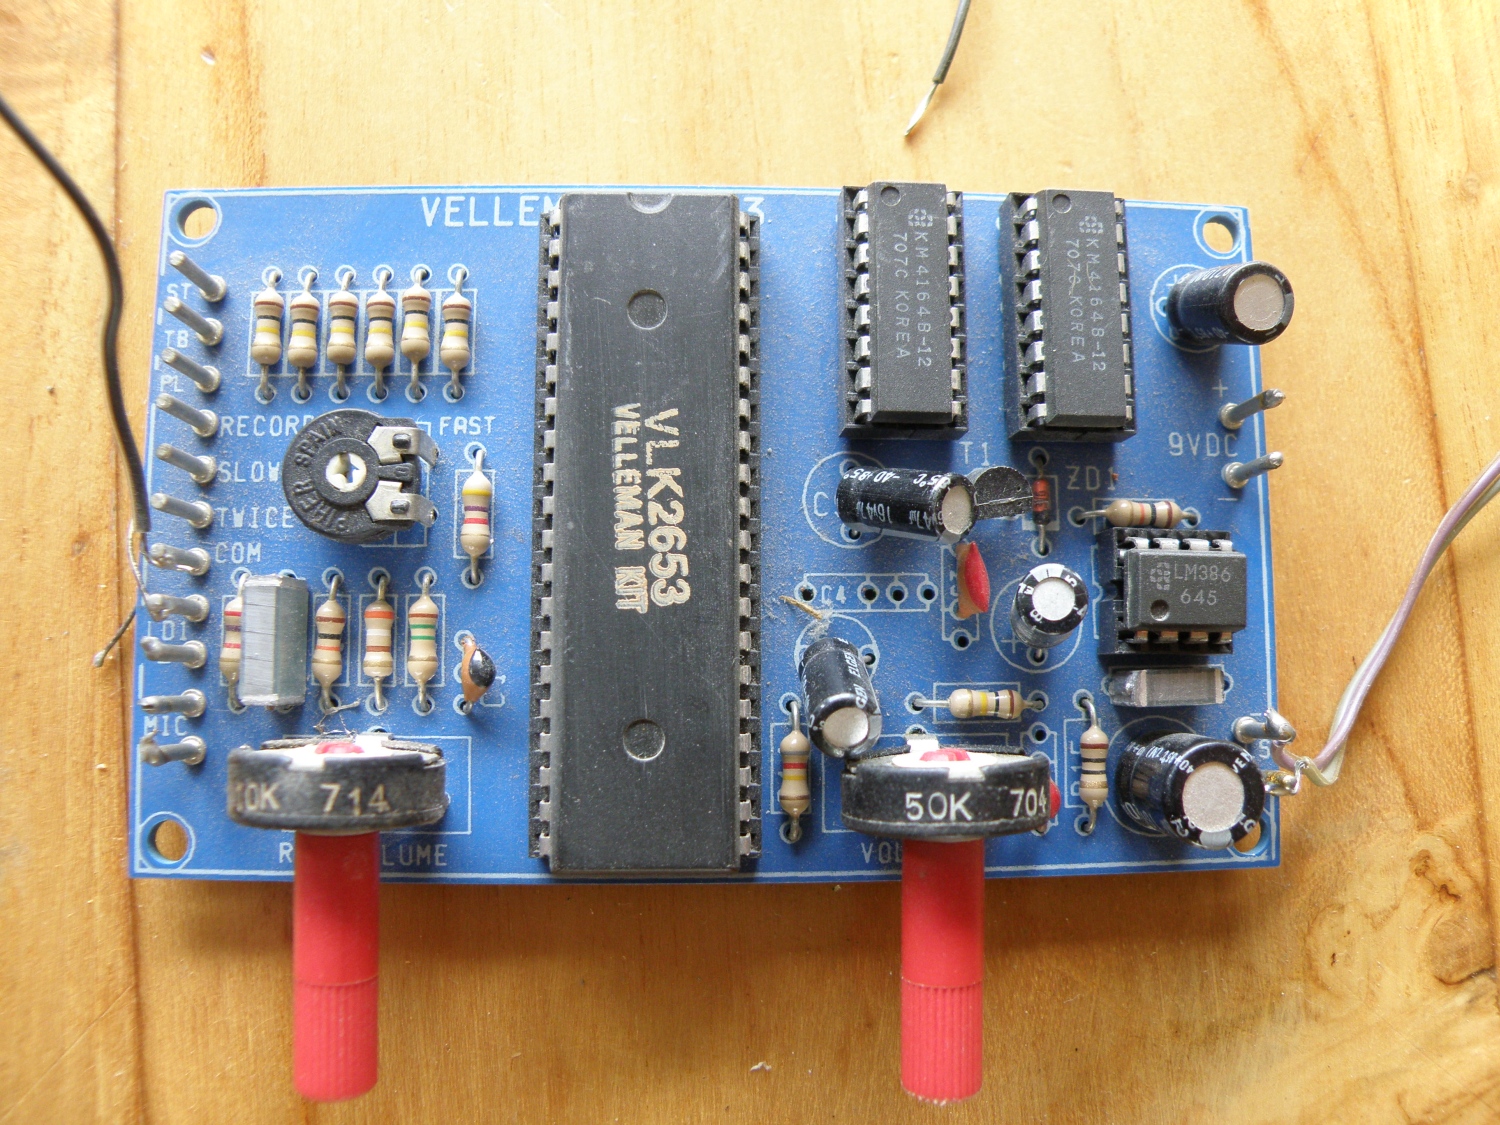
Voice recording

Nothing special, a Velleman 2653 kit to record and playback sounds. Can’t remember for what I have bought it, maybe just for playing with it.


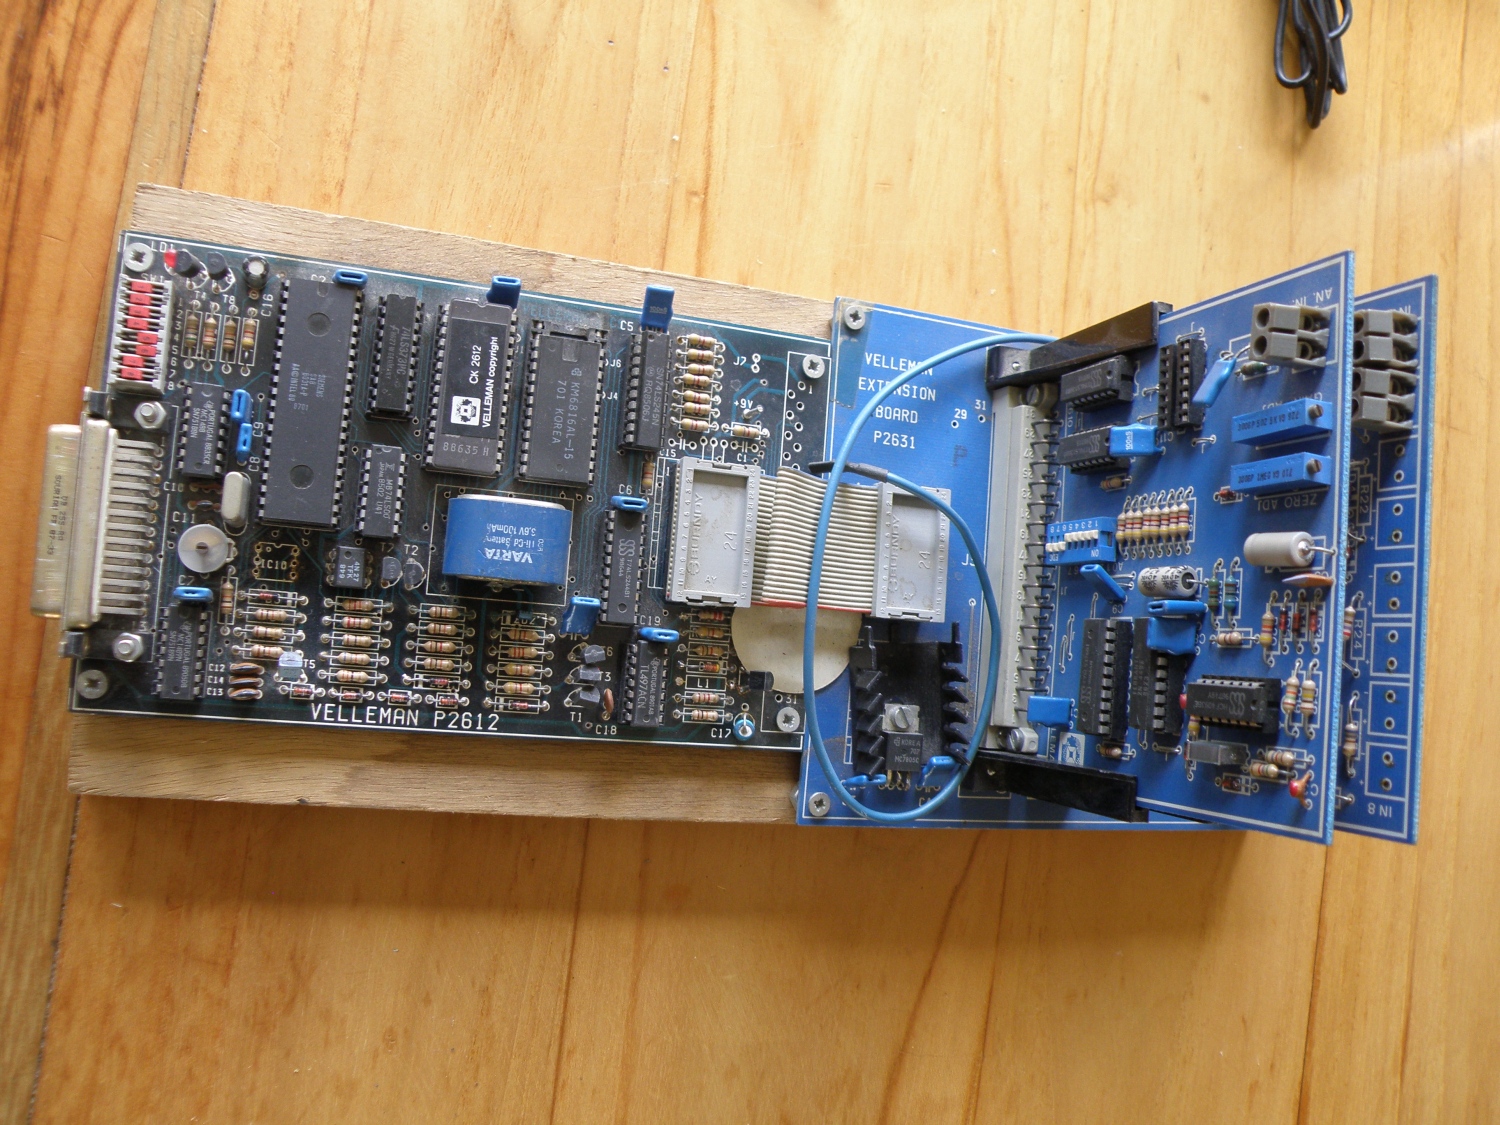
Velleman IO & AD

Build this one the log the energy generated by the generators at one of my previous jobs.
4 pcb’s packed with components to read 2 AD channels and 2 IO channels and send it over Rs232 to the pc, hard to imagine now these days with all the Arduino’s etc that can doe the same job, even better with only 1 chip.


Elektor 8ch AD

Use for the same project as above, but didn’t get this one working. Never knew why…


Satellite smartcard

Home brew smartcard emulator for analog satellite tv. Not my design but made the pcb myself.
Watched a lot of channels with this smartcard 😉


Mini Crescendo

Famous design from Elektuur (Elektor) magazine, the mini-crescendo.
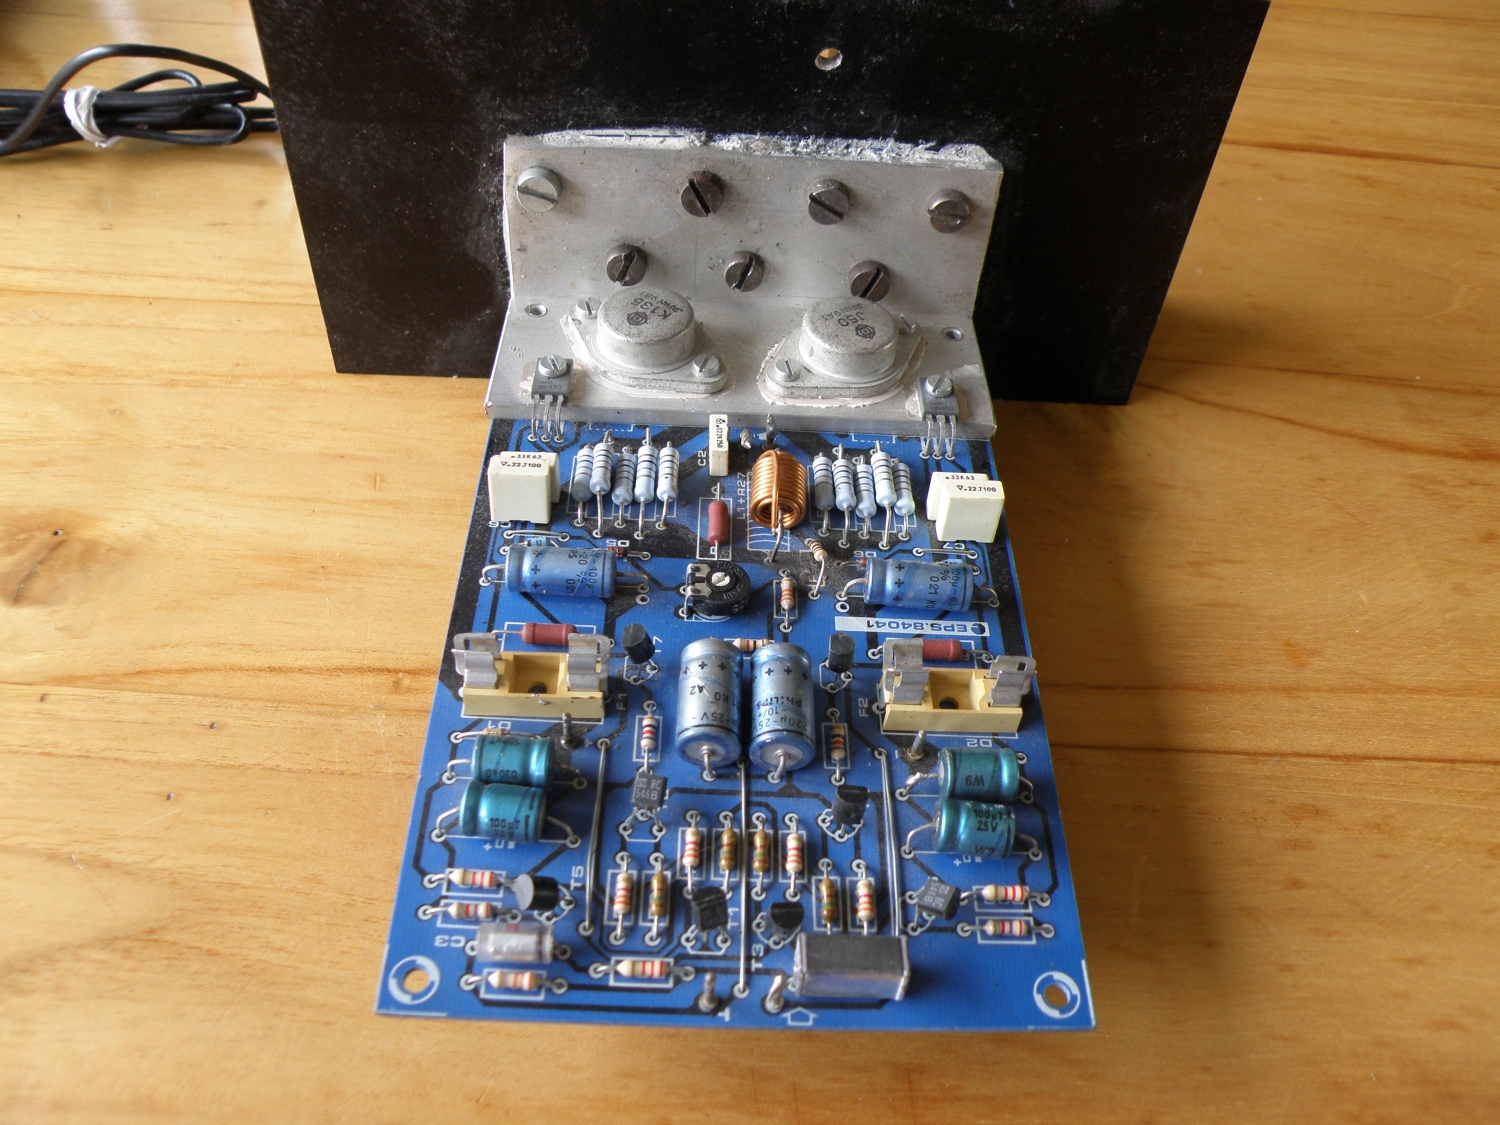
This was the light version of the Cresendo mosfet amplifier, still using it. This board is from the post crescendo that I used as active subwoofer, the last one is taken out of use.


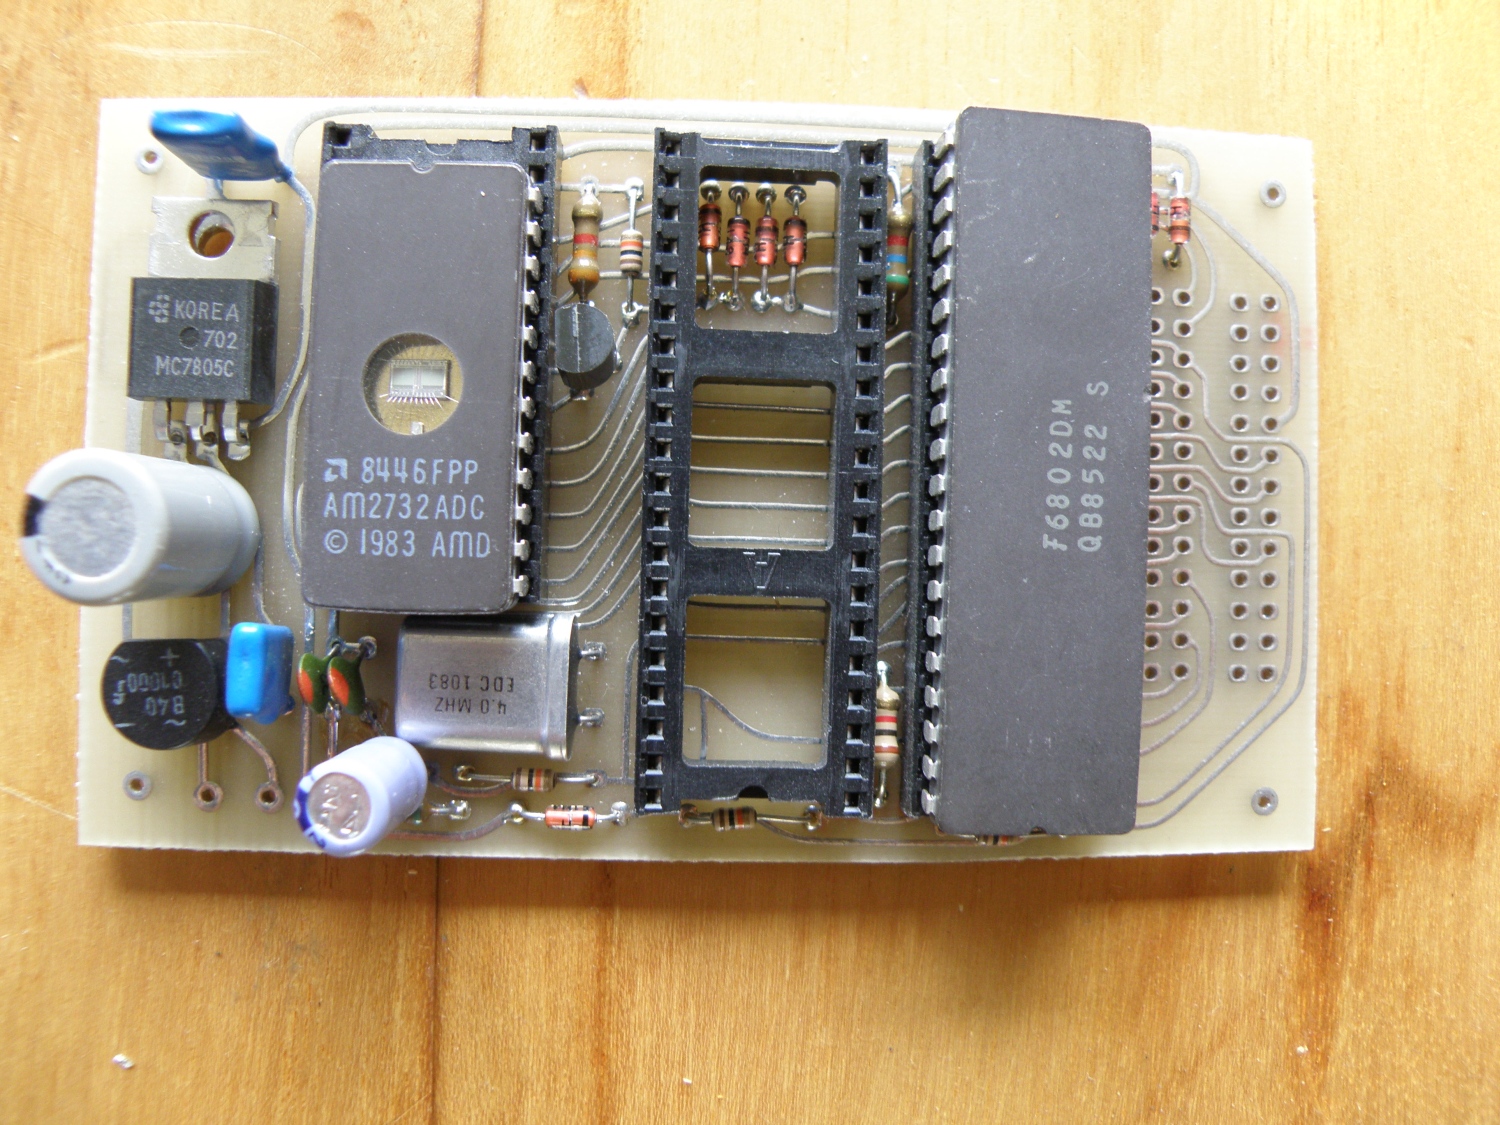
6802 controller board

Controller board with 6802 controller, ram (missing) and eprom. Never used it, didn’t had an eeprom programmer myself.


Automated cat litter

Some crazy idea of me; I forgot sometimes to clean the cat litter on time and then the cats pied some where in the house and I had even more cleaning up to do.
There was nothing to buy on the internet, only cat litters that removed the poop from the litter, not refreshing the litter.
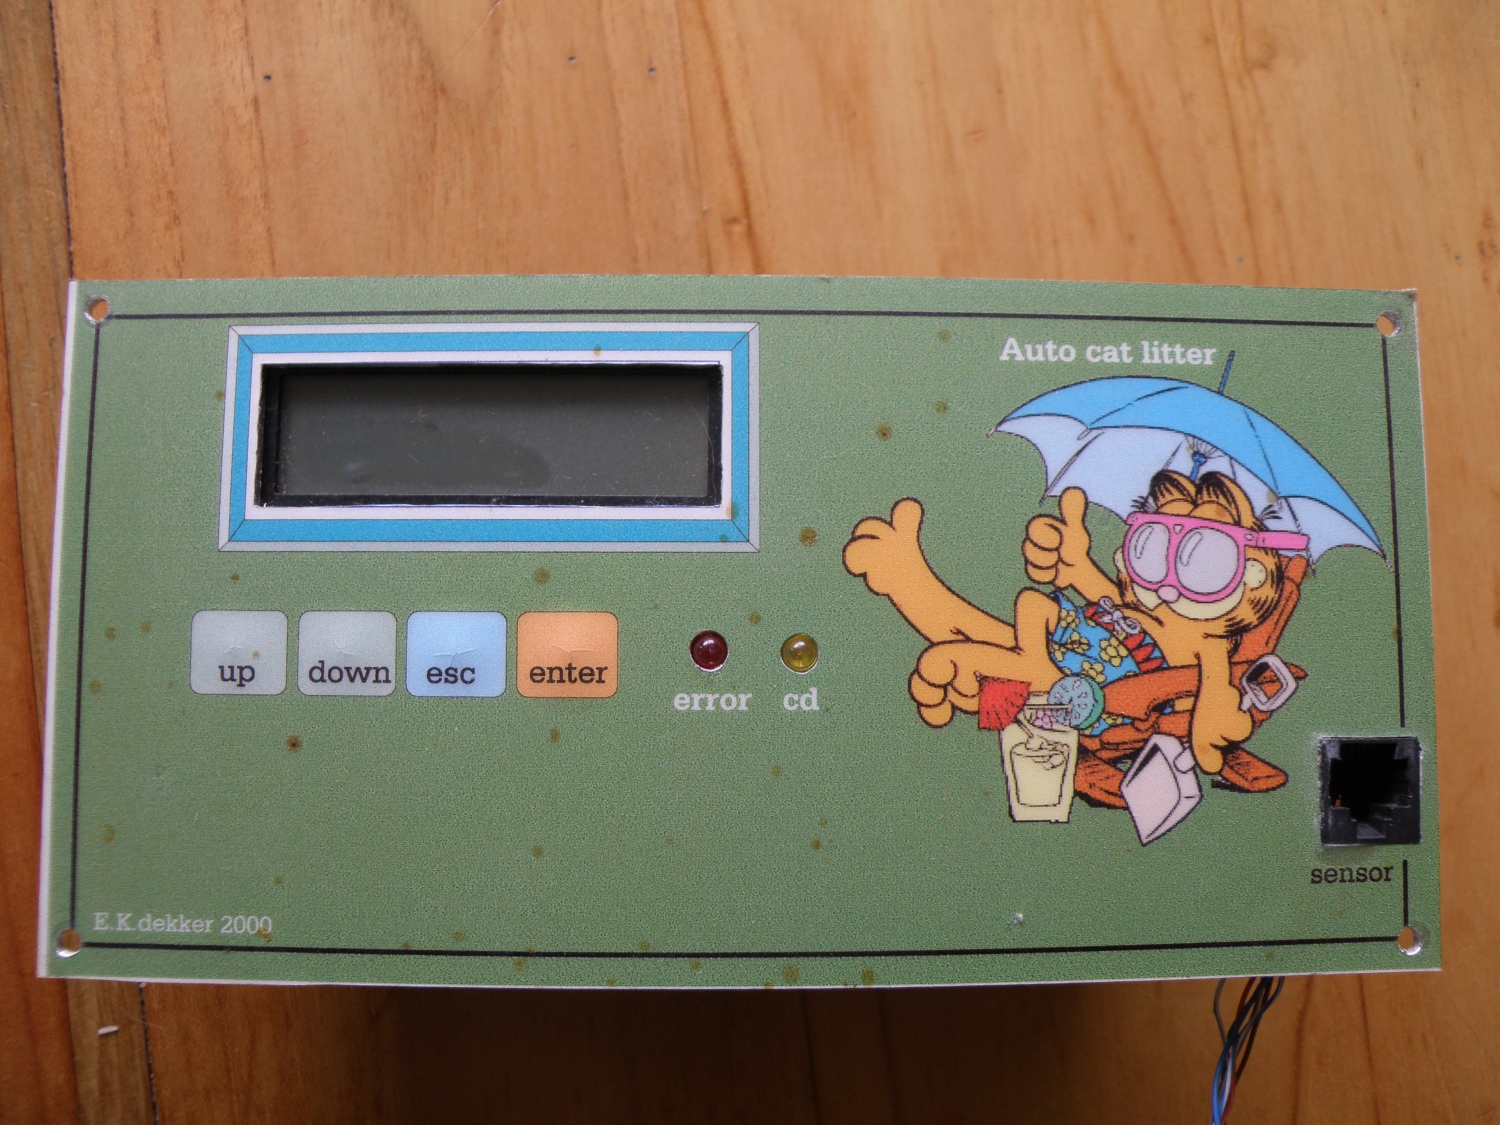
Automated cat litter that cleaned the litter after 4 visits from the cats. This is the operator (for me, not the cats) front panel. Home made frontpanel with recessed button behind it, lcd display and connector to the top lid of the litter.

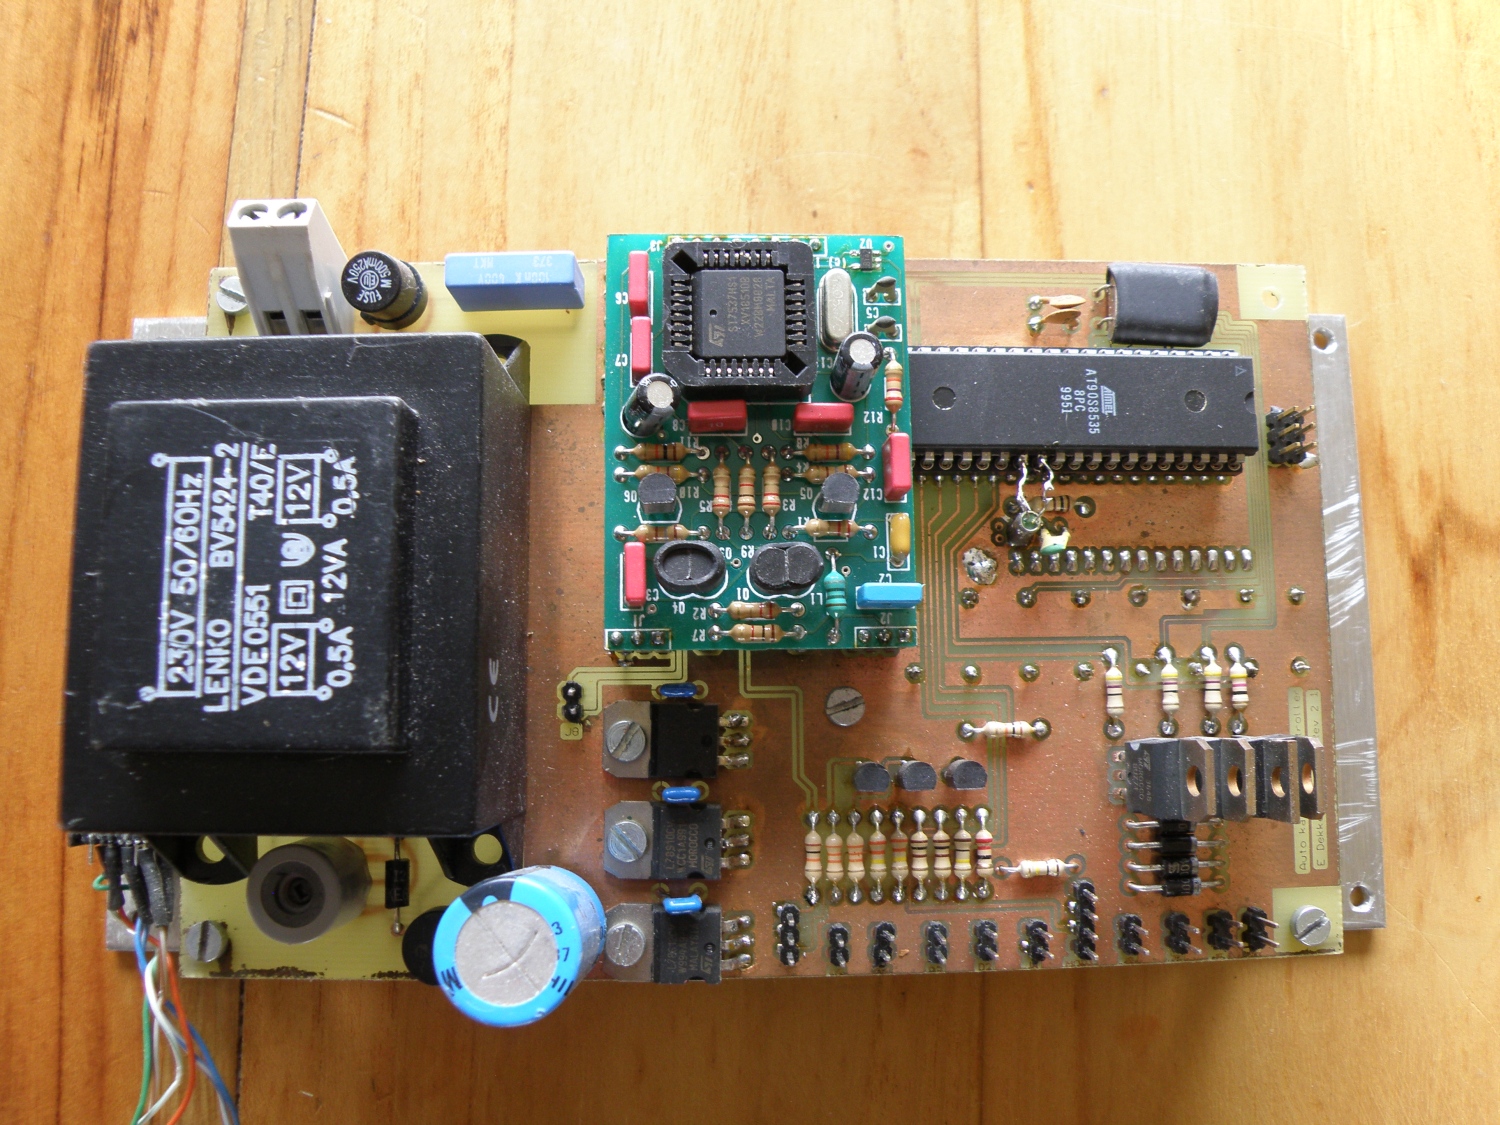
Backside of the controller board. The sub pcb is an power line modem that I wanted to use for the domotica, however the communication was that poor that I dropped the idea to use these. Module was also to expensive to use it for all the network nodes.


Voice recognition

Voice recognition was not new for me, have used already a long time but now it was time to make my own. It works, now I’m trying to port it to the Atmel Avr series.  Project still running……………….

Oldies programmers

Programmers and debuggers, how much of those I didn’t make.. looking at this page when it’s finished, more then suspected.
Some of them used one or twices for a special project or because it was working crappy.


SE512 programmer
[singlepic id=’348′ w=’200′ h=’300′]
Develop and programmer for the AT89Cx051 series. Programmed maybe 5 chips with it before I switched to the Avr series.


AT89C2051 programmer
[singlepic id=’325′ w=’200′ h=’300′]
My first AT89Cx051 series programmer. With this you could only program the mcu, so debugging was a lot of work. Take the chip out the pcb, put it in the programmer, program it, back to the pcb…. and again.


HV Stk500 compatibel usb programmer
[singlepic id=’336′ w=’200′ h=’300′]
For the avr serie’s an usb high voltage programmer. Used it one or twice,  running the usb stack on a Mega8 was sloooow. Not handy to use for development.


Making of the CoLinkEx

How did I made my pcb version of the CoLinkEx

First of all I borrowed most of the schematic from Coocox. Made some minor changes for components that are not that easy available in Europe and ported the schematic to Eagle.
Uploaded the gerbers to my pcb manufacturer Elecrow.com in China, there are cheap but delivery can take up to 3 weeks, doesn’t matter if you’re not in a rush, the price and quality is perfect.

Because the plan was to make 5 pieces of the CoLinkEx and there are some fine pitch chips on it fabricating them would be the easiest with the stencil and reflow method.
For this small amount of pcb’s a stencil made from polyester will do the job fine. From Smtstencil.co.uk you can order an a4 stencil for around €15. You can put as much designs on it as you like. I prefer the 100μm thick sheets, there applying enough solder paste to the pcb.

First we have to make a framework to hold the pcb steady and align the stencil correct.
The framework is easy to make from some pcb leftovers that have the same thickness as the Colinkex pcb, standard pcb is 1.6mm thick. Glue the pieces on a bigger pcb leftover or other material. You can use almost everything for this.


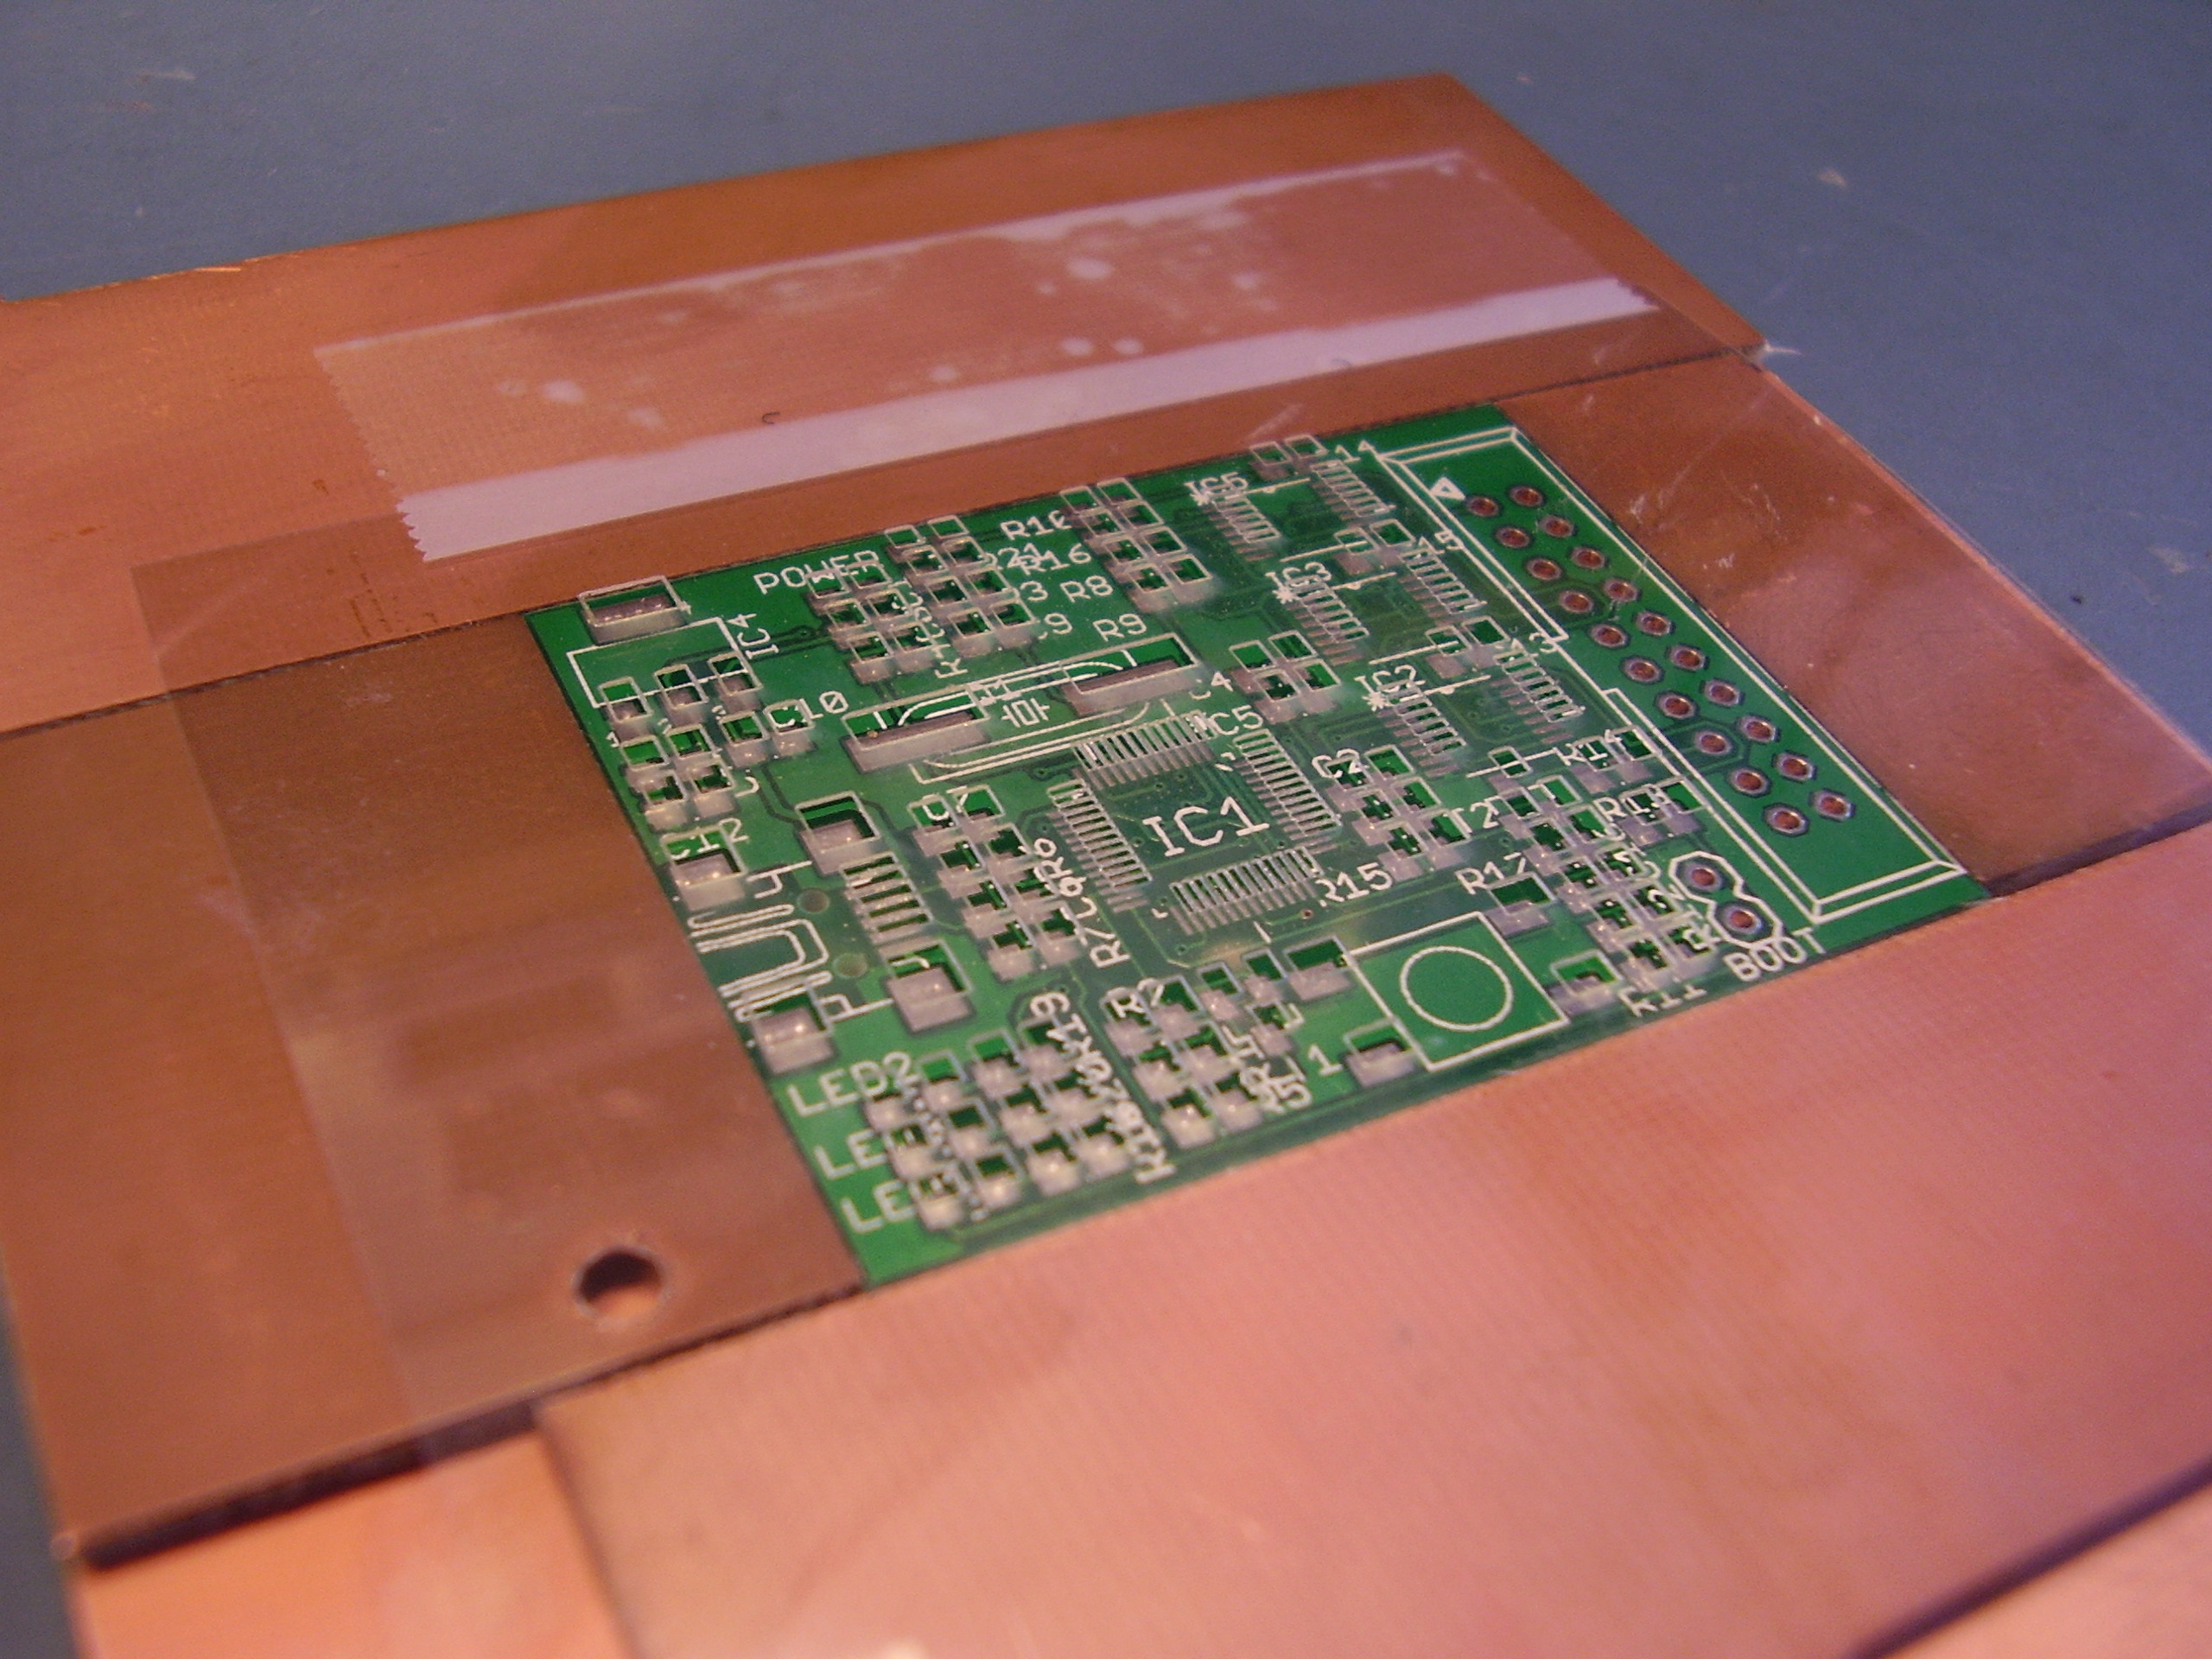
Put the pcb in the framework and align the stencil exact as possible with the pcb. Then tape the stencil on 1 side to framework.


When the pcb is removed you can see clearly the cutouts in the stencil.


Now lets apply the solder paste. Put a line of solder paste as wide as the pcb is on the same side as you have applied the tape.
Smear the solder paste with an spatial over the pcb. First run hold the spatial in 45 degree angel to push the solder paste in the cut outs. Smear always from the tape away to prevent moving of the stencil.
Second run hold the spatial in almost an 90 degree angel to “scrape” off extensive solder past.


Lifting the stencil and voila , nice layer of solder paste. After removing the pcb carefully I repeated the previous step to apply solder paste to the other 4 boards.


Looks like it’s completely failed, especially the fine pitch (0.5mm) LPC1343FBD48 cpu. But when reflowing all the solder paste will end up on the leads due the capillary force.

Placing all the components on the pcb, just put them exact as possible in the solder paste. A little bit out of alignment is not the worse, during reflowing it will correct itself.
In this video from an other project you can see how the components will align them self when the solder melts in the oven.
Still missing some components, I thought that everything was on stock.  Doesn’t matter can place these components later an solder them by hand with an iron.
Now time to place the pcb in the oven to reflow it.


Finished reflowing. Added the jtag header, still waiting for some components


All parts are in, finished now soldering the board.


It’s alive, working well.


CoLinxEx Jtag debugger

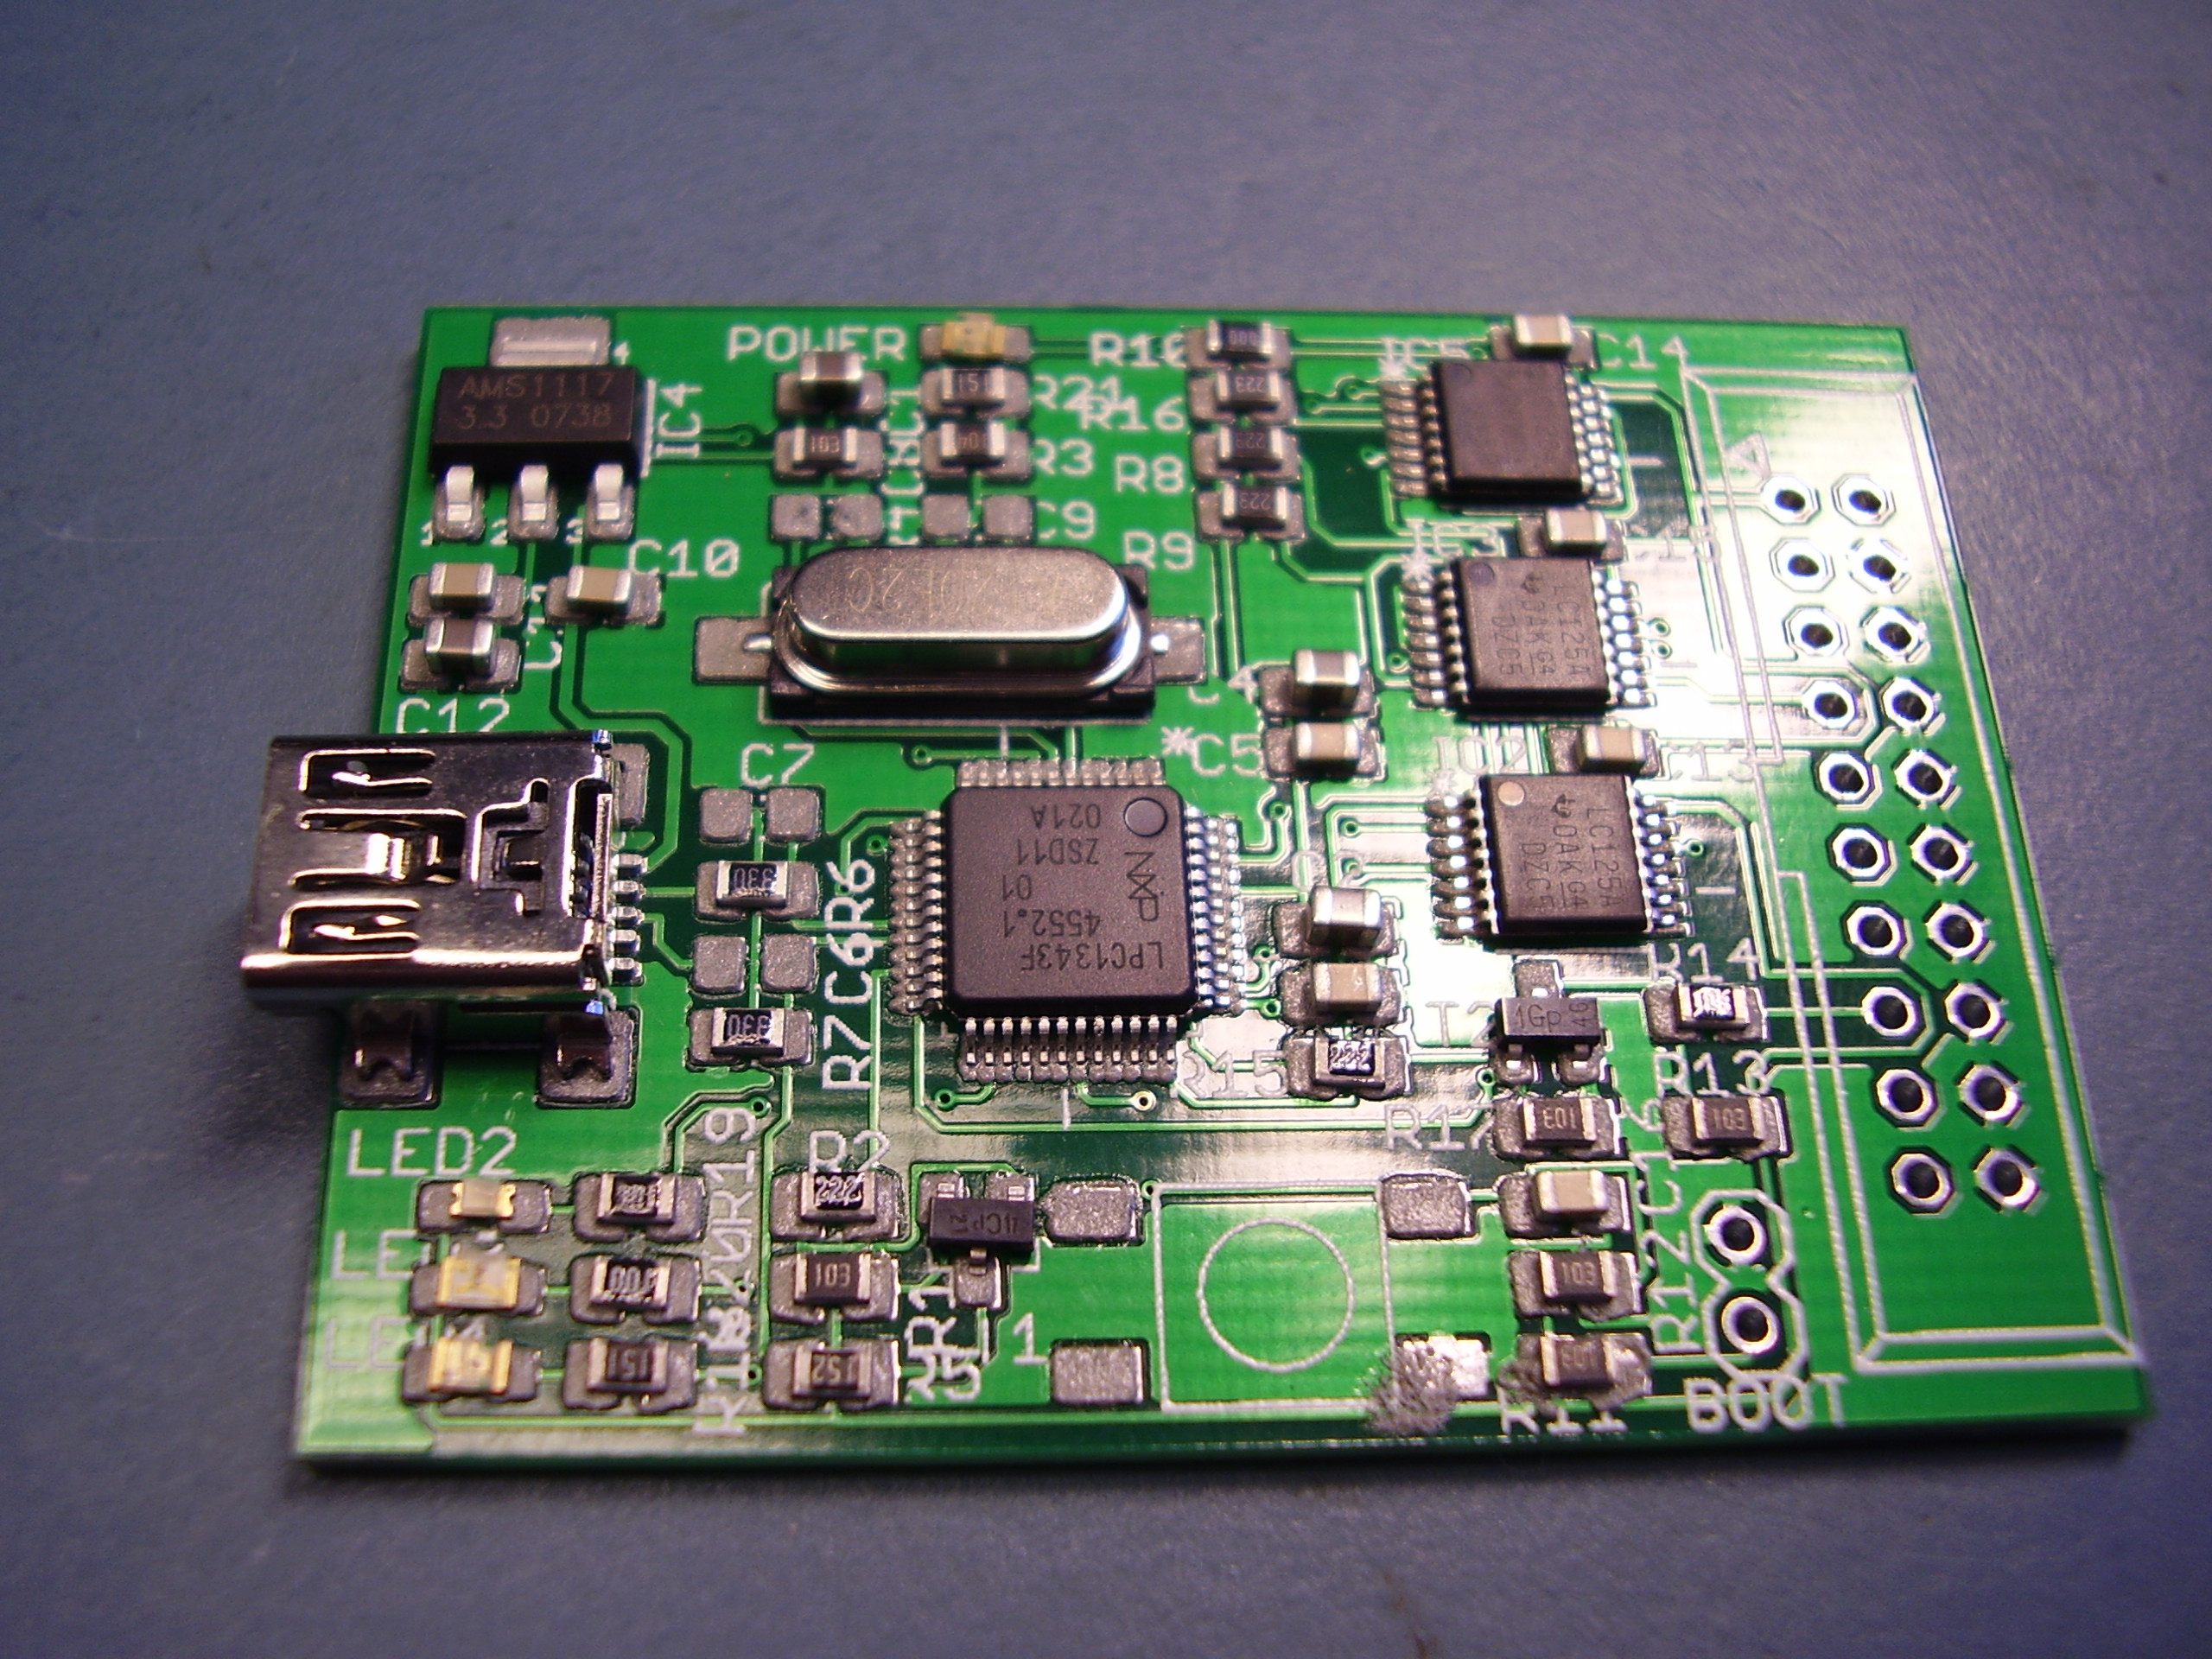
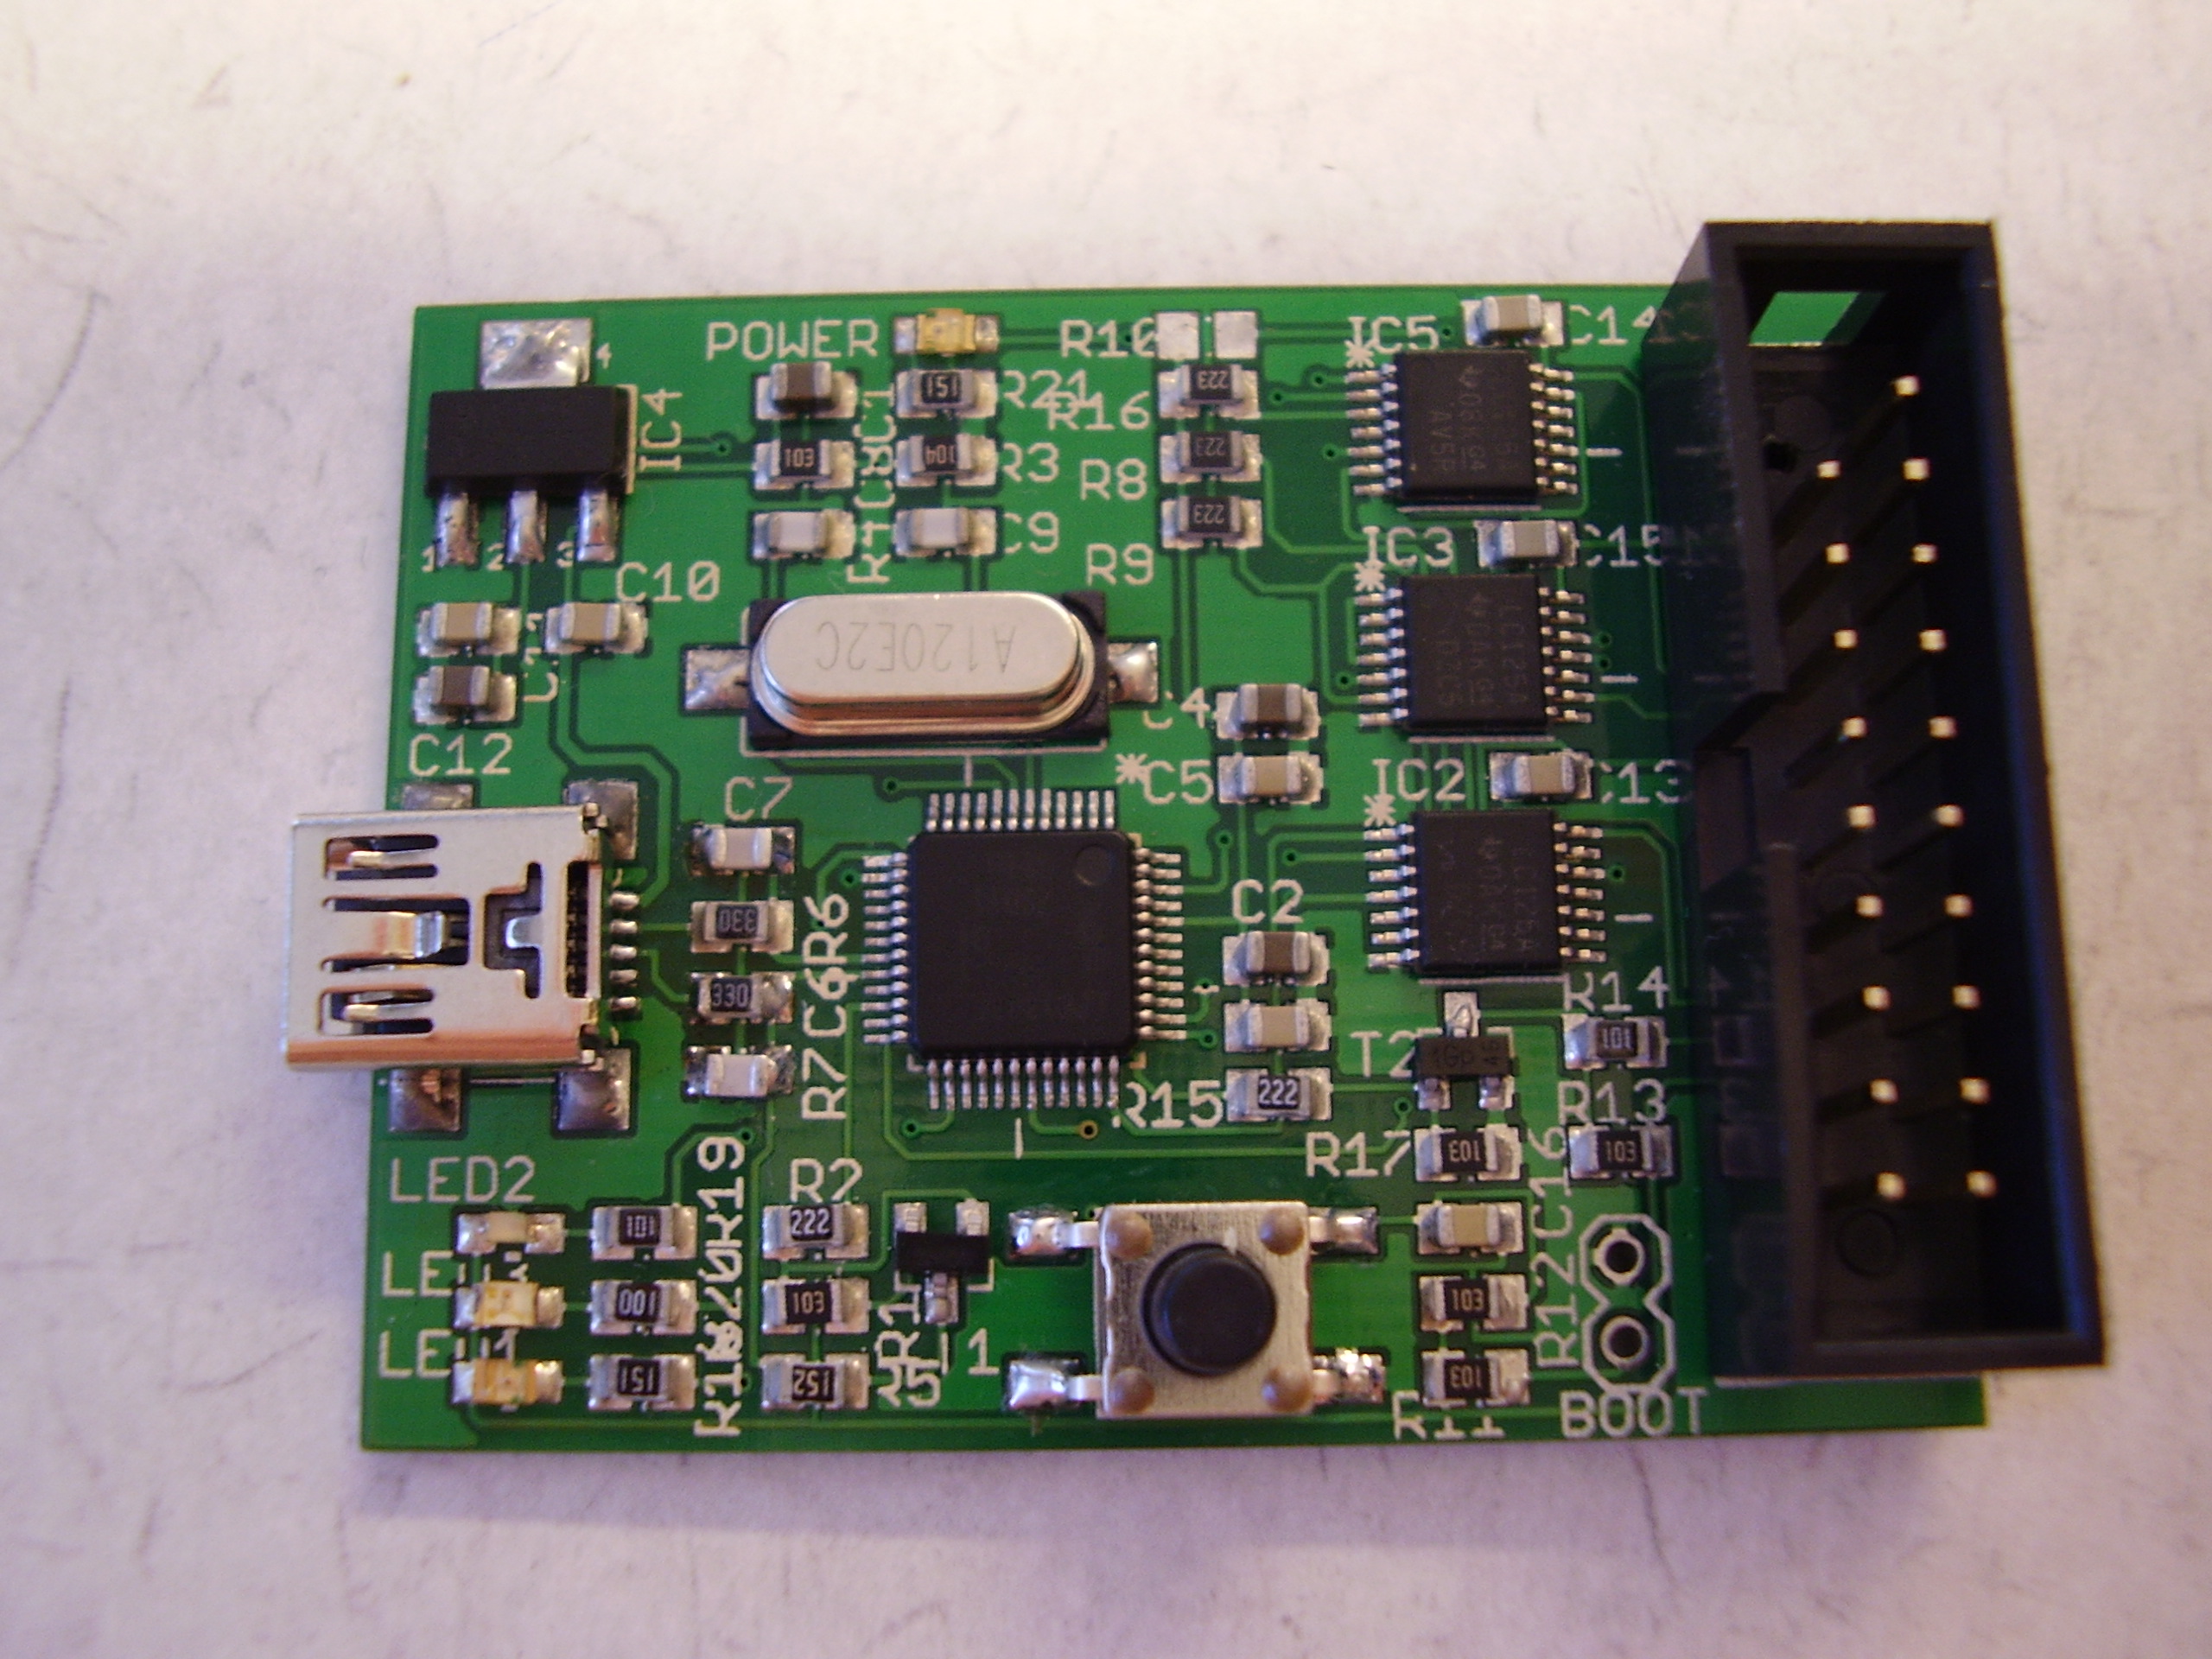
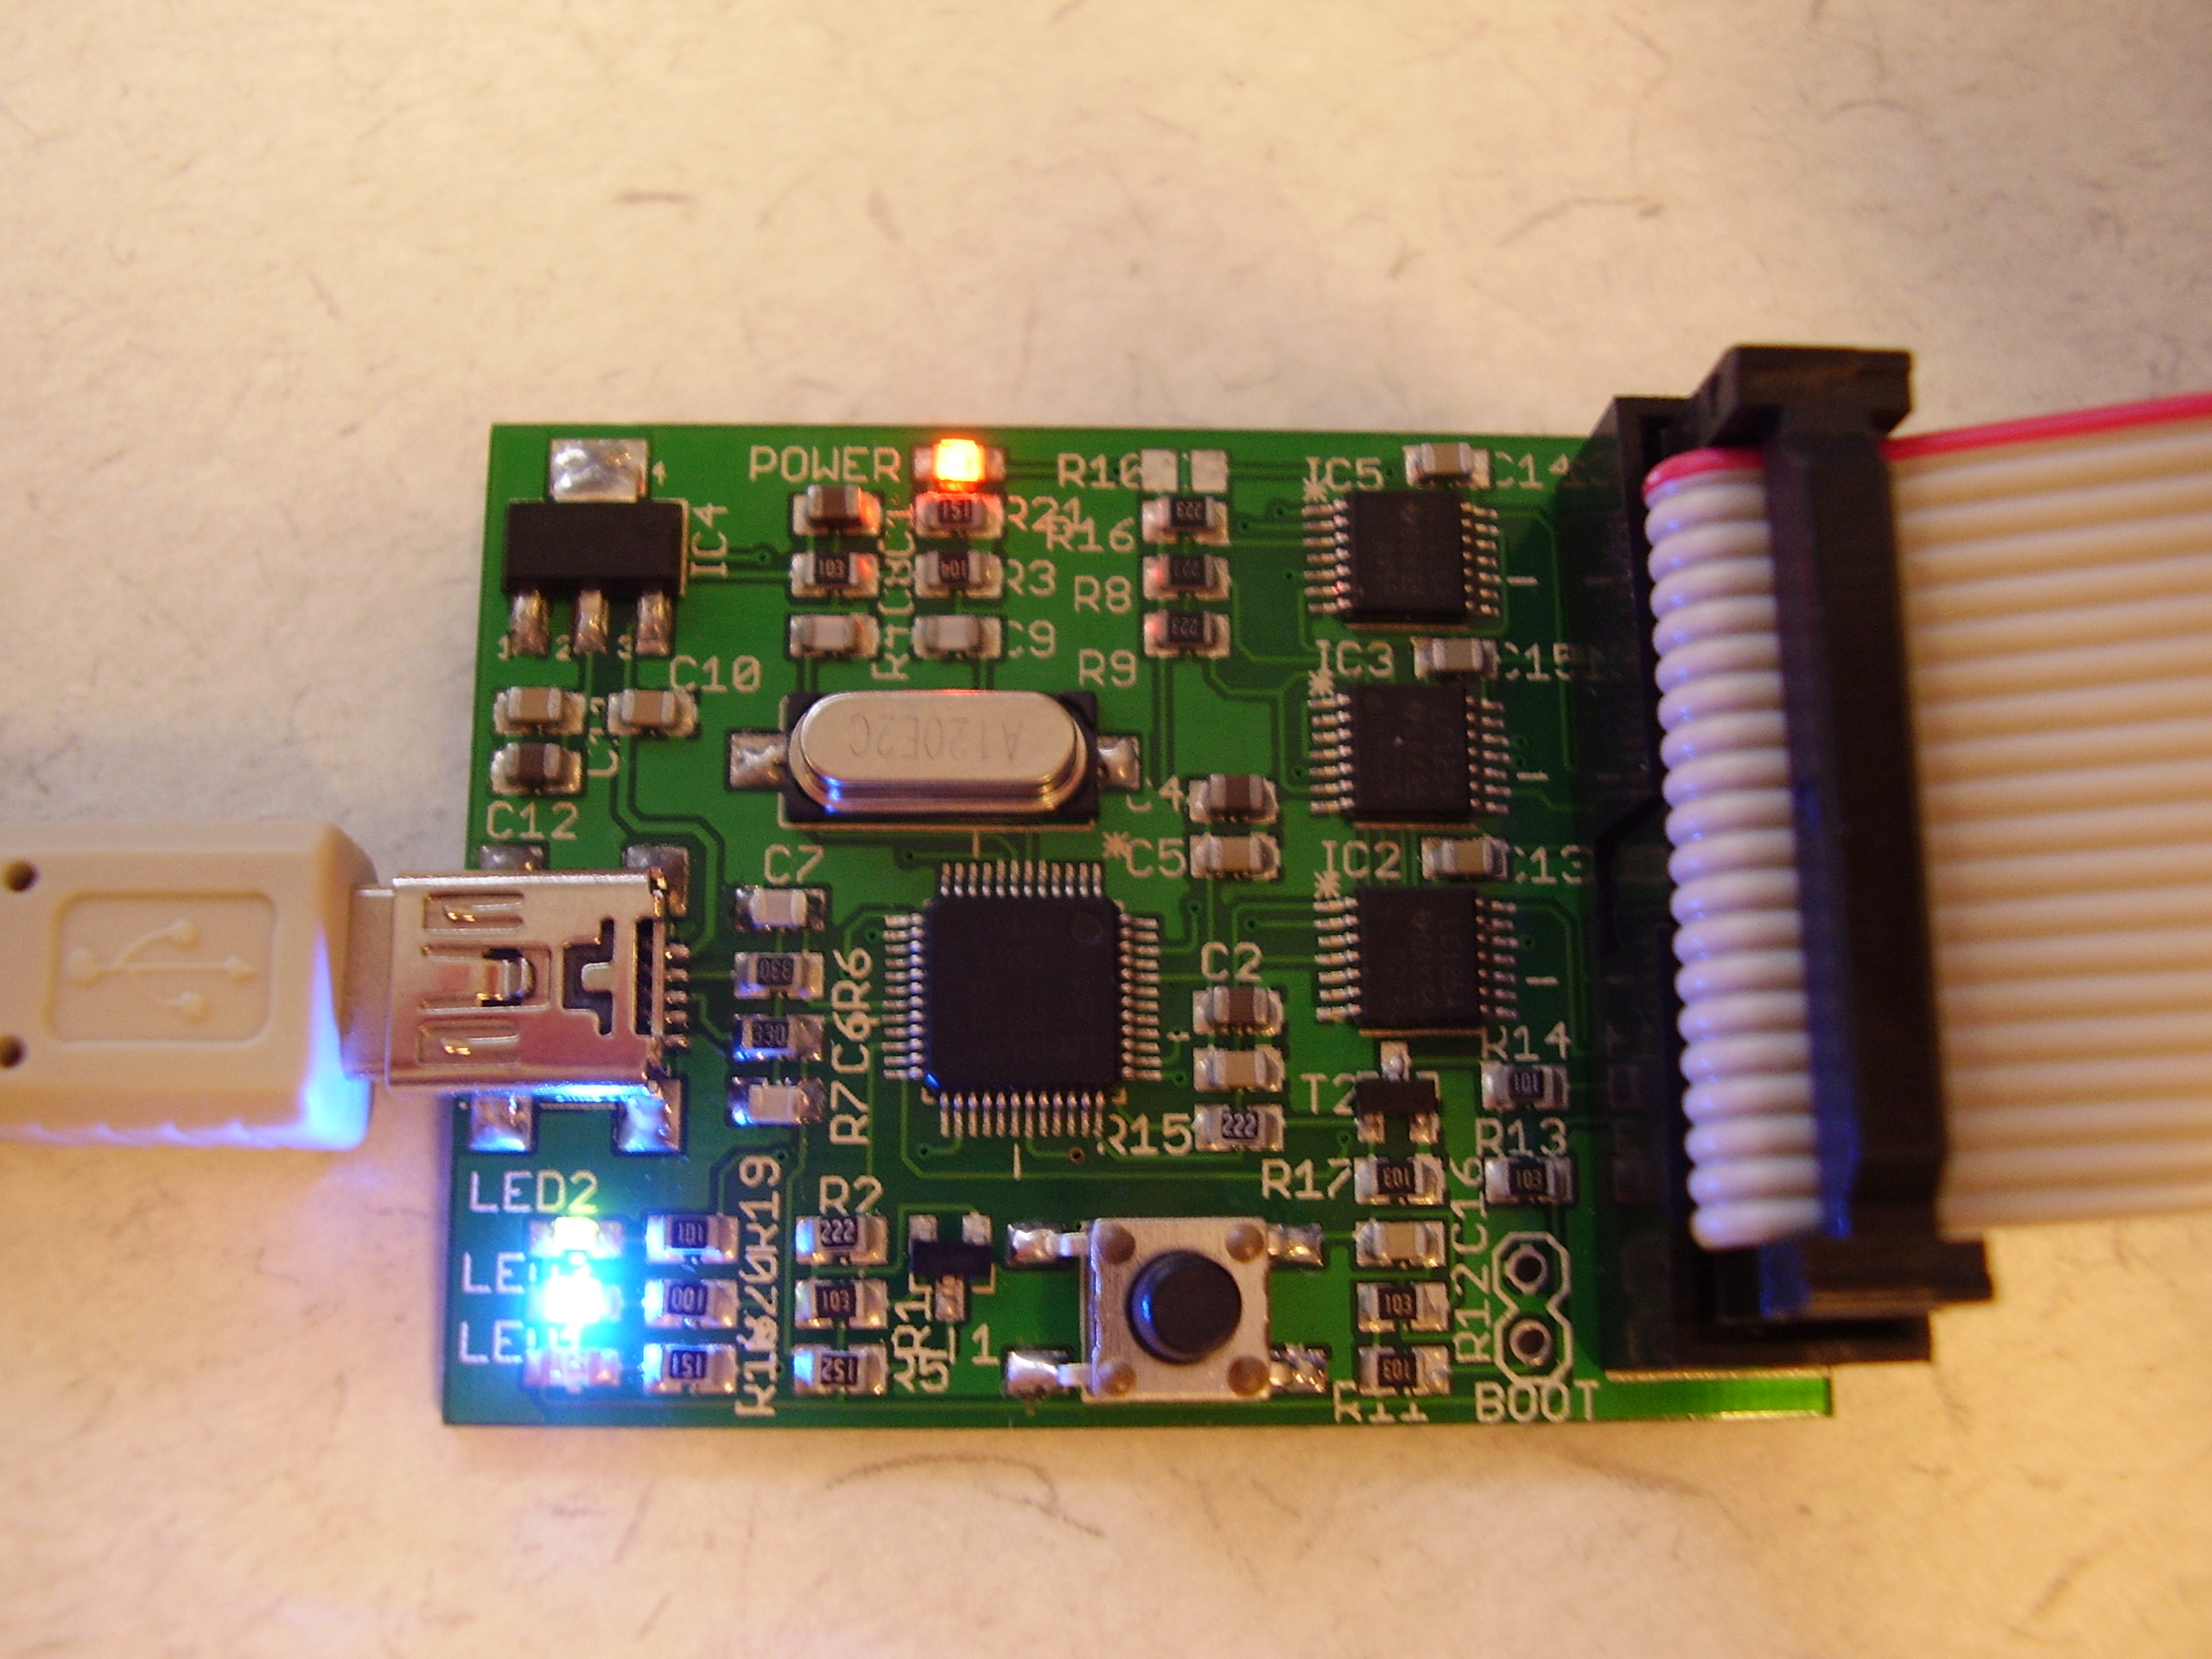
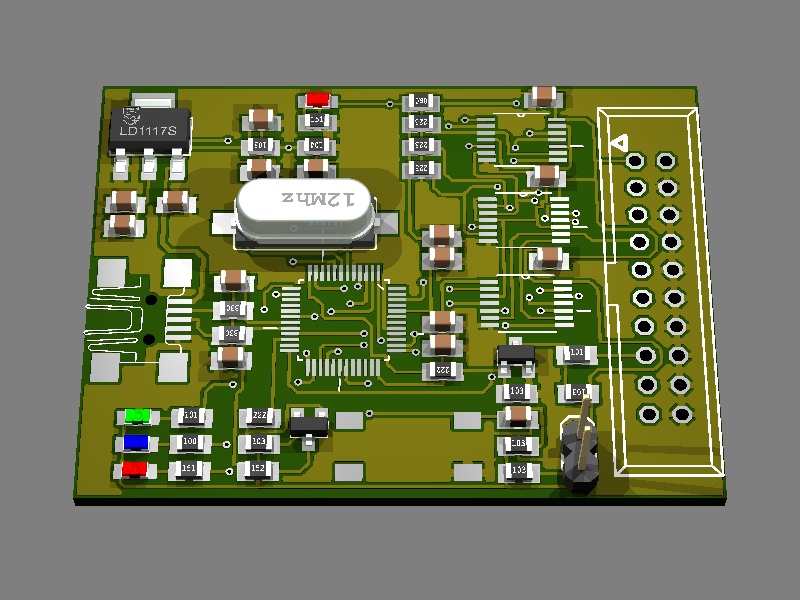
For my projects that are arm based i needed an Jtag debugger and programmer. Because i was already using the free CooCox ide it would be also nice to have the CoLinkEx jtag debugger. It’s design and firmware are also free.

I decided to design my own pcb, it was (not yet) possible to buy it somewhere else.
Here it is, if you are intrested in a complete build and tested pcb or an bare pcb, mail me.

Update: Have a look at making of the CoLinxEx

Schematic
3d Design
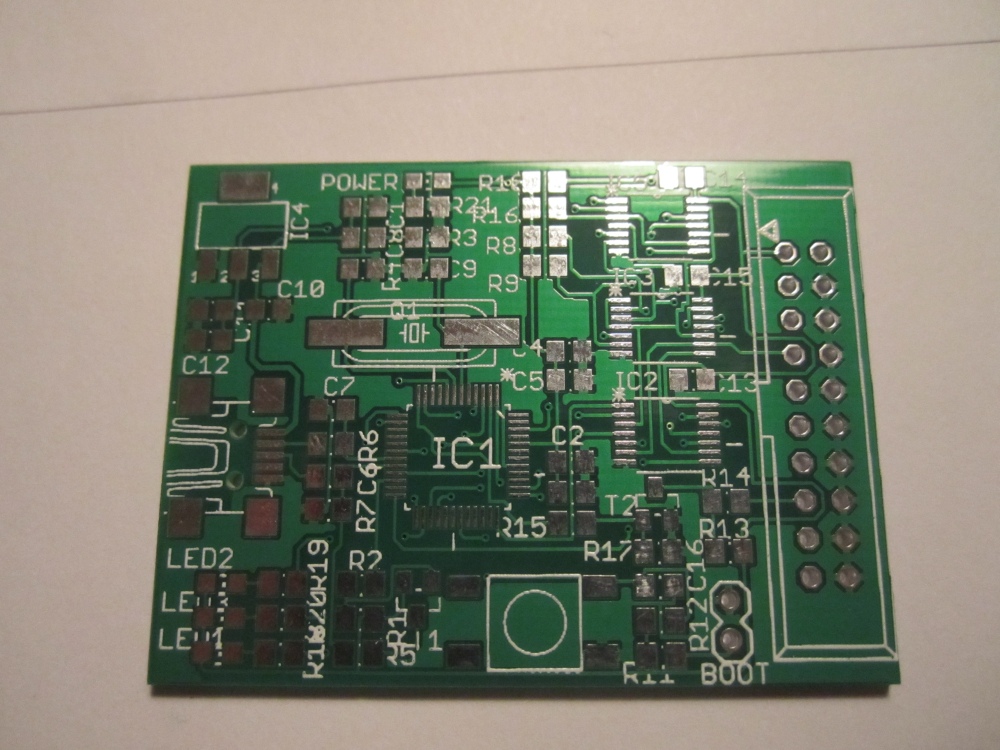
Bare pcb
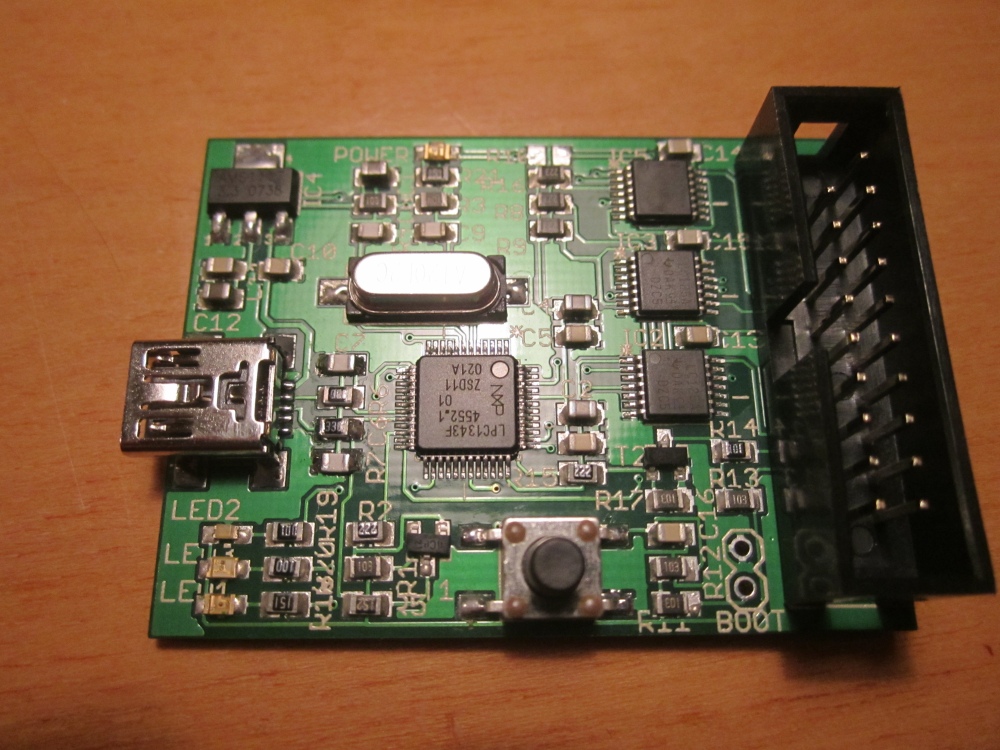
Finished pcb
PlayPause
previous arrow
next arrow
 
Schematic
3d Design
Bare pcb
Finished pcb
previous arrow
next arrow